


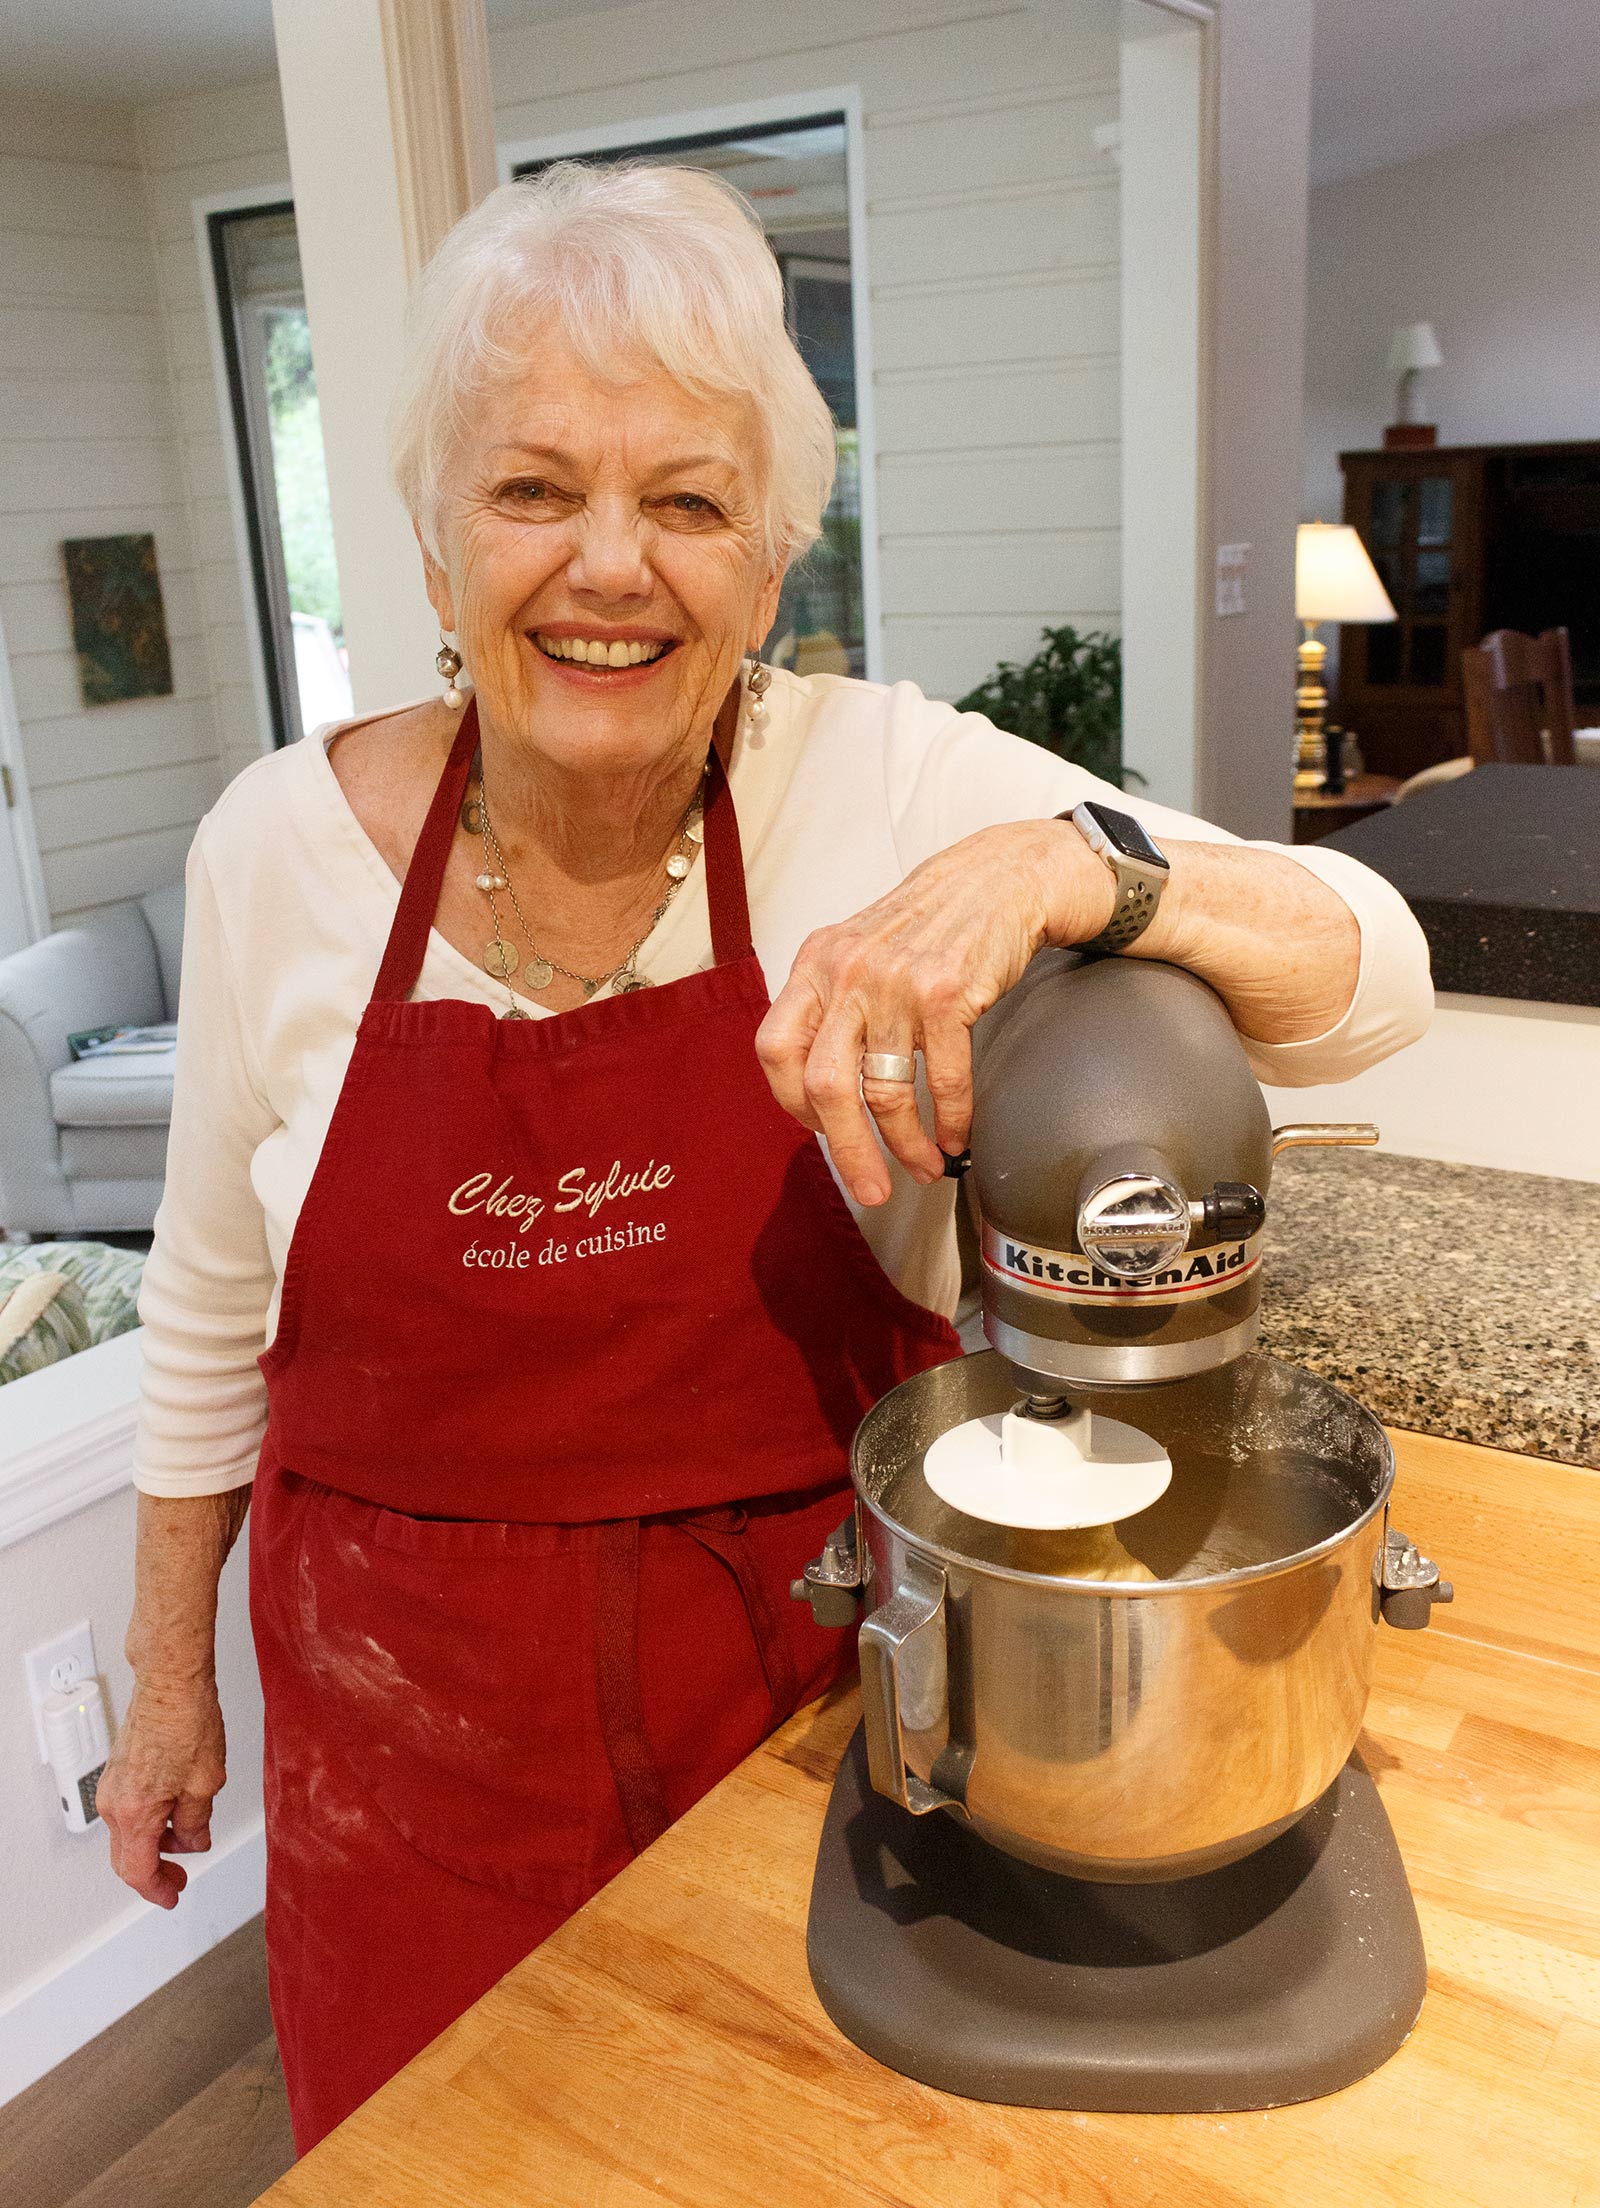
Kitchen shops and big-box stores feature a virtual cornucopia of laborsaving, timesaving appliances for the home cook. Perhaps the most popular appliance is the countertop stand mixer, a veritable workhorse that whips, kneads and beats doughs of every description. In addition, many manufacturers of these mixers offer attachments ranging from pasta makers to sausage stuffers, vegetable spiralizers and even ice cream makers. While many brands of countertop stand mixers are available in the marketplace, the one featured here is the iconic KitchenAid one.
 Prior to the 1920s, most home-cooking preparation was done by hand. Housewives, cooks and kitchen helpers would have whipped, creamed and kneaded batters and dough manually. Food preparation was both labor intensive and time consuming.
As the electrification of urban areas became more prevalent, bakeries and restaurants began to convert their kitchens to electric mixers, and the Hobart mixer was born. Initially the Hobart company produced electric motors, but in the early 20th century, the company developed a heavy-duty electric mixer for the food industry.
Hobart engineers Herbert Johnson and William Groh are credited with designing and developing the first stand mixer for domestic use. The smaller model was similar to the commercial version in that it used the same planetary mixing action. Attachments fit on an axis that rotates around the bowl while the attachment is turning, ensuring complete mixing of the ingredients in the bowl.
Hobart’s early stand mixers were known by various names, but in 1936 became known as KitchenAid mixers. KitchenAid was sold to Whirlpool in 1985, and as the largest USA manufacturer of kitchen appliances, KitchenAid has become a household name. The early design of these mixers has withstood the test of time, and KitchenAid countertop stand mixers still mimic the look of their-heavy duty industrial cousins.
Today, KitchenAid mixers are available in a wide variety of colors, some with matte finishes and others shiny. Consumers may choose from a 5-quart or 6-quart bowl model, either with a tilt head or a stationary head. Additionally, myriad attachment packages are available, such as pasta makers, sausage stuffers, food grinders, citrus juicers, etc. This reliable, heavy-duty kitchen stand mixer commands a hefty price tag, but it performs beautifully for decades.
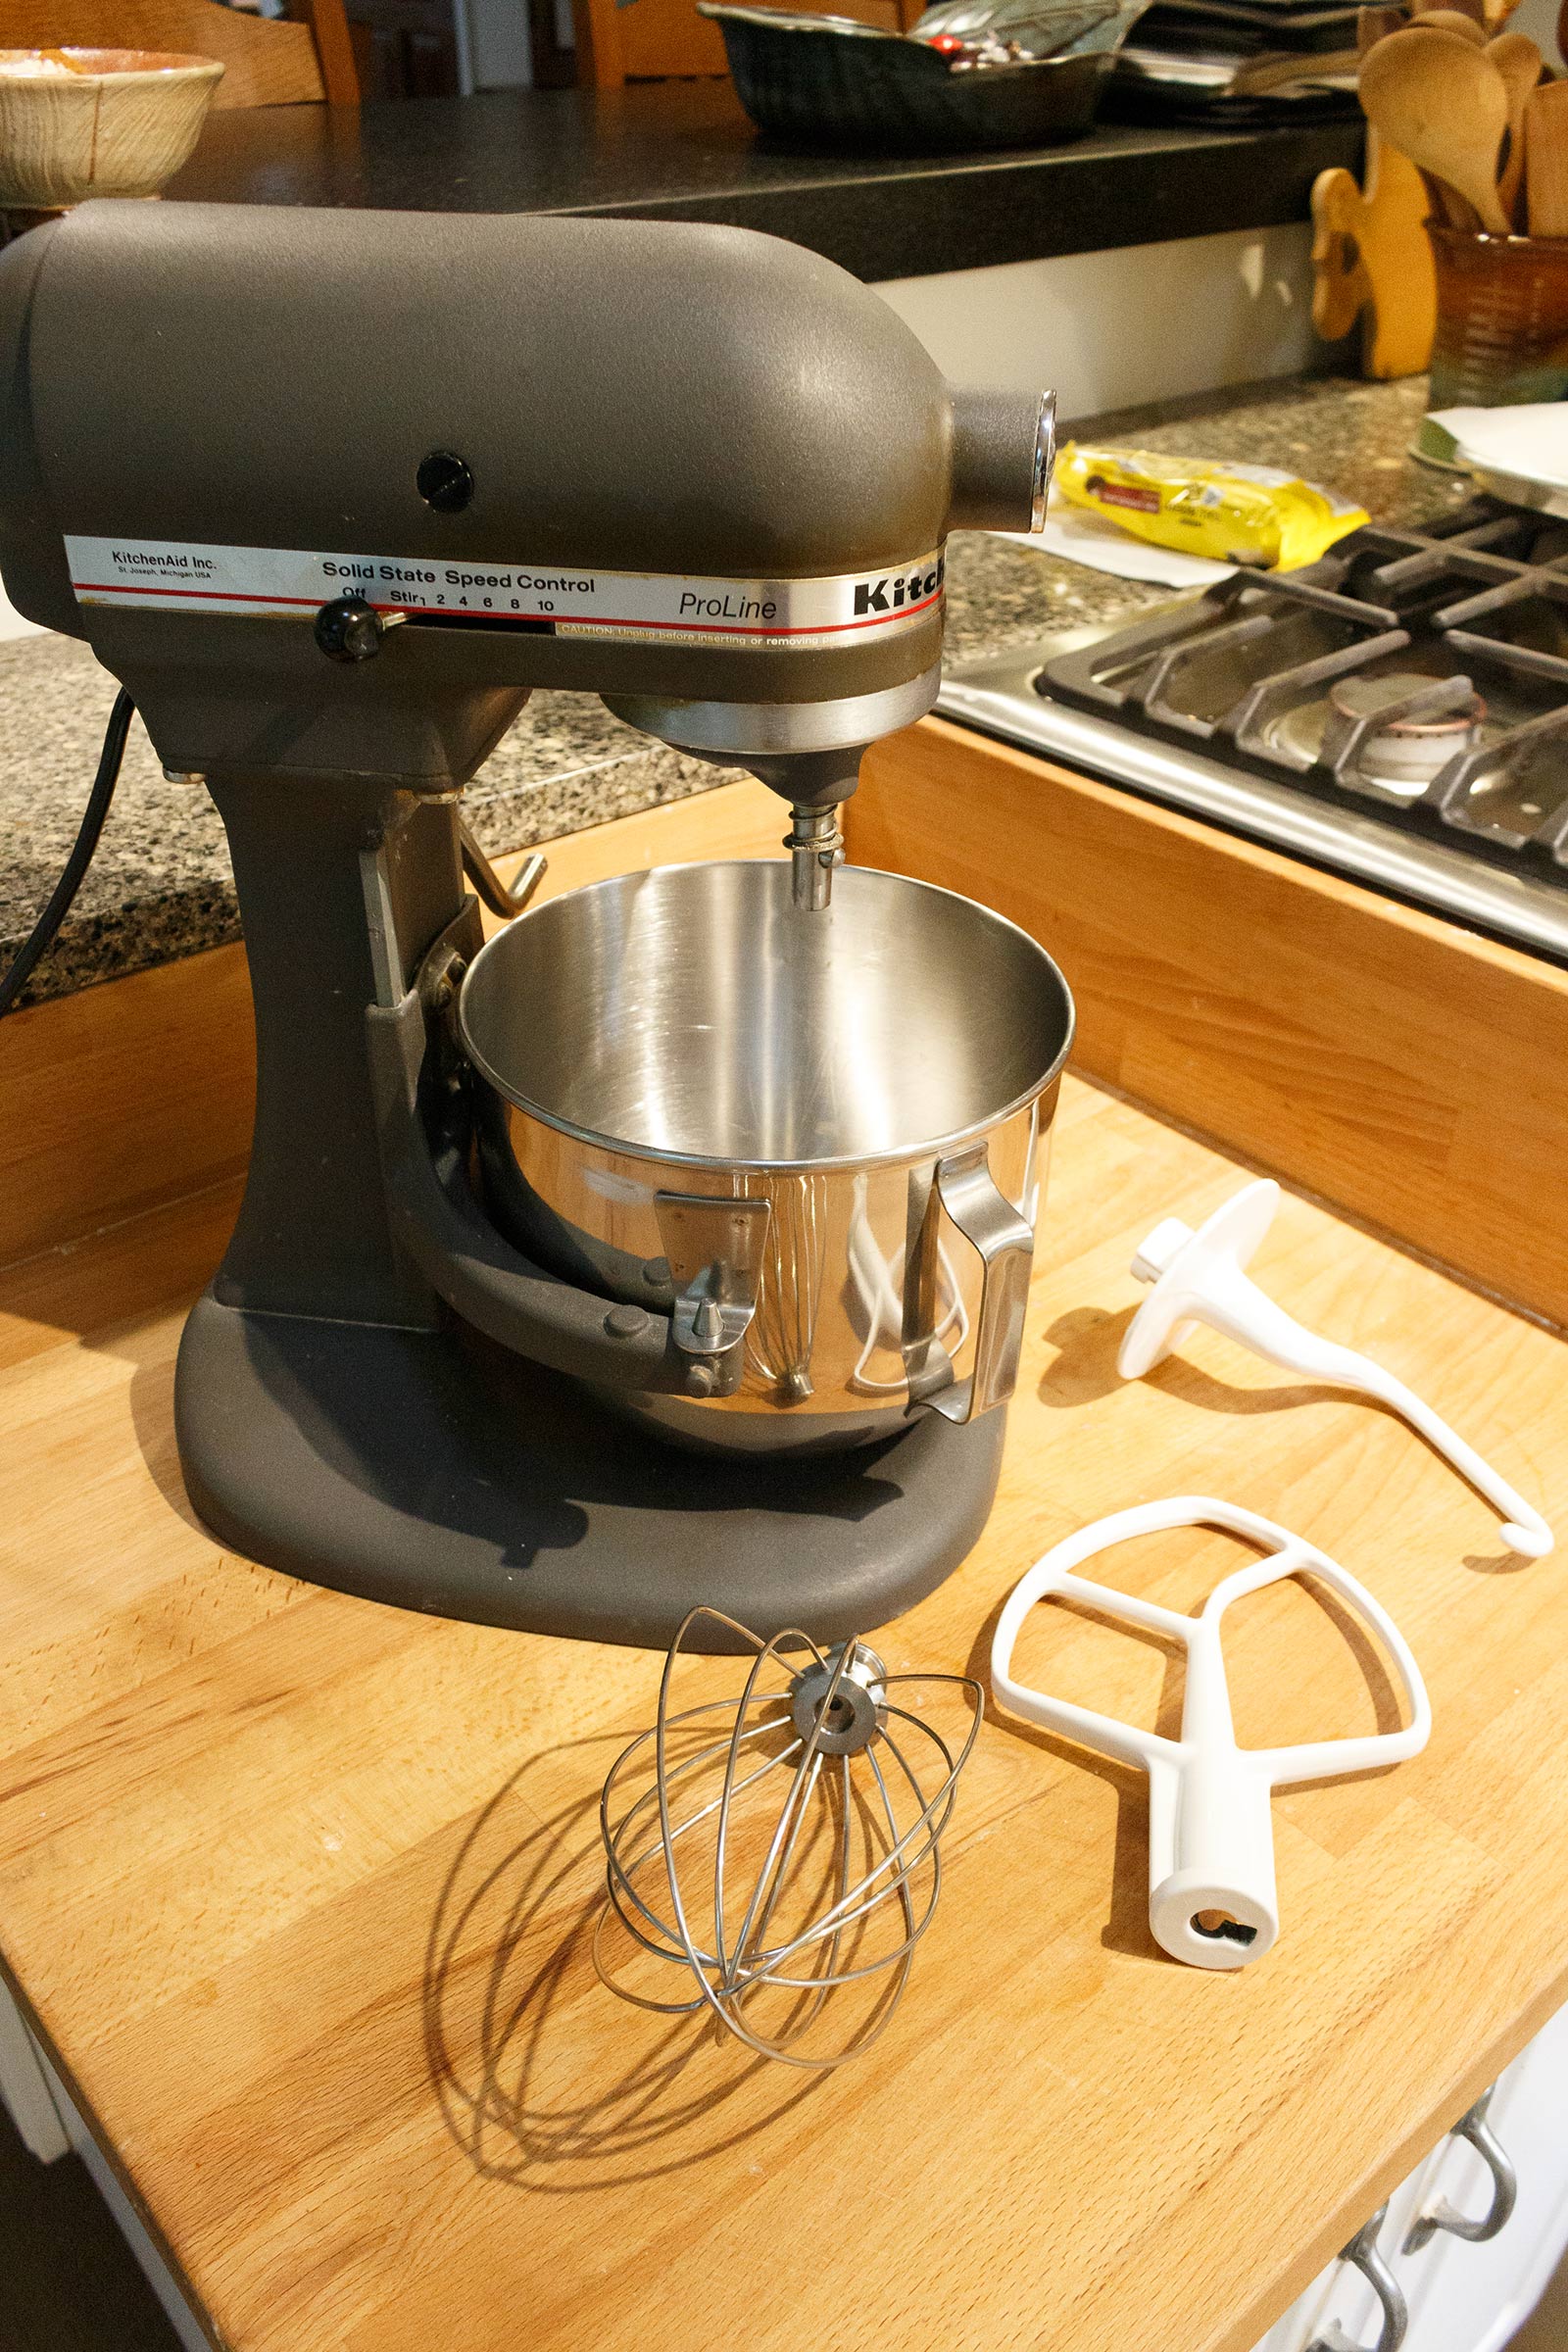
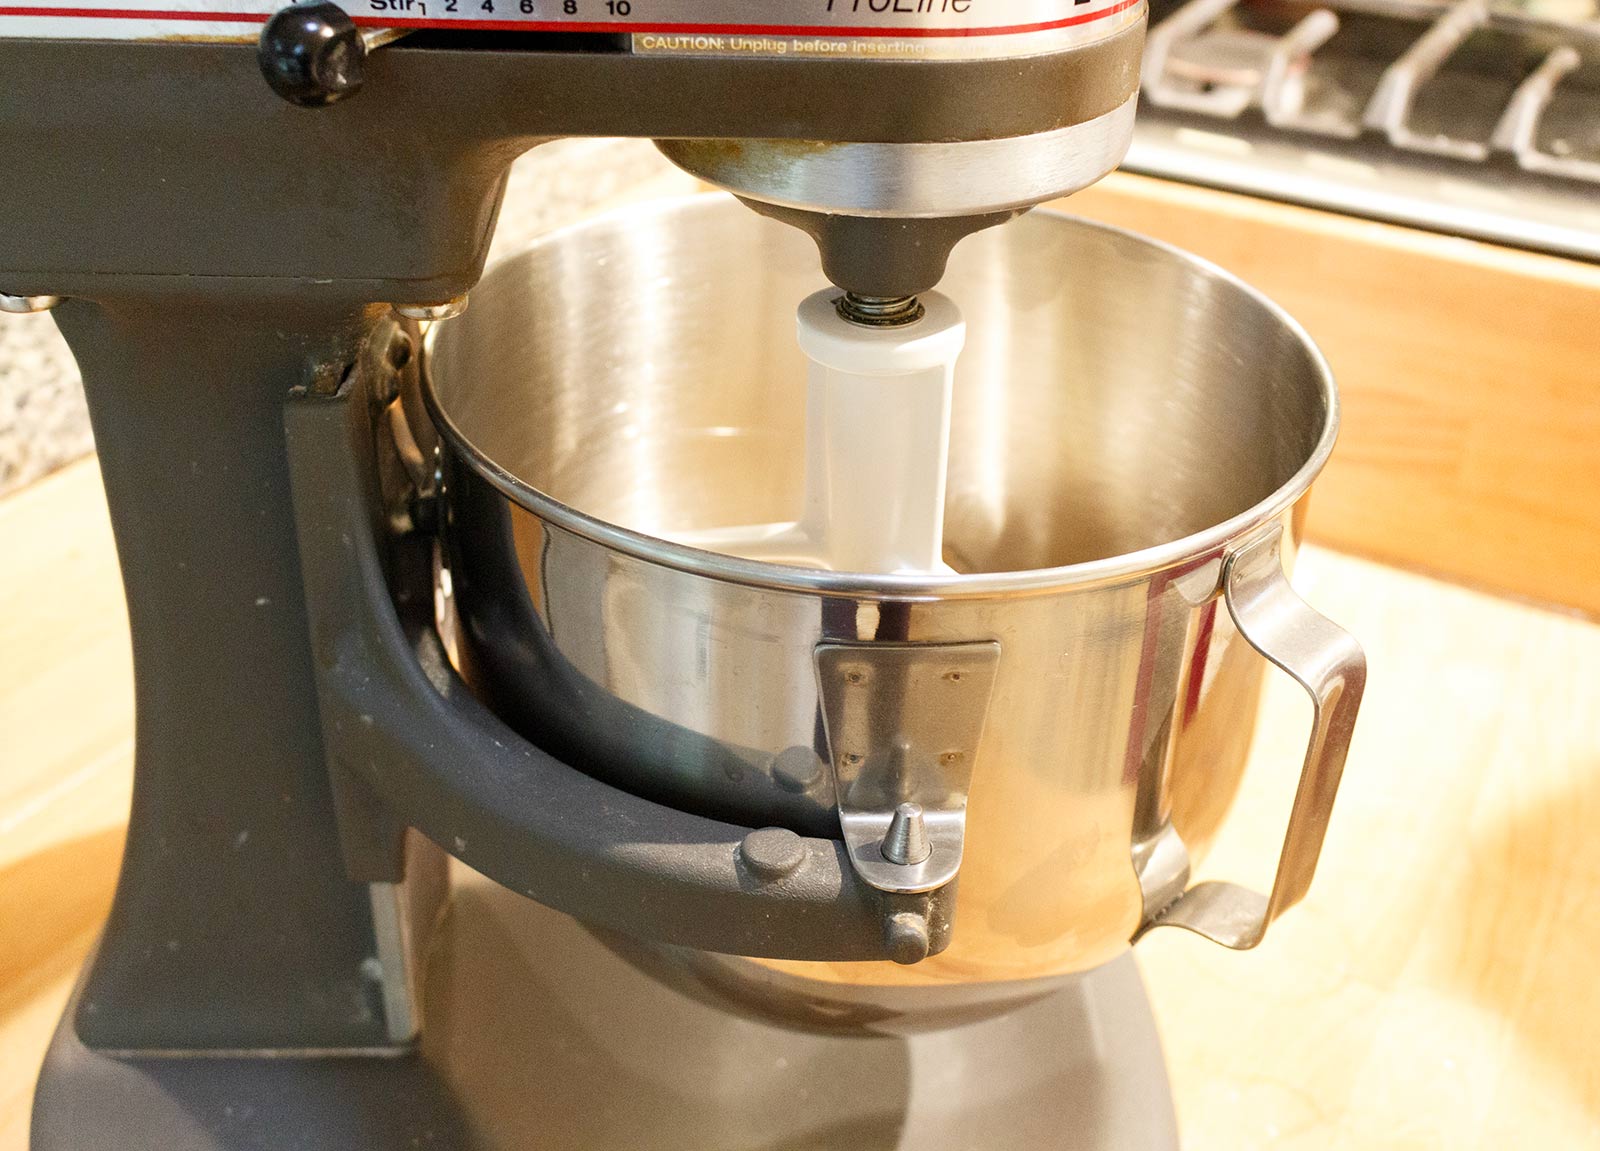
The KitchenAid appliance comes with a standard set of three different mixing attachments: paddle, whip and hook. Each of these attachments is intended for specific uses, and when used according to directions, makes short work of any task. My mixer has a fixed head and I find that installing the mixing attachment with the bowl in place is the easiest. I simply lift the attachment onto the shaft, turn it so the little protuberance on the shaft fits into the notch on the attachment, and turn the attachment to lock it into place.
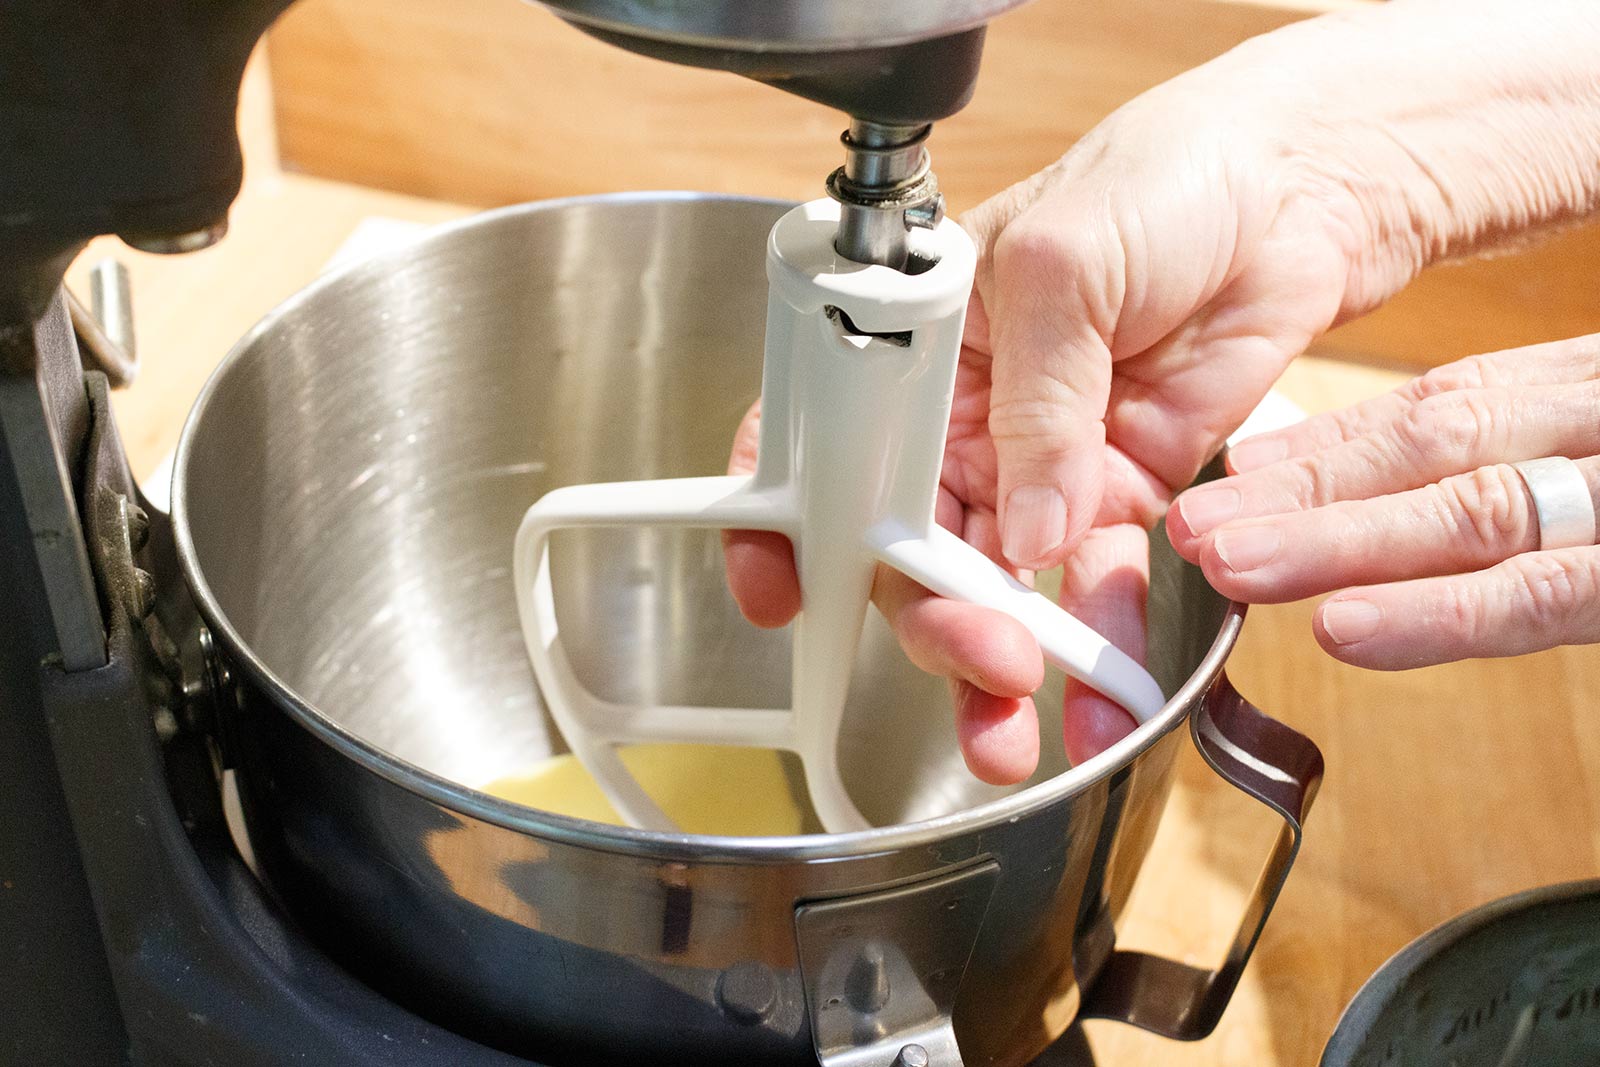
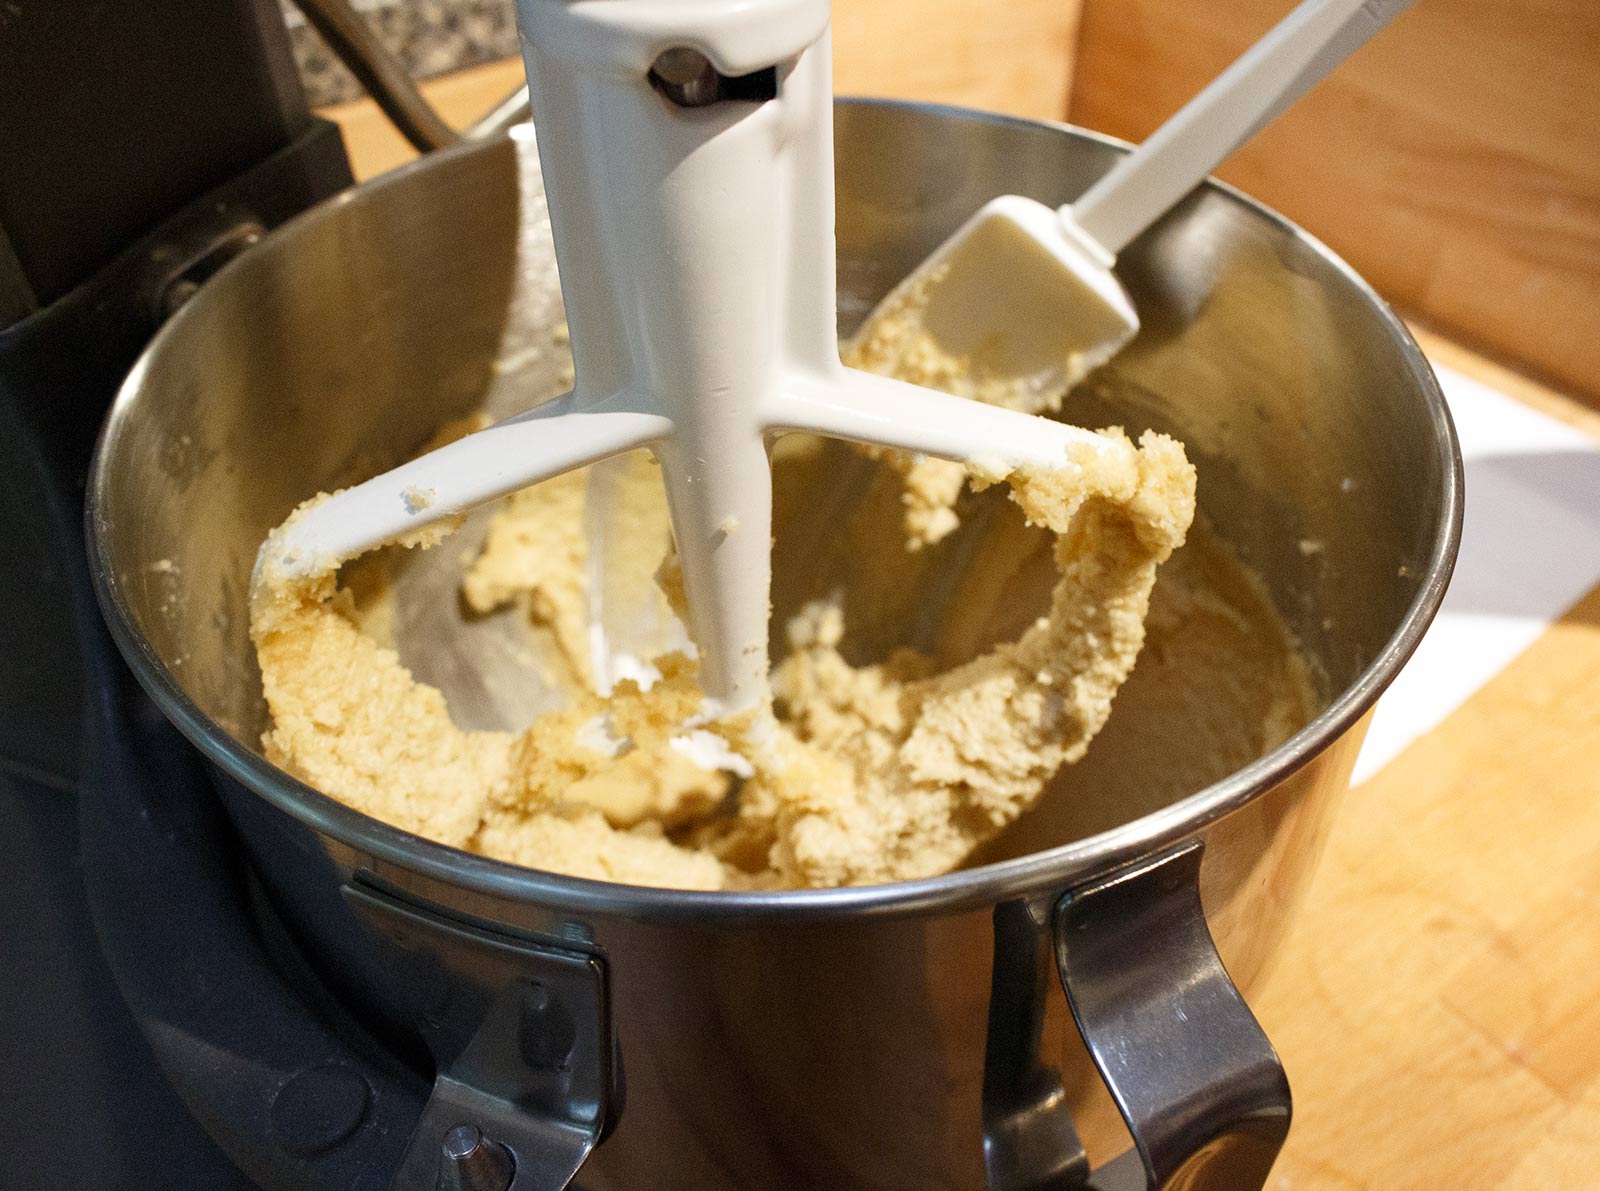
The paddle, or flat beater, is the most commonly used attachment. It’s used to cream butter and sugar, blend batters efficiently or beat ingredients together. Making cookies and cakes is a breeze with this attachment.
When your recipe calls for “creaming the butter and sugar,” it’s imperative not to rush this process. Make sure your butter (or other fat) is at room temperature before placing it in the mixing bowl. Add sugar, start the mixer on low speed to blend the butter and sugar together, then turn it up to medium speed to start the creaming process.
As the sugar starts to dissolve in the butter, turn the speed up to medium-high and continue beating until the mixture is light and fluffy. Do not rush this stage of recipe preparation, as beating the fat begins to aerate it, forming tiny air bubbles, and also the sugar starts to dissolve. This builds the foundation of a tender, light cookie or cake batter.
If, on the other hand, you are making biscuits, muffins or other quick breads for which the recipe simply says “blend butter or fat with dry ingredients,” learning not to overmix is extremely important. It’s best to add the dry ingredients to the bowl first, then cut the fat into half-inch chunks and mix on medium-low speed until the fat is the size of peas. Then, add the wet ingredients such as eggs or milk and mix on low speed just until all ingredients are blended together.
The whip attachment is used for whipping cream or egg whites. The multiple-wire construction of the whip makes the task of whipping cream for tasty dessert toppings or other recipes a fast and efficient process.
Whipping whole eggs for recipes such as zabaglione or certain cakes — or just the whites for meringue or royal icing — can be a tiring, lengthy task when done by hand. The whip attachment makes the task easy and foolproof. When whipping egg whites, be sure the bowl and the whip are scrupulously clean, as even a tiny bit of fat can interfere with the success of your meringue.
Begin by adding the egg whites to the mixer bowl, affix the whip and fasten into place. Start the motor on slow speed until the whites begin to foam and then increase the speed to medium-high to begin the whipping process. When the egg whites have reached the soft peak stage, add sugar, a couple of tablespoons at a time, while the mixer is running.
Stop the motor occasionally and scrape down the sides of the bowl, which ensures the sugar will be mixed in evenly. Continue whipping to the stage your recipe calls for, add flavorings last and give the mixture a short stir. Some recipes using a meringue call for a small amount of lemon juice or cream of tartar. Added at the beginning with the raw egg whites, the acid helps the egg whites retain the air bubbles you have whipped into them.
When whipping cream for dessert toppings or when folding into recipes such as mousse or some custards and puddings, make sure the cream is fresh from the refrigerator. Even room-temperature cream will sometimes resist whipping and begin to form curds and turn into butter rapidly. There is no turning back from this accident — better to just use your homemade butter in another recipe and start over with fresh, cold cream.
As with egg whites, begin beating the whipping cream on medium-low speed, and as it just barely starts to thicken, begin adding sugar. It’s best to add sugar a couple of tablespoons at a time to help it begin to dissolve and incorporate without disturbing the air bubbles, which make the cream thick. Stir in vanilla or other flavorings just as the cream approaches your desired consistency. Do not overwhip — or you will have sweetened butter.
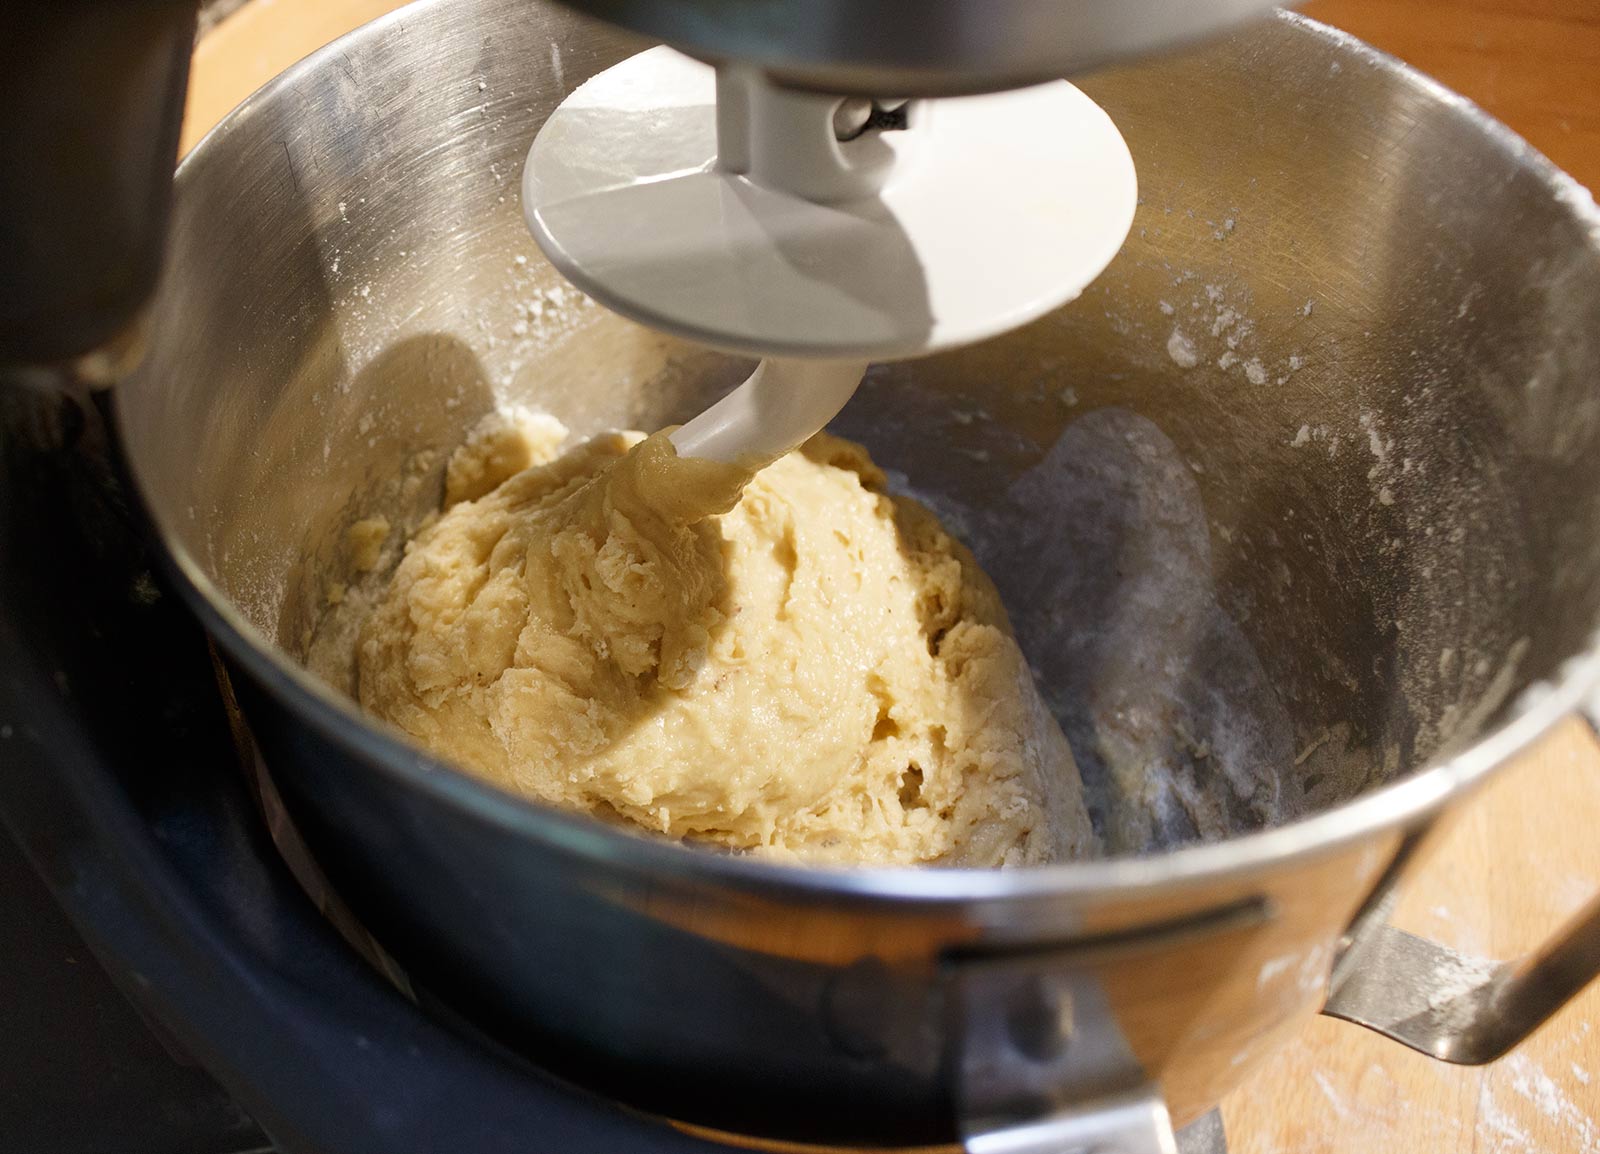
Unless you bake bread frequently, the dough hook will be your least-used attachment, but possibly the best one for saving time and labor. For most bread baking, the yeast is dissolved in a small amount of warm liquid until foamy, then added to the flour, which you will have placed in the mixer bowl along with the salt.
Affix the dough hook, give the flour salt (and any spices or herbs your recipe calls for) a few spins with the dough hook to mix them together. Add the dissolved yeast and other liquids and start the motor on medium-slow to begin mixing the dough. It will take a few minutes for the dough to take up all of the dry ingredients, but when the dough comes together, increase the motor speed to medium. Allow the hook to knead until the dough is smooth and elastic, which can take as long as 10 minutes or so. Remove the dough from the hook and place it in a clean bowl to rise according to recipe directions.
While purist cooks and bakers may argue the best way to cook from scratch is by blending, mixing, creaming and kneading by hand, I have a different perspective. For me, cooking is all about the pleasure and satisfaction I find in making high-quality meals and baked goods to share with friends and family.
I find my small kitchen appliances to be a big help in saving me time and energy. The quality of my creamed mixtures, my whipped toppings and my beautiful breads benefit from the use of a machine to attain the necessary consistency of each. As I age and it becomes harder to cream butter and sugar to the perfectly whipped stage or to stand at a kneading board for 10-15 minutes to make a loaf of bread, a sturdy stand mixer serves as my best kitchen assistant.
If you’re in the market for a stand mixer for yourself, look carefully at all the brands available and read the reviews. You really do get what you pay for, and if you opt for a top-of-the line, well-manufactured machine, you will enjoy it for many years to come.


Comments