


 Sourdough is probably the oldest leavened bread known to mankind, and most likely it was discovered by accident. When grain flour is mixed with water and allowed to sit for an extended period of time, the result is a natural fermentation that produces yeasts found in the microbes of the flour and floating in the air. The digestion of the yeasts by the sugars in the grain produces gasses, which form bubbles and lift the grain during baking. Hence a leavened bread as a result.
Commercially available baker’s yeast as we know it today was not produced until the late 1800s, so all bread baked up to that time used a fermented base to build yeasts in the dough. During the American Gold Rush, the men responsible for cooking in the mining camps carried their starter in little bags around their necks or in their pockets to protect it from extremes or loss of temperature. Fun fact: The mascot of the San Francisco ’49ers is “Sourdough Sam.”
Many nutritionists feel a true sourdough bread is a healthier choice for those with intestinal disorders. During the fermentation process, the proteins in the grain are predigested, easing the digestion process in the gut.
Research shows that not all sourdough is really sourdough. Reading labels in the grocery store reveals, in many instances, that so-called sourdough is just really traditionally produced white bread with added acetic-tasting flavor enhancers. The reason is because an authentic sourdough takes several hours to produce. You must start with a mature starter; mix it with part of the flour and water; let it sit to form a “preferment” or leaven and then proceed with the actual mixing, resting, rising, shaping and baking of the loaf.
 Although authentic, historical sourdough does not contain commercial yeast, many bakers appreciate the extra lift that a little added yeast gives to the end product. It’s possible to get a well-risen, softer loaf with a chewy crust without additional yeast, but those new to this method of baking may appreciate the extra help from a small addition of yeast.
This recipe uses some yeast and a combination of white and whole-wheat flour. It’s not as sour as San Francisco sourdough, but has a pleasing, tangy flavor. It keeps well and is suitable for spreading with butter and jam, making a tasty sandwich or sopping up juices from steamed shellfish.
During the COVID-19 pandemic, when so many families were staying at home instead of eating out and when home baking and cooking enjoyed a resurgence, a renewed interest in the age-old baking technique of sourdough bread was born. The sourdough process lends itself well to a more relaxed cooking style and produces a hearty, flavorful, artisan-style loaf nearly anyone can accomplish with a little practice and patience.
Much has been written on the subject of producing the perfect loaf and there are many, many websites, YouTube videos and print cookbooks dealing with the subject. There are also a great number of formulas for sourdough starters and methods for making a loaf, including speeding it up to make it faster or slowing it down by refrigerating it to bake at one’s convenience.
The recipe for the basic loaf presented here is pretty much in the middle of the road timewise, with hints on speeding it up or slowing it down as the baker prefers. There is no reason to throw away the discarded starter after feeding, and one way to use the discard is by making homemade crackers. These little crunchy squares with cheese or dips are guaranteed to become a favorite snack.
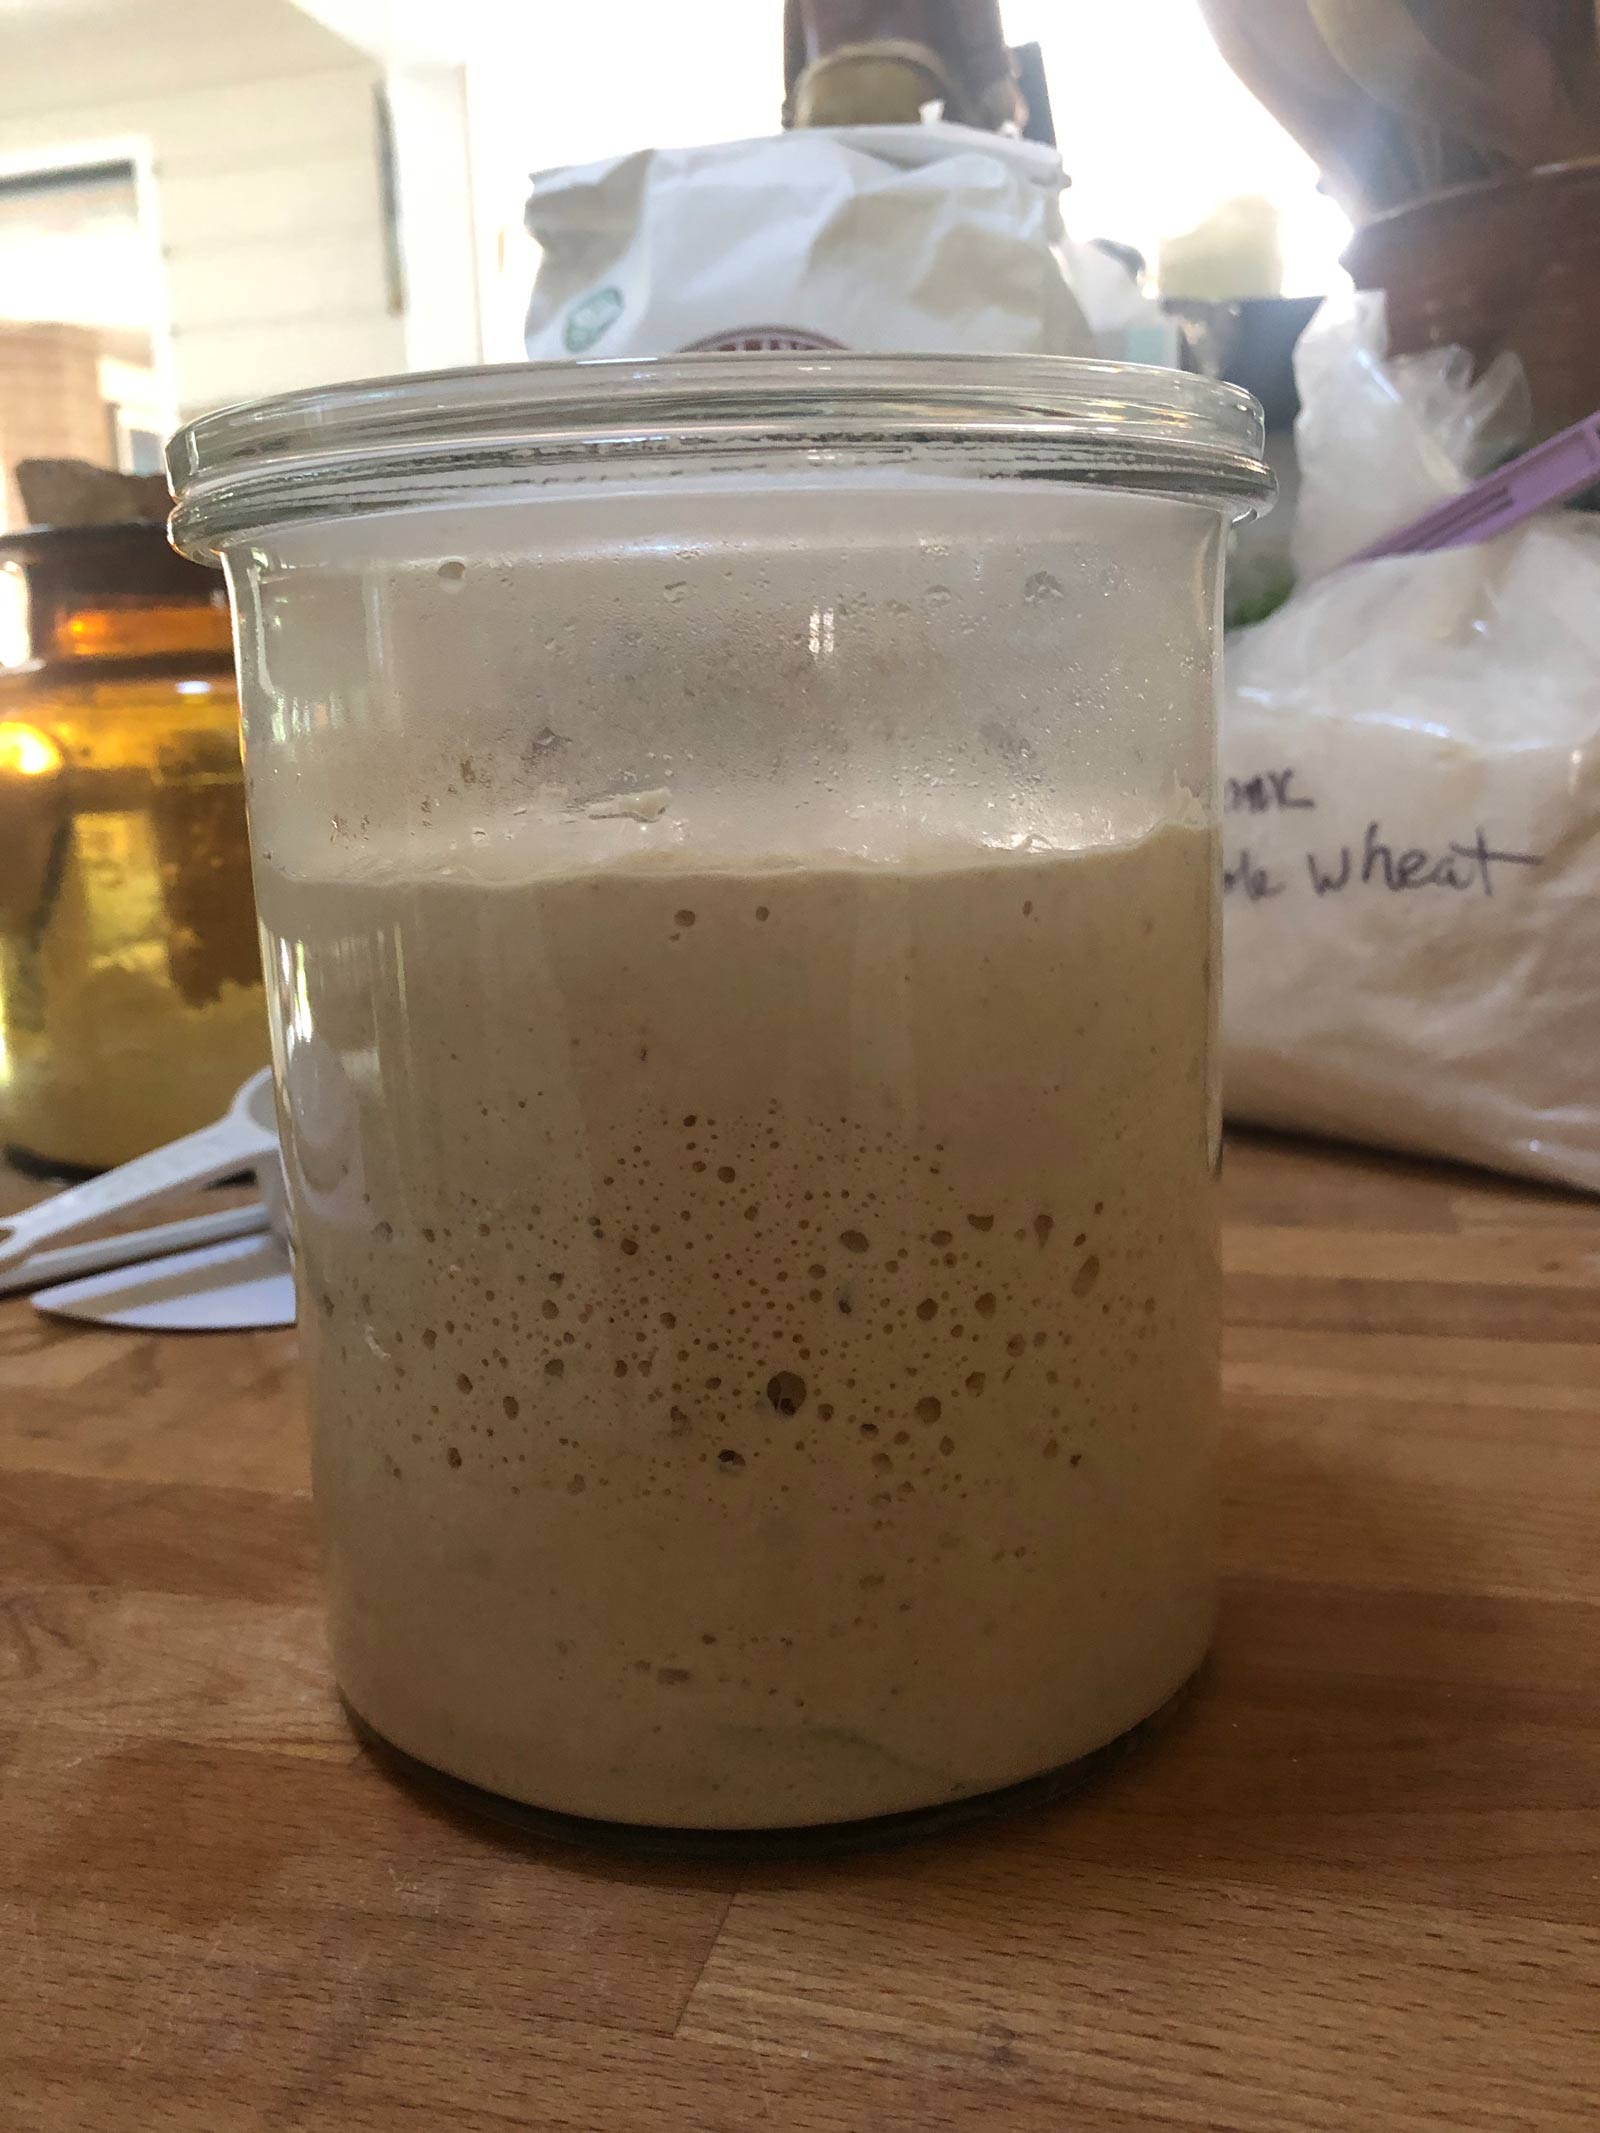
Baking sourdough bread always begins with a starter. Making a starter at home takes about five days, but once it is ready, you can use it daily or refrigerate for a few days at a time to extend out the baking schedule. A highly reputed commercial starter is available from Bob’s Red Mill, but asking friends and acquaintances will probably also result in finding a starter — and possibly a baking mentor.
A digital scale is highly recommended for bread baking to ensure accuracy in measurements.
 Sourdough Starter
Ingredients:
- 160 g lukewarm water
- 150 g all-purpose flour
- 60 grams whole-wheat flour
Instructions:
Day 1: Mix all ingredients together in a small bowl. It should be the consistency of a soft, sticky dough. If it’s too stiff, add a couple of teaspoons of warm water. Cover with a clean towel and let sit in a warm (70-80 F) spot overnight.
Day 2: Starter should have thinned out and risen a little, with tiny bubbles on the surface. If it has not, it is too cold — move it to a warmer spot. Feed: Add 160 g warm water (75 F), 150 g all-purpose flour and 60 g whole-wheat flour, gently folding all ingredients together with a rubber spatula and scraping down sides of the bowl.
Days 3 and 4: Starter should be thinner and bubbly and have a yeasty smell. Remove 370 g of starter to another container and add 160 g warm water, 150 g all-purpose flour and 60 grams whole-wheat flour. Fold together gently and scrape down sides of the bowl.
Day 5: Stater should be ready to use. If baking will be delayed, discard 370 grams of starter and feed as above.
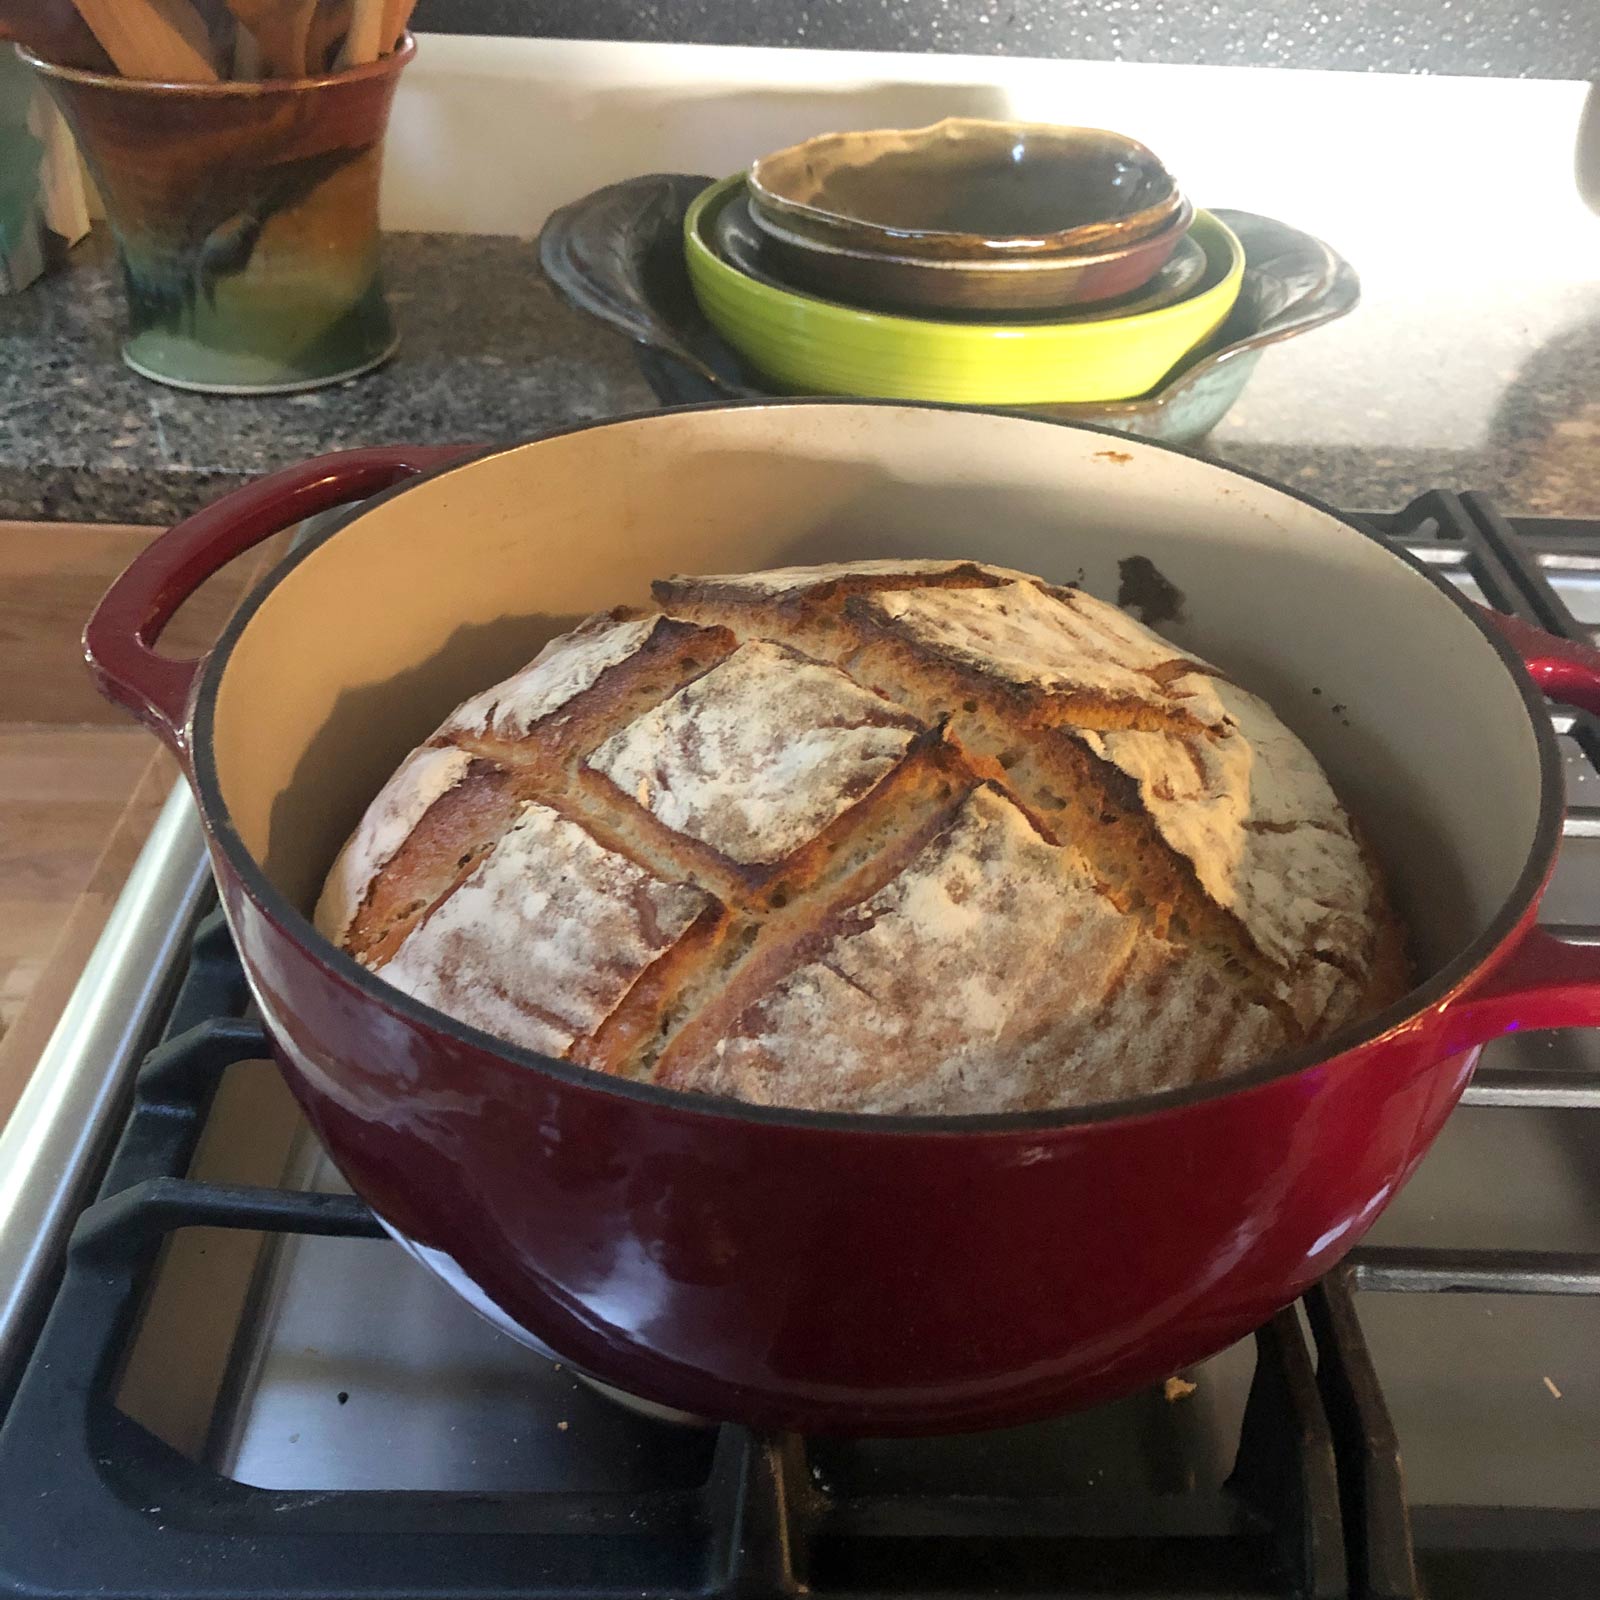
 Crusty Artisan Sourdough Boule
Ingredients:
(For accuracy, weigh on a gram scale)
- 4 g active dry yeast (1 1/2 tsp)
- 2 1/2 cups warm water
- 20 g kosher salt (4 tsp)
- 410 g active, bubbling starter
- 550 g unbleached all-purpose or bread flour (4 1/3 c)
- 450 g whole-wheat flour (3 1/2 c)
Instructions:
Whisk yeast and 1 tablespoon water together in a small bowl. Let sit about 2-3 minutes.
In another small bowl, dissolve salt in 2 tablespoons water and set aside.
Carefully place active starter in a large bowl, trying not to deflate the bubbles in it. Pour the yeast into one side of the starter and cover with a little flour. Pour the salt into the other side of the bowl, making sure it doesn’t touch the yeast.
Add both flours, and carefully add the remaining 2 cups and 5 tablespoons water around the edge of the flour.
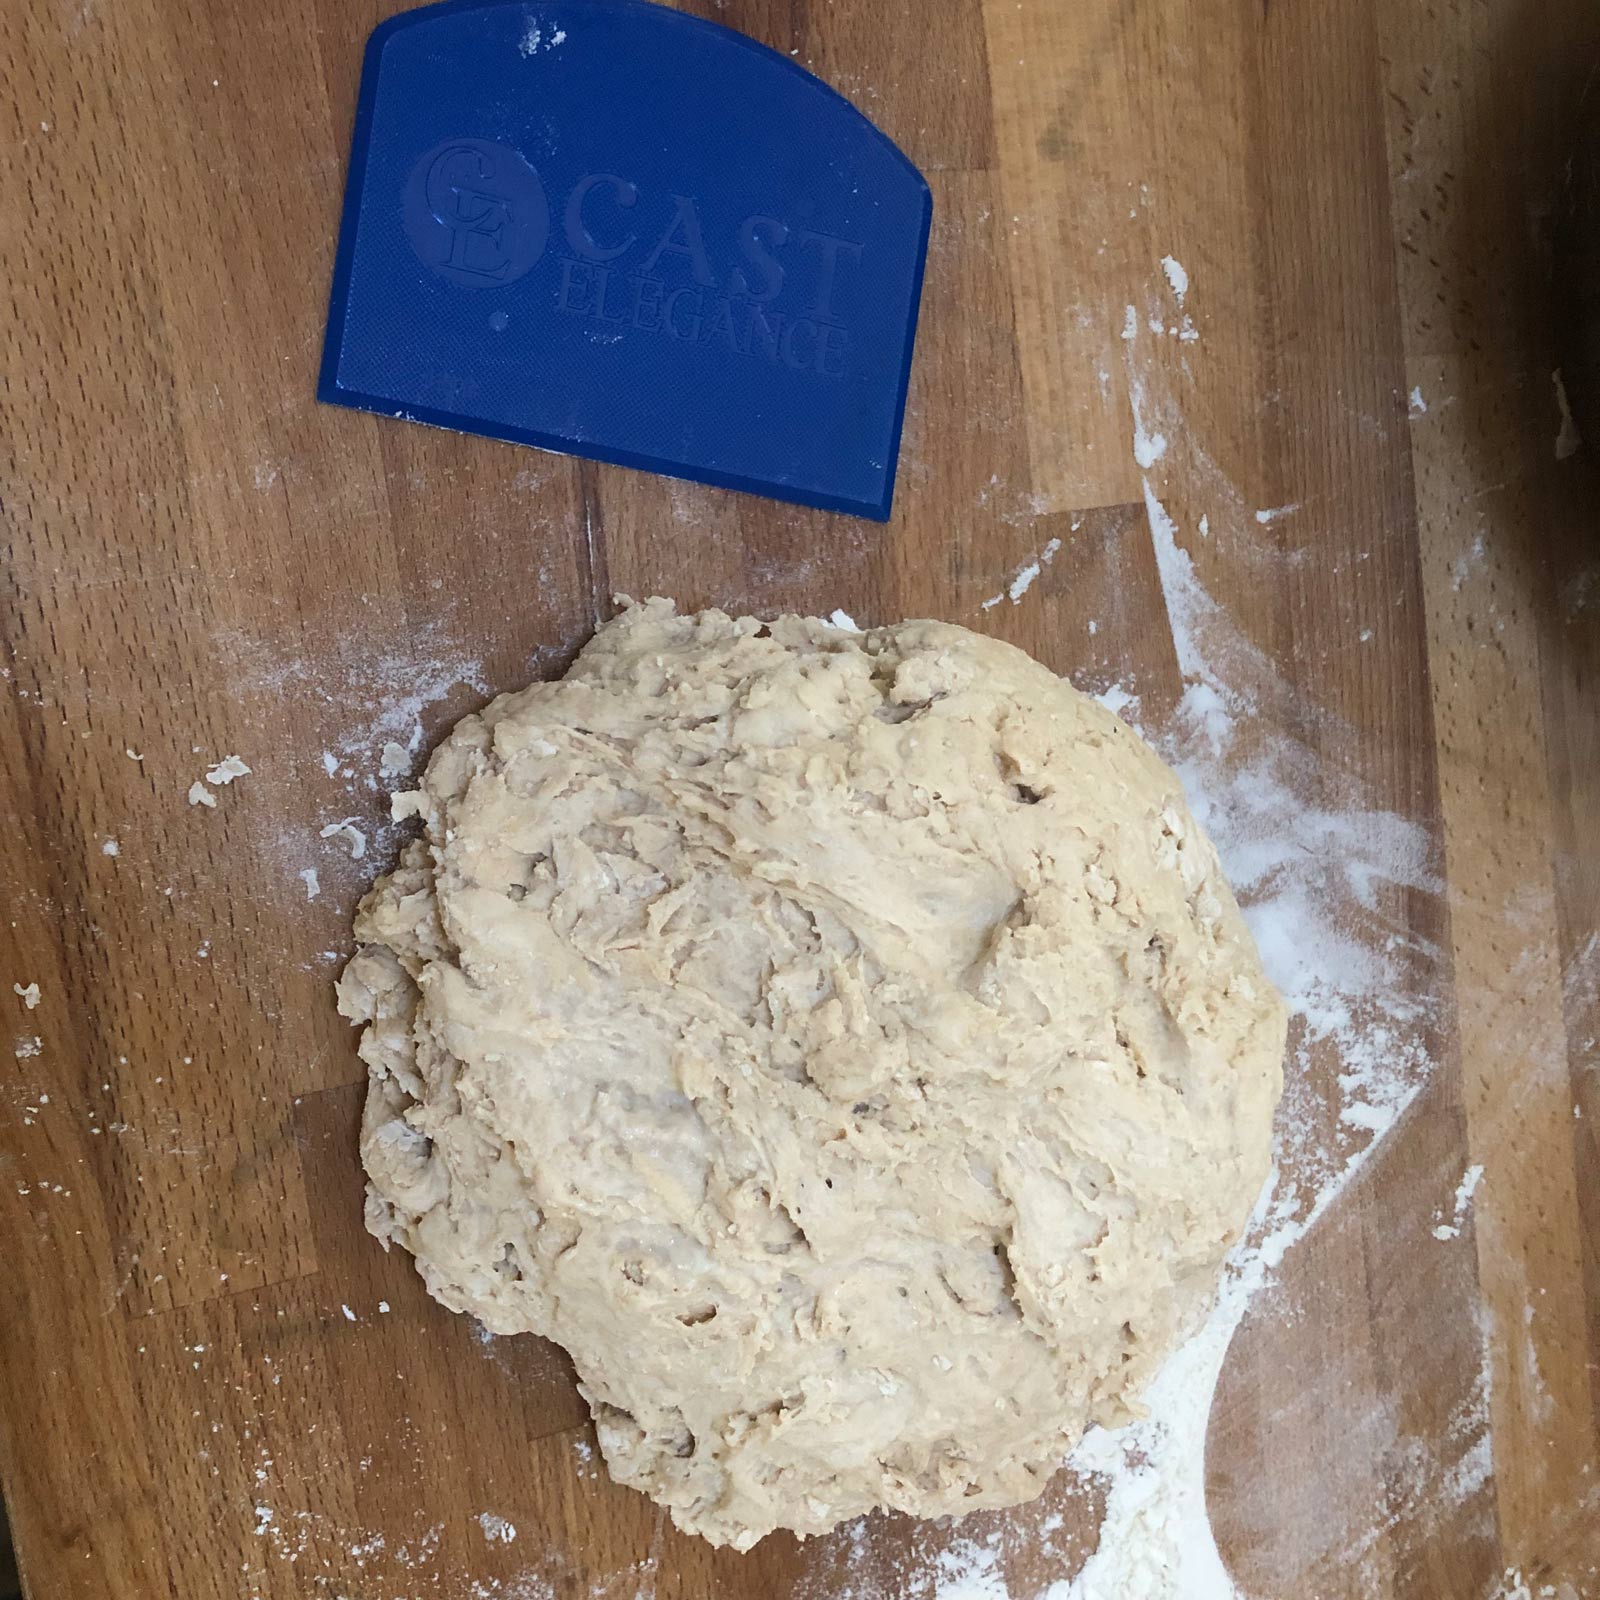
Lightly flour your hands, and with one hand formed into a spoon shape, begin to mix the flours into the starter, incorporating the yeast and salt. Continue to mix, turning the bowl until the dough comes together and is a rough, stringy mass.
Lightly flour the work surface and using your doughy hand, scrape all the dough onto it. Clean the dough from your hands and wash and dry them.
Lightly flour your clean hands, and using a bench scraper, pick up one side of the dough and fold it over itself. Using your hands, continue this motion of picking up one side of the dough, folding it over, turing it about 1/4 turn and repeat, pushing it down in the middle with the heel of your hand with each turn for about 5 minutes until it begins to become more elastic.
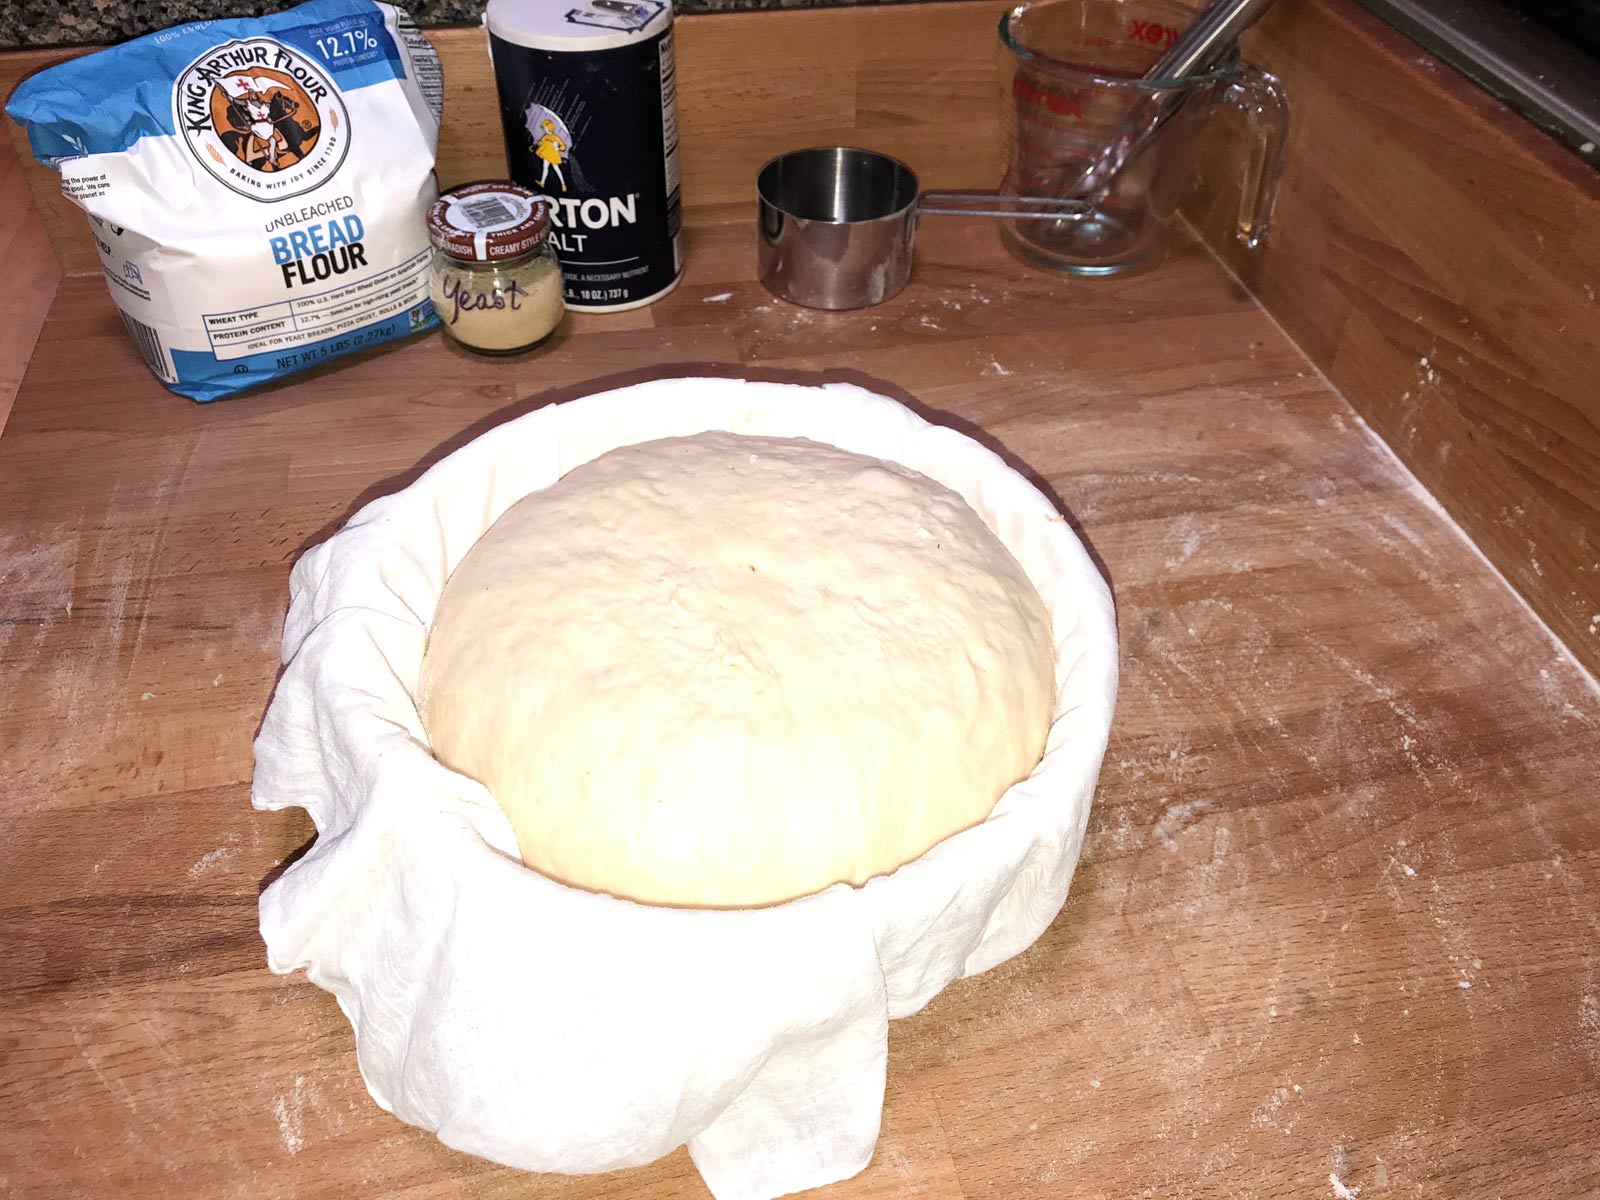
When a smooth ball forms, oil a clean bowl, turn dough into it, cover with a damp towel and set in a warm place until doubled in volume, about 45 minutes. Note: If it’s necessary to delay the baking to a later time, tightly cover with plastic wrap instead of the towel and refrigerate up to two days. When ready to bake, remove from the refrigerator, bring to room temperature and continue.
While dough is rising, prepare a bowl or basket (banneton) with a floured linen cloth. This will be used in the final rise of the loaf.
 Lightly flour the work surface, turn dough out onto the flour and gently stretch the dough up then let it drop onto itself, tucking it under to form a seam. Turn 1/4 way around and repeat until it has been stretched four times.
With the seam side down, working from left to right, diagonally across the work surface, scoop the dough under itself and turn. Scoop and turn, repeating until the dough becomes a taught ball with a barely visible seam underneath.
Place the ball of dough seam side up in the floured basket, cover with a towel and let rise until it is not quite doubled in volume.
Place a Dutch oven in the oven and heat to 475 F.
Very carefully open the oven, remove the Dutch oven lid, leaving it on the oven shelf, remove the Dutch oven pot and quickly shut the oven door.
Quickly flip the ball of dough into the Dutch oven topside down and with a razor blade or very sharp knife, make a 1/4-inch-deep slash across the top of the dough. This allows for controlled rise when the dough meets the heat.
Place the pot in the oven, cover with the lid and bake 30 minutes. Remove the lid and bake another 15 minutes until deep golden brown. An instant read thermometer should register 200-205 F.
Remove pot from oven, carefully remove bread (a spatula and pot holder work for this) and cool on a wire rack for at least one hour before slicing.
Store cooled loaf loosely wrapped in a towel in an open plastic bag. It will be at its best for about three days, and after that should be used for croutons, bread pudding, stuffing, etc.
 Sourdough Discard Rosemary Crackers

Ingredients:
- 1 cup sourdough starter discard
- 3 tablespoons melted butter
- 2 tablespoons chopped fresh rosemary or 1 tablespoon other dried herbs to taste
- 1/4 teaspoon kosher salt
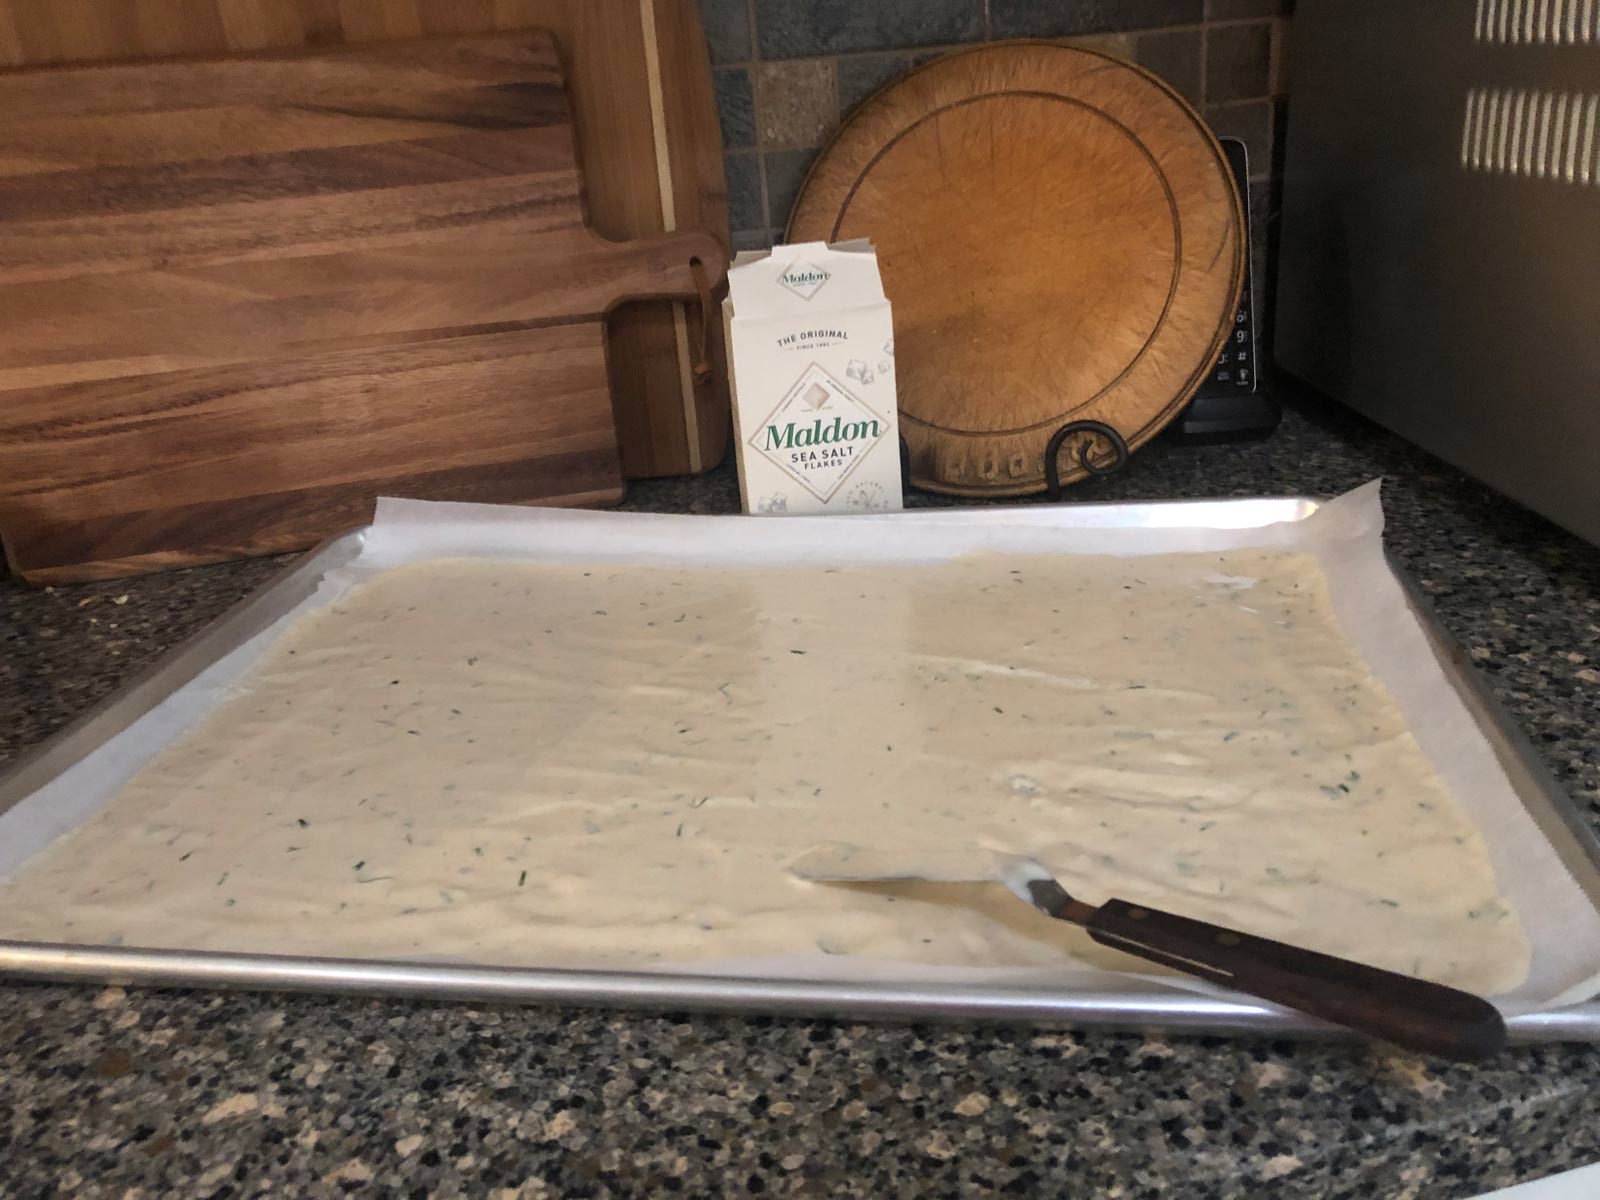
- Flaked sea salt such as Maldon for sprinkling
Instructions:
Preheat oven to 325 F.
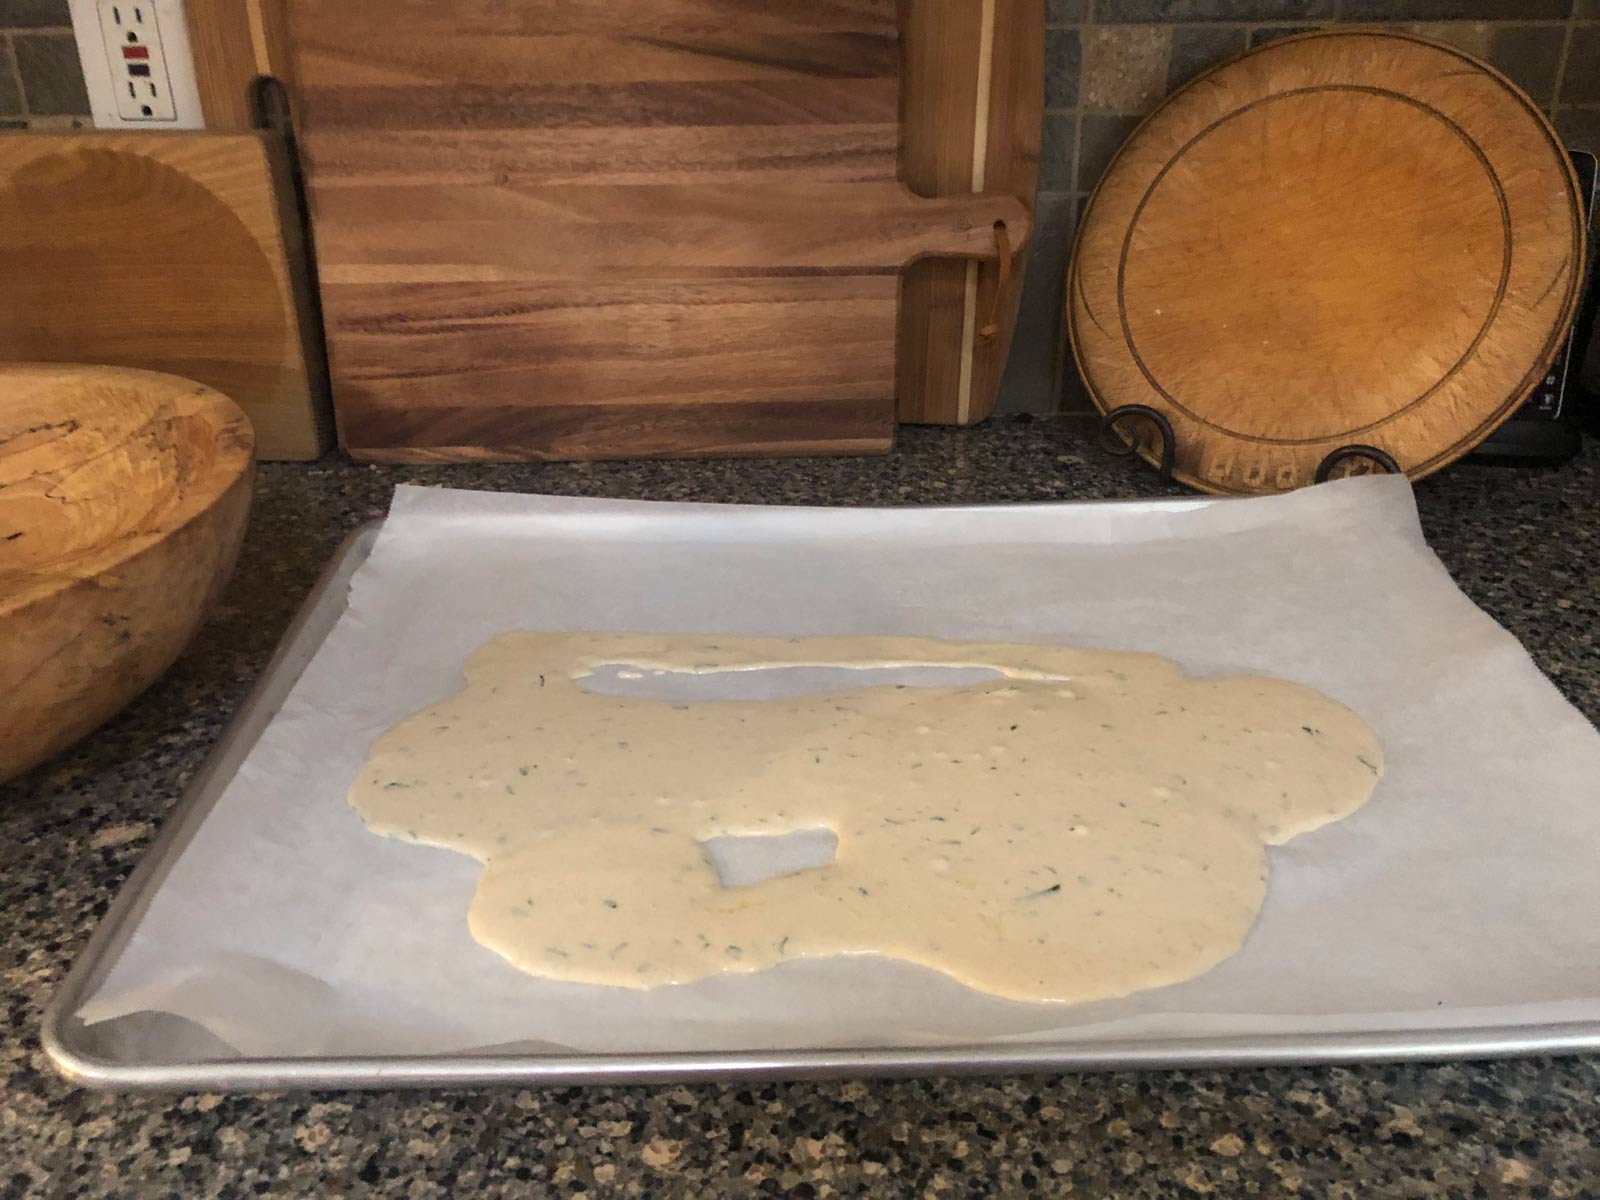
Melt butter and combine with all ingredients except flaked salt.
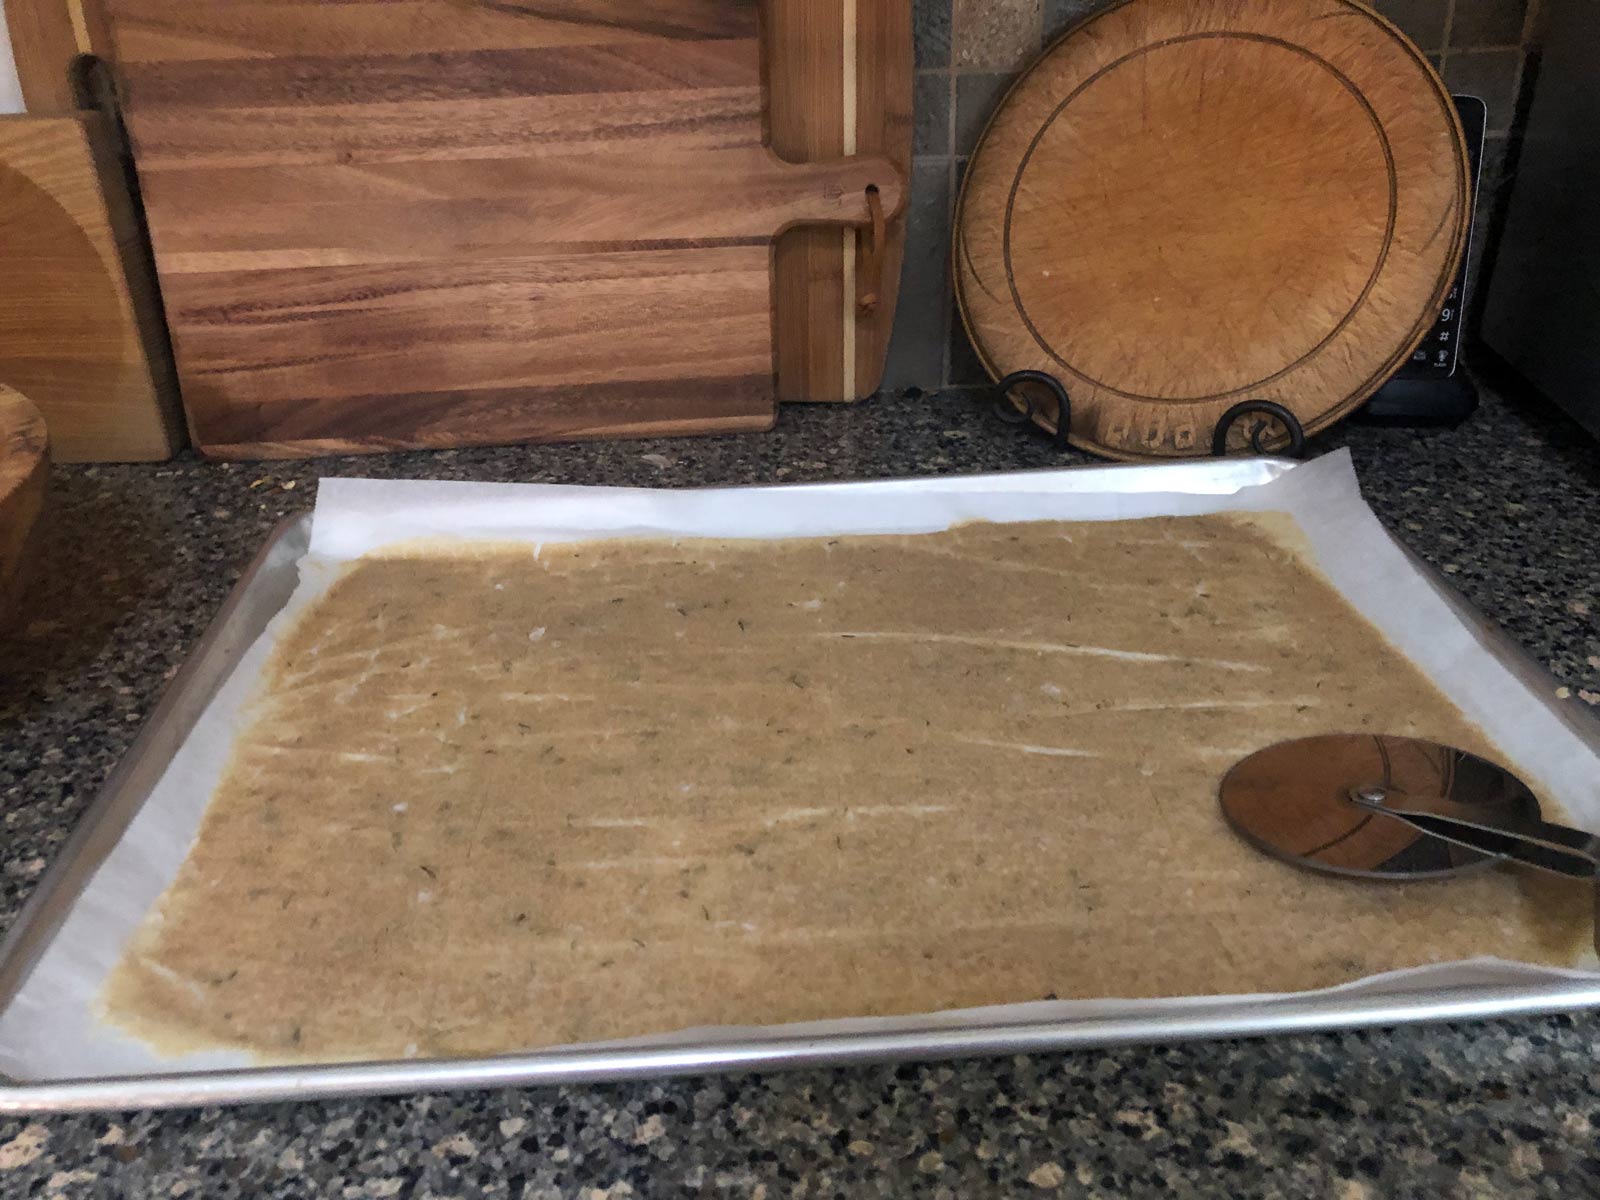
Line a baking sheet with a piece of parchment or silicone liner. Using an offset spatula, spread batter as thin as possible over parchment. Sprinkle with flaked salt.
Bake about 10 minutes, remove from oven and score into 2-inch squares with a pizza cutter or vegetable knife. Return to oven and bake until golden brown. Start checking at 20 minutes, as actual baking time will depend on individual oven and thickness of crackers.
Cool completely and store in an airtight container up to a week.


Comments