


 Halloween Fun Fact: Ninety percent of parents admit to secretly snatching some candy from their kids’ Halloween trick-or-treat bags!
- Never carry your pumpkin by the stem. It’s part of the visual allure, and if the stem snaps, it can accelerate the pumpkin’s rotting. Always carry the pumpkin from the bottom.
- Store your uncut pumpkin in a cool, dry place. Once pumpkins ripen, they will deteriorate fast — heat and light speed up the process.
- Wash out the exterior of the pumpkin before carving. Use a solution of 1gallon water and 1 teaspoon chlorine bleach. This will help prevent mold.
- Draw your pattern on paper. You can use a pumpkin-carving template (you can find one online). This is easier and cleaner than drawing right on the pumpkin and making revisions.
- To transfer a template to the pumpkin, enlarge it, cut it out and adhere it to the pumpkin with masking tape. Then either use pinpricks to mark the shapes and lines on the pumpkin or a craft or utility knife to cut through the design and score it on the surface.
- Don’t just think of face designs. Moons, stars, cats and witches are all fun and easy to do. You can use a drill to make patterned light holes.
- Consider buying a pumpkin-carving kit. Kits usually contain small scoops and serrated saws.
- When cutting out your shapes, always use a sawing motion.
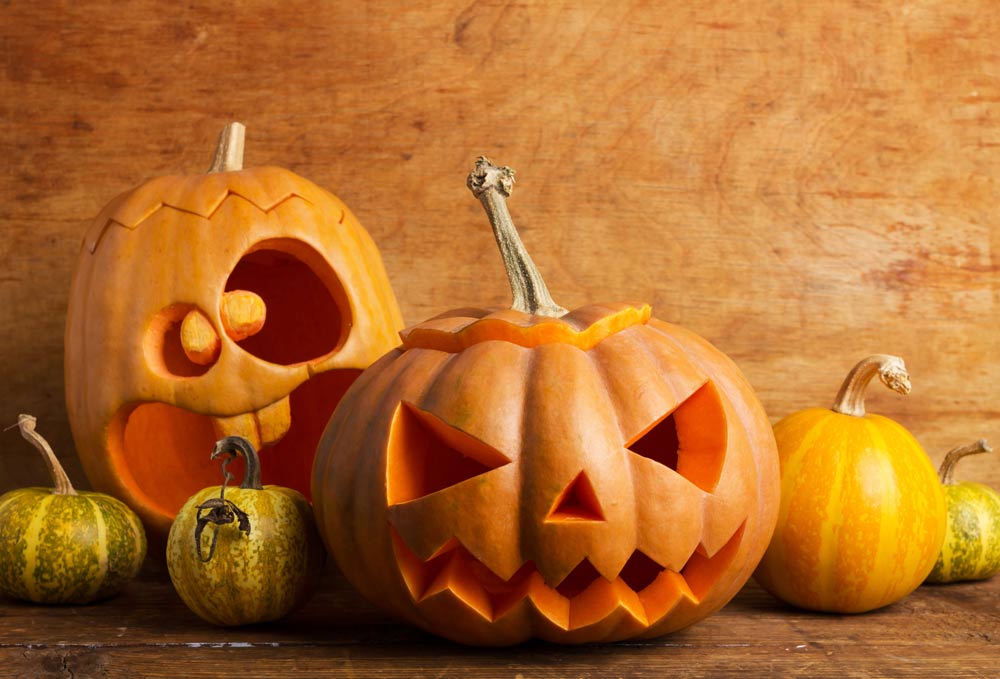
- The more pumpkins in your display, the better. Four or five small pumpkins have much more visual impact than one large one.
- If scraping out a pumpkin is too much hassle, consider buying a hollow acrylic or craft pumpkin. You can carve soft plastic pumpkins just like real ones. And they last forever.
Go for it — and have fun!


Comments