


 Winter is just around the corner, and while most of us are busy preparing our homes and vehicles for the cold months ahead, it’s important not to forget about our trusty landscaping tools. These essential tools help us maintain our lawns throughout the year, and neglecting them during the winter can lead to costly repairs or replacements come spring.
Here are some things to consider about your work tools, along with a checklist of supplies you’ll need and step-by-step instructions on how to protect your lawn care tools from the harsh winter elements.
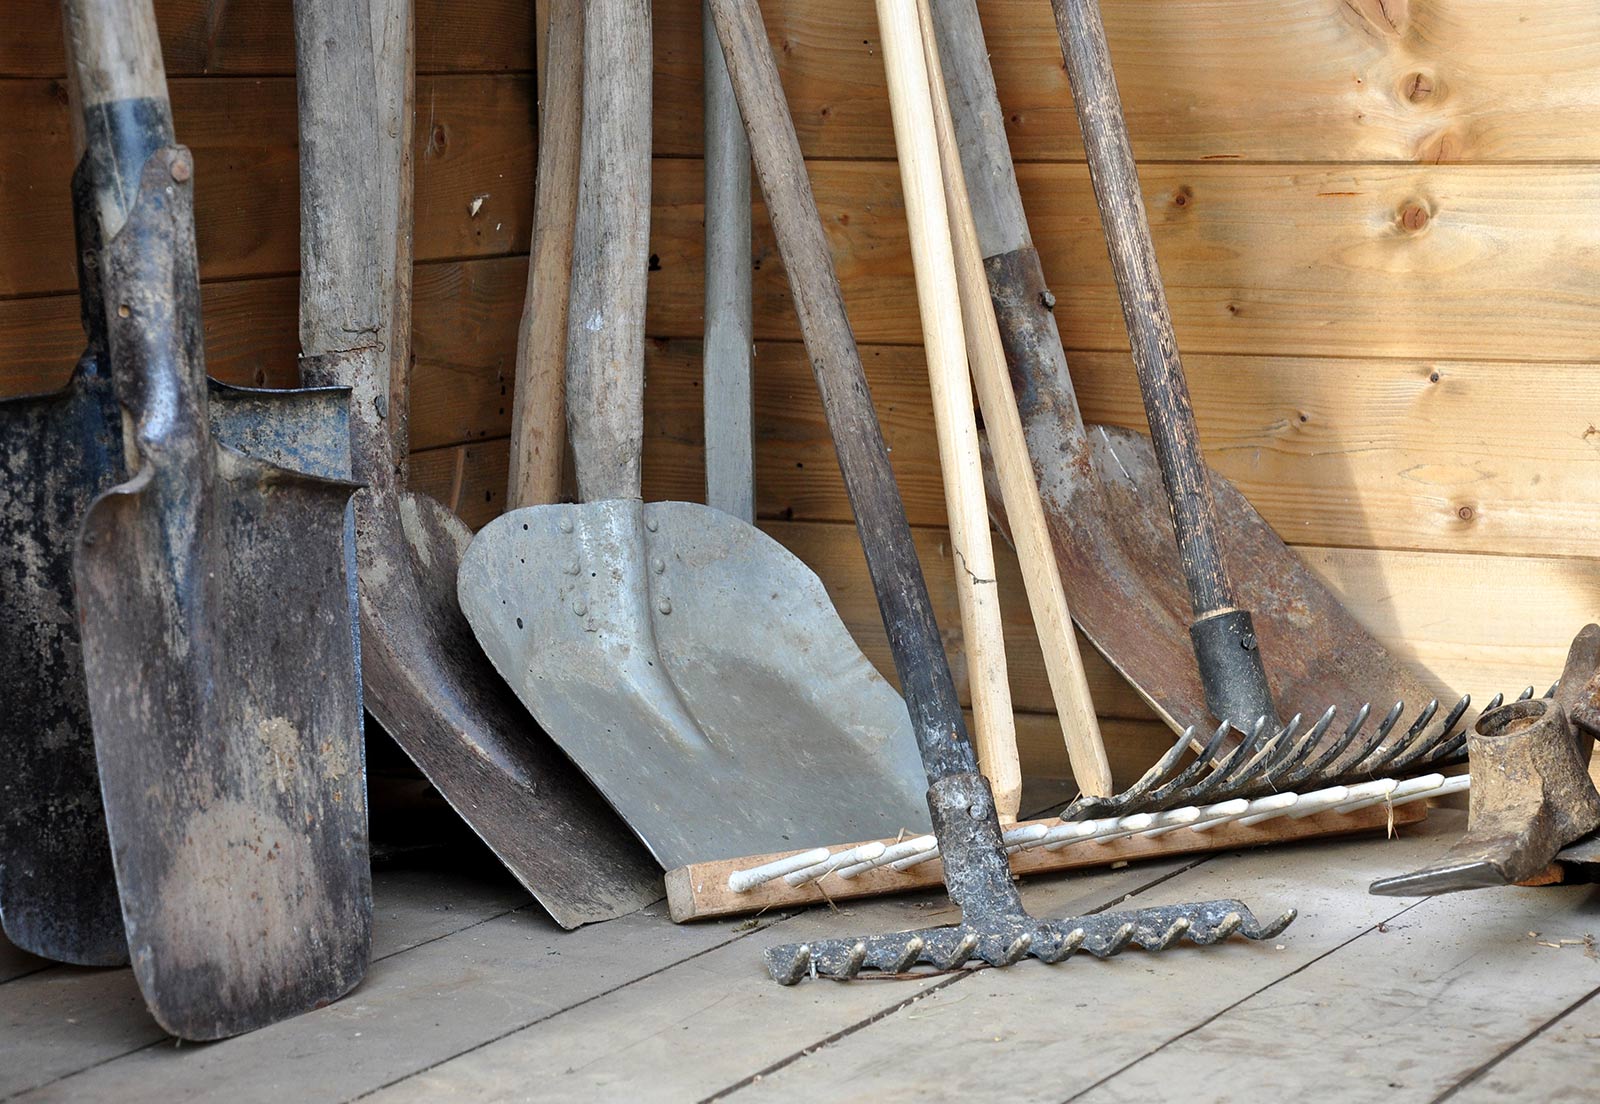
Assessing Your Landscape Tools
Before you begin the winterization process, it’s essential to assess the state of your landscape tools. Check each tool for signs of wear and tear, damage or rust.
Make a list of the types of lawn tools you have, such as lawnmowers, trimmers, leaf blowers and edgers, and identify their vulnerability to winter damage. For example, metal parts are more prone to rust, while fuel systems can suffer from cold-related issues like fuel freezing, gasket seals cracking or overcooling, which can result in piston scuffing and other issues.
Winterizing Supplies Checklist
To winterize your yard work tools effectively, you’ll need a few essential supplies:
- Cleaning materials: brushes, rags and cleaning solutions to remove dirt, debris and oil.
- Fuel stabilizer: to prevent fuel from deteriorating during storage.
- Oil: for changing the oil in your engines.
- Lubricants: for maintaining moving parts and preventing rust.
- Sharpening tools like a blade sharpener or drill attachment: to keep blades and cutting surfaces sharp.
- Storage solutions: covers or shelters to protect your tools from the elements.
Taking Safety Precautions
Safety should always be a top priority when handling lawn tools. Wear appropriate safety gear, such as gloves and safety goggles, when performing maintenance.
Before cleaning any gas-powered tools with a blade for example, make sure you remove the spark plug first to keep the tool from accidentally kick-starting. Read the manufacturer’s guidelines for each tool to ensure you follow the recommended safety procedures.
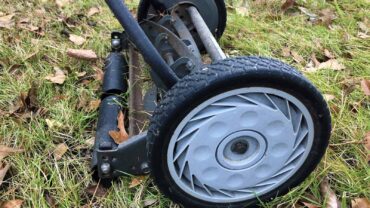
Performing Cleaning and Maintenance
Cleaning your lawn tools thoroughly is the first step in winterizing them. Remove dirt, grass clippings and other debris using a brush or compressed air. Wipe down the surfaces with a rag and a suitable cleaning solution. For lawnmowers, trimmers and other garden equipment, refer to the manufacturer’s instructions for detailed cleaning and maintenance procedures.
 Managing the Fuel and Oil

Properly managing fuel and oil is essential to prevent engine damage during winter. Drain the fuel tanks or add a fuel stabilizer to prevent deterioration. Change the oil according to the manufacturer’s recommendations and check and replace air filters as needed.
These steps will help ensure your engines start smoothly when spring arrives:
- Drain the gas tank and then run the engine until the fuel system is empty for long-term storage or stabilize the fuel for short-term storage.
- Generally, you will need to remove the oil drain plug, drain the oil into a container, replace the drain plug and refill the engine with the recommended oil.
- Replace the oil filter at least once a season or more often under heavy use.
- Check the air filter once a season or every 25 years of usage.
Sharpening Blades and Cutting Surfaces
Maintaining sharp blades and cutting surfaces is vital for effective lawn care. Dull blades can damage your grass and plants, making them more susceptible to disease. Safely sharpen your tools’ blades using the appropriate sharpening tools, following the manufacturer’s guidelines or seek professional help if needed.
Here are the recommended steps:
- If you have a gas-powered lawn tool, be sure to remove the spark plug first before sharpening blades so that the system doesn’t accidentally kick-start.
- Loosen the single nut or bolt holding the blade on so you can remove the blade
- Take a wire brush to it and clean off all of the debris that has accumulated over time.
- Use a 10-inch-long mill bastard hand file or a sharpener attachment to the end of a drill-bit.
- Use a handy nail that has been nailed into the wall or a balancing tool to balance the weight of the blade so that you don’t take off more weight from one side of the blade and not the other.
- Reinstall the blade and hand-tighten the bolt.
Lubricating and Preventing Rust
Lubrication plays a crucial role in preventing rust and corrosion. Apply lubricants to moving parts, such as hinges, springs, gears or any other moving parts and surfaces that might be susceptible to rust, as recommended by the manufacturer. Additionally, protect surfaces susceptible to rust by applying a rust-inhibiting product.
Storing Your Landscape Tools
Proper storage is the final step in winterizing your yard work tools. Find an ideal storage space, such as a shed or garage, to protect your tools from extreme cold, moisture and snow. Use covers or shelters for added protection.
If you have rechargeable batteries for your tools, store them in a cool, dry place and follow the manufacturer’s guidelines for proper battery maintenance during the winter months.
Some safe places to store landscape tools over winter include:
- Garages
- Inside, hanging on a wall
- Plastic bins with a lid or cabinets
Don’t wait — start winterizing your yard work tools now to enjoy a worry-free winter knowing that your tools are well cared for.


Comments