


 Editor’s note: This blog post is an adapted excerpt from Max McMurdo’s “Upcycling Outdoors” book, which explains the basic of good outdoor design using scrap items, and includes a variety of step-by-step projects.
When you have limited outdoor space, it’s great to create as many planting opportunities as you can. Vertical planting, intended to produce the effect of a “living” wall, has been the hot feature in a lot of great garden design recently, especially for urban yards and patios.
 This design uses basic plastic guttering, which is really easy to source from any hardware store. It works beautifully for plants that don’t require too much soil, such as succulents. This is a really affordable way of creating a living wall that is great to look at but also practical — the whole thing weighs a lot less than alternative living wall structures and can be positioned anywhere, even a balcony or roof terrace.
I have opted for four lengths of guttering, but you can use as many as you wish, cut to length to suit your space. You could, of course, paint the guttering in bright colours, but I was after a sleek contemporary look to complement my houseboat.
Grey is also a nice neutral tone to allow the plants to stand out. The combination of the glossy grey plastic, natural rope and the different shades of succulents is incredible.
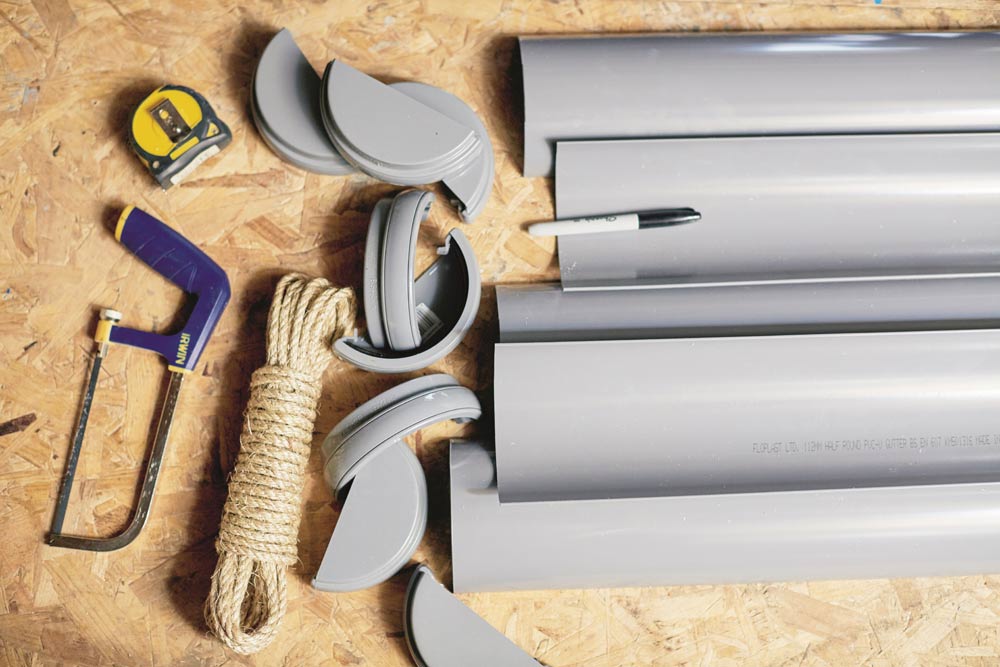
Items to source:
- plastic gutter pipe
- end caps
- rope
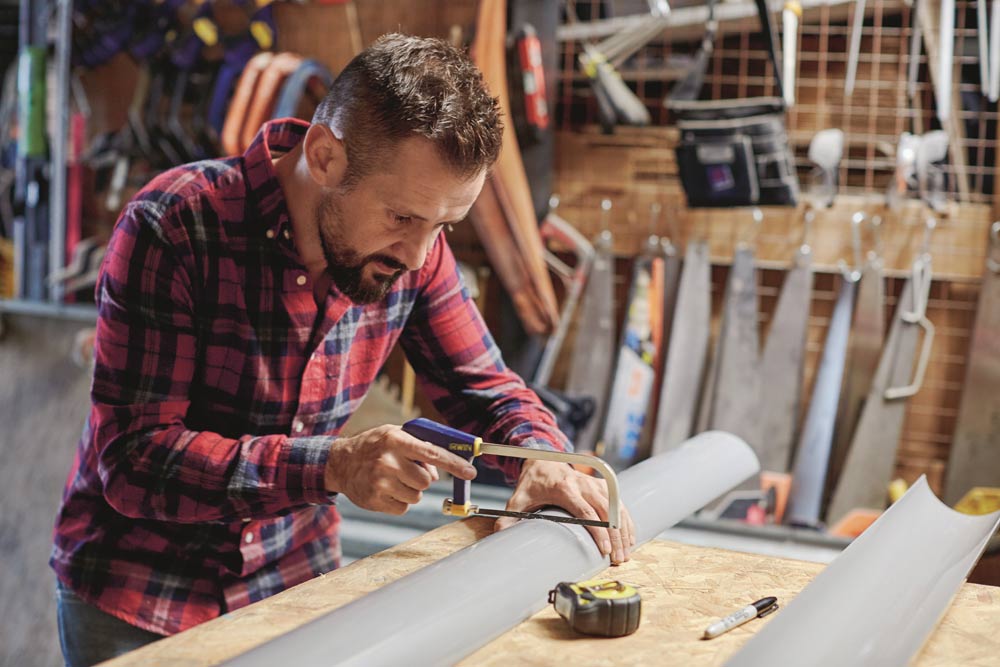
Step 1. Cut guttering.
Lay out the guttering, measure, mark and cut to the length you want using a hacksaw, holding the piece steady as you do. File the sawn ends smooth with a half-moon file or sandpaper.

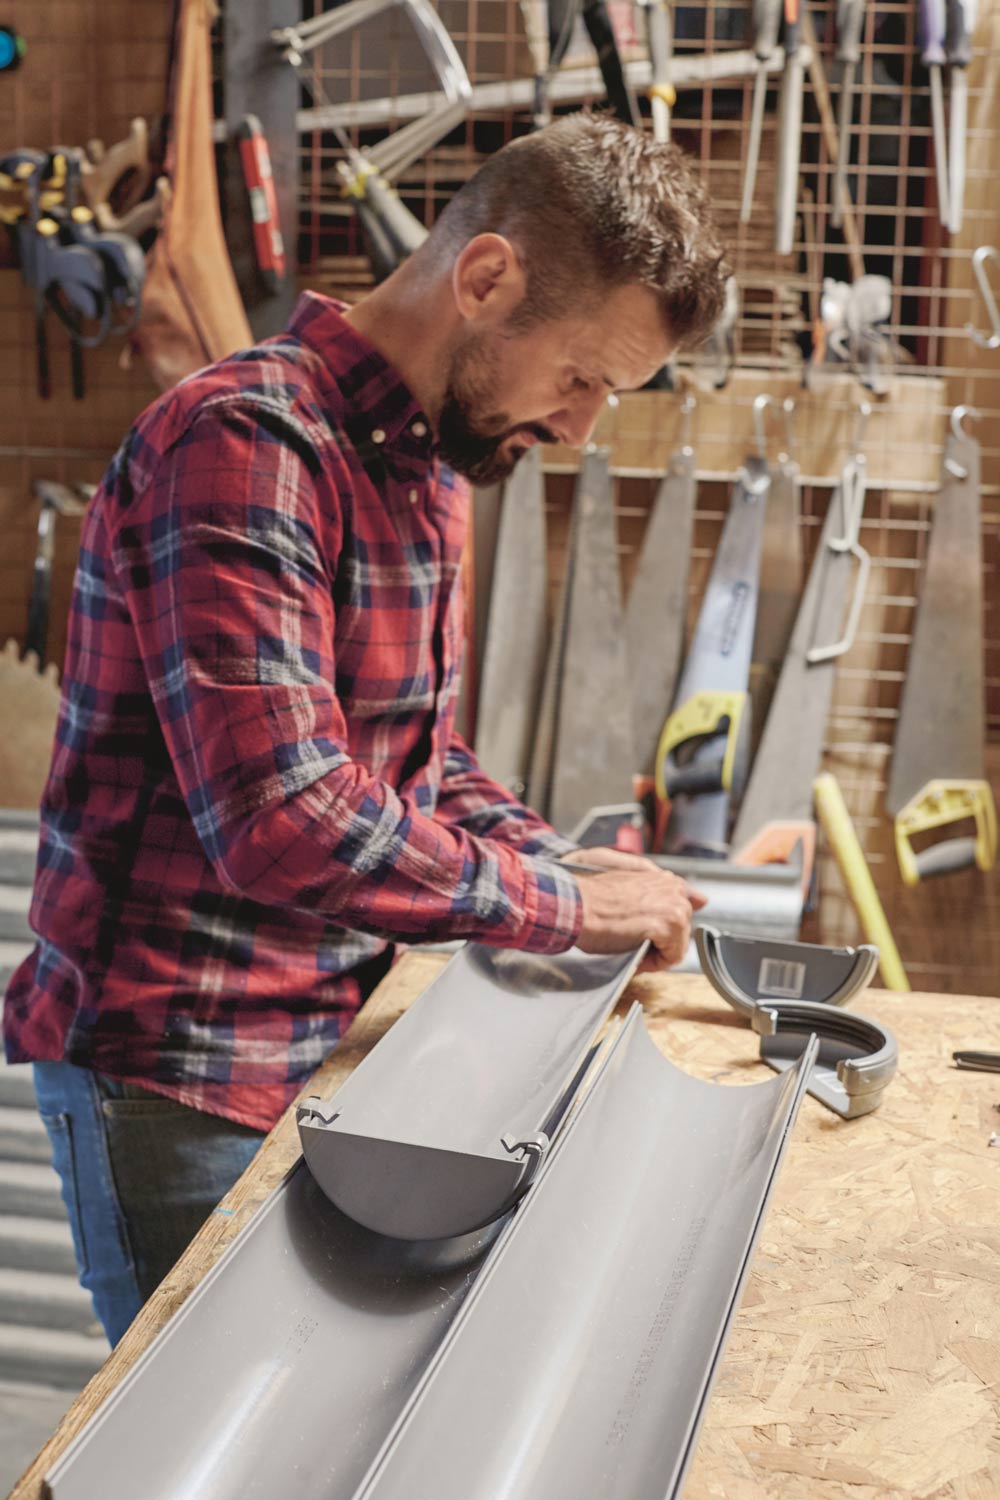
Step 2. Fit caps.
If you need drainage holes, drill through the base of each length in several places. Attach some end caps to the guttering.
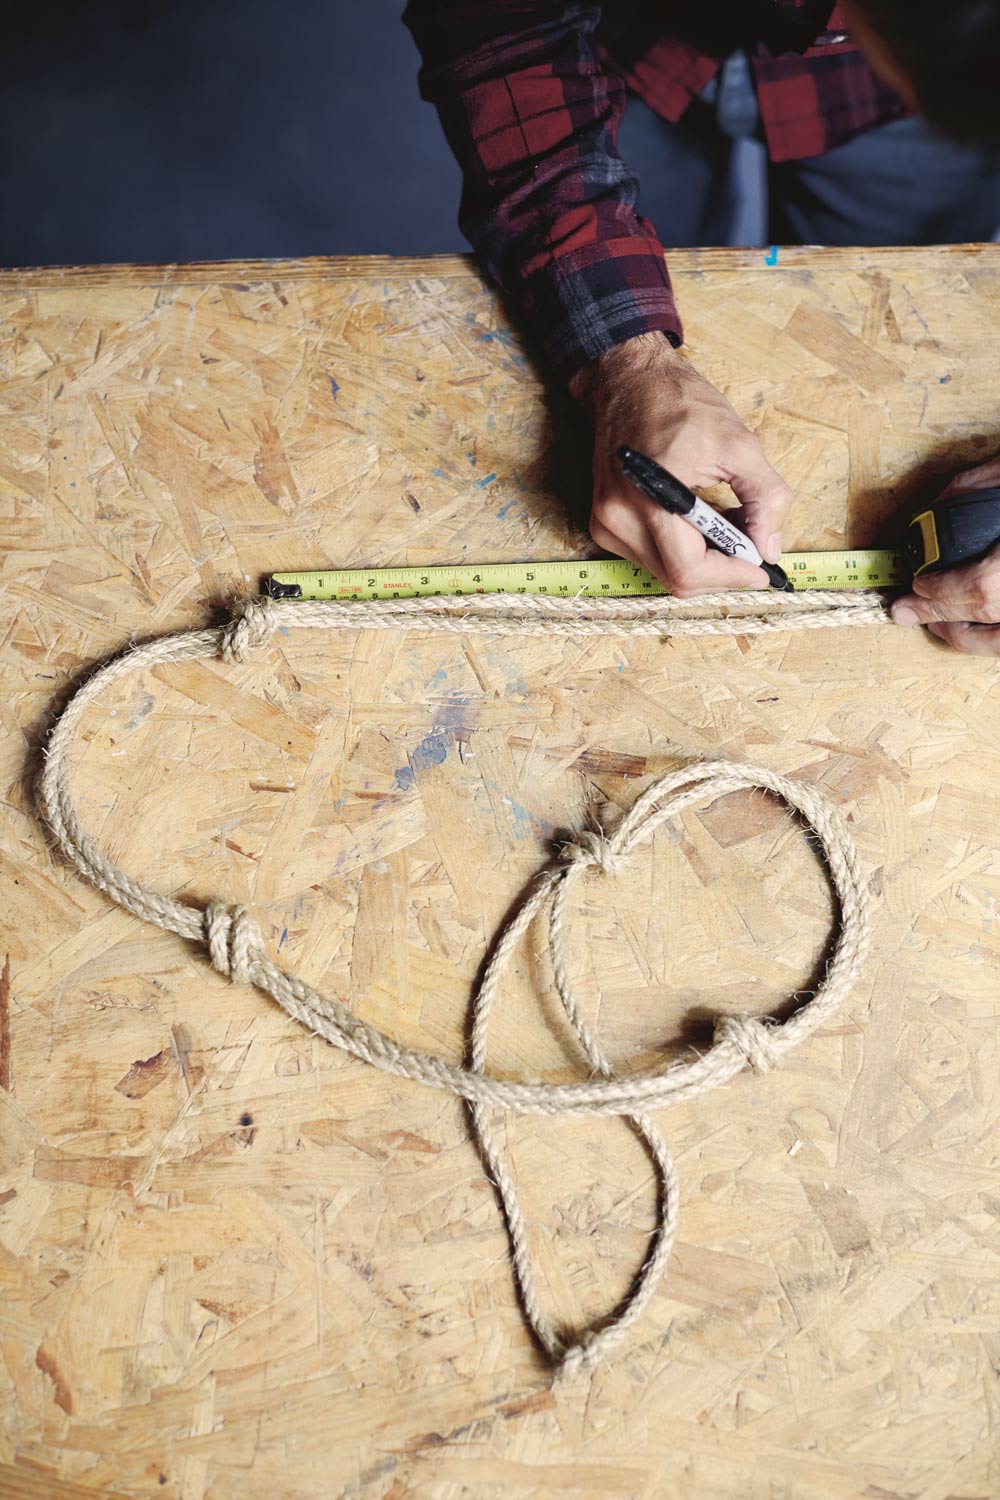
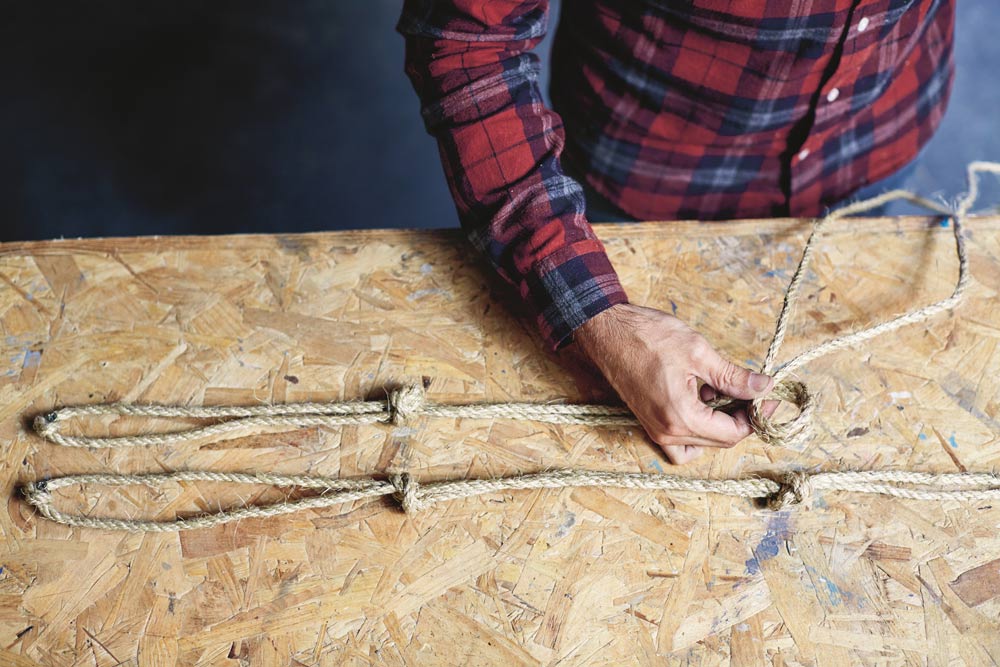
Step 3. Measure and knot ropes.
Measure out enough rope to create a loop for your desired length and then cut two of these lengths using a knife. Tie a knot at the halfway point in each piece of rope — this will sit centrally on the underside of the bottom piece of guttering.
Fold the ropes at the central knot. Measure and mark every 25 cm (10 inches) and knot the rope at each marked point. Repeat for both ropes.
Tip: Heat the cut ends of the rope with a lighter to seal and prevent fraying.
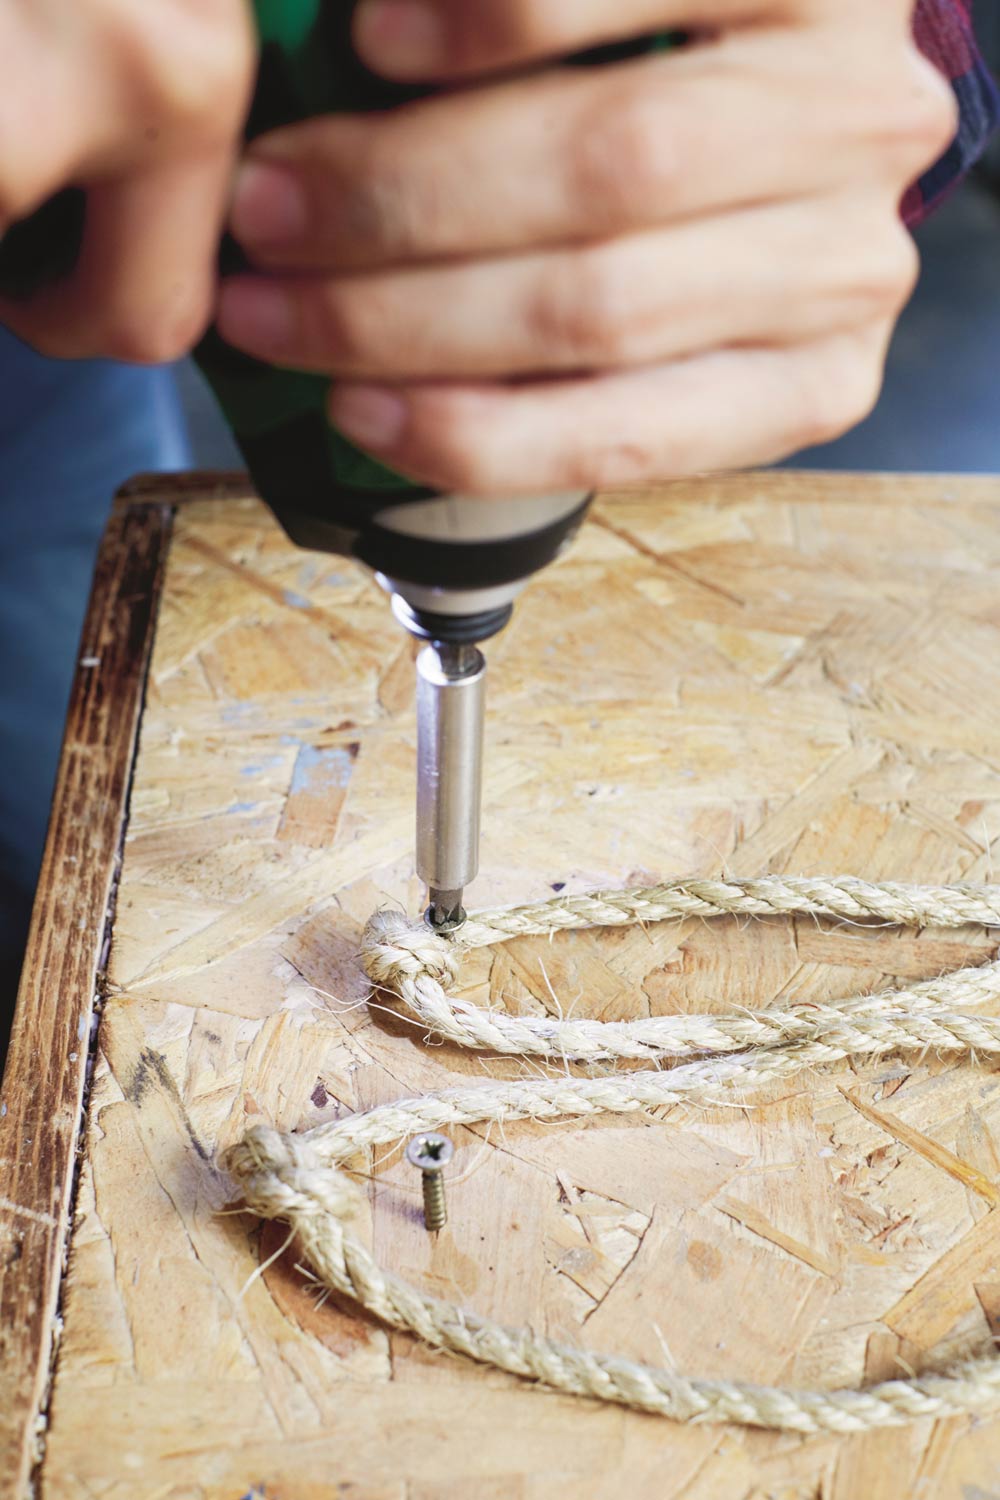
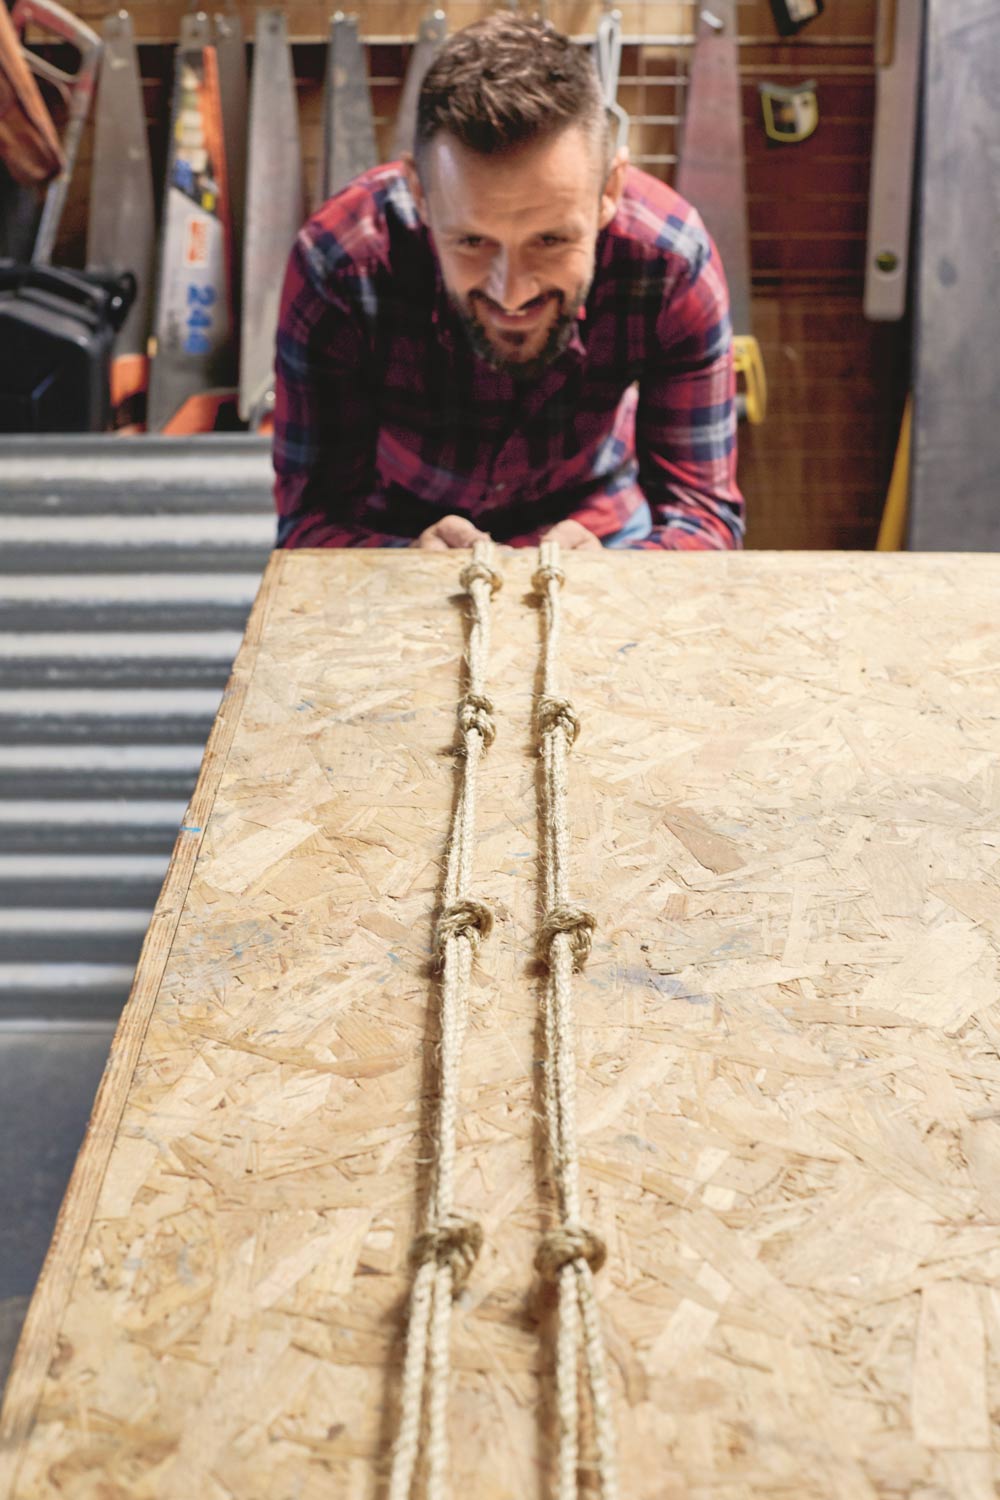
Step 4. Fix to bench and check.
To create tension for the ropes, screw two screws into a workbench and then loop the ropes around them. Check that the knots align on both ropes (so that the guttering will sit level). Make any adjustments to the position of the knots if necessary.
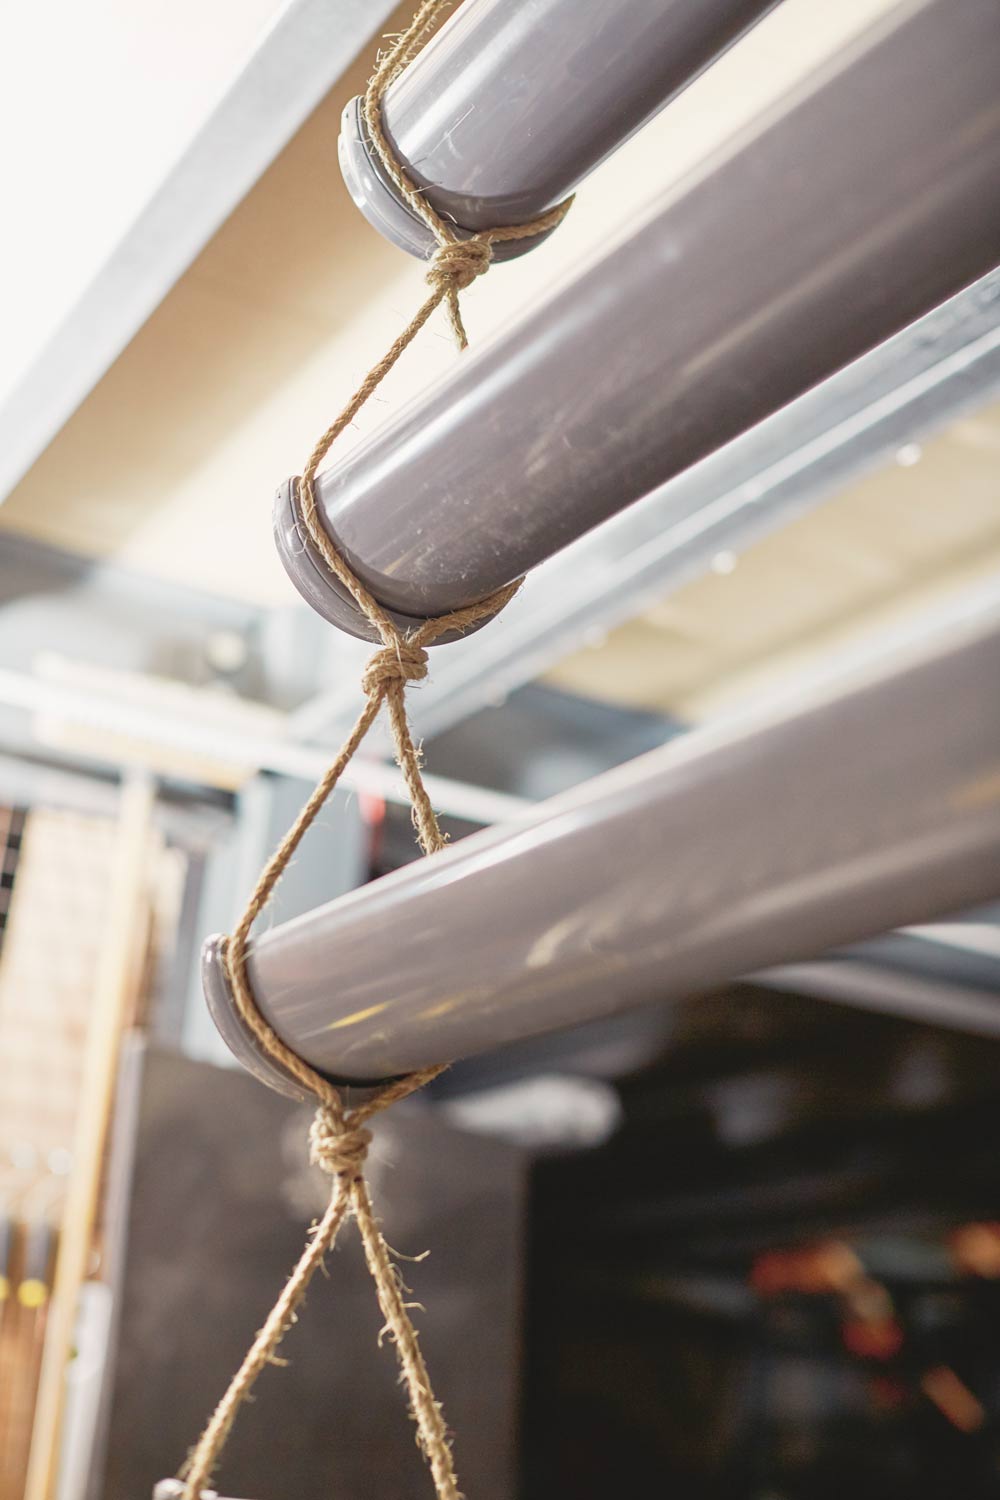
Step 5. Position guttering.
Tie the open ends of the rope fixings to two solid points. Slot the guttering through each knotted section, pushing the rope snugly against the end caps. Plant up.

 About The Author

A former car designer in Cologne, Germany, Max McMurdo officially started his career turning junk into treasure as a child crafting washing up liquid bottles into spaceships. He launched his business, reestore ltd., in 2003, and by 2007 won various awards — and has continued winning acclaims since then. Now also a TV presenter, he has been on various shows in Europe and beyond. His book, “Upcycling Outdoors,” includes 20 projects, from simple to more involved, that you can create for your own backyard from found materials.


Comments