


 Gardeners know that once a garden begins to mature, it can be hard to tell what is actually growing. The solution is to use plant markers. Whether you have a garden this year or are planning one for next year, this is a good time to decide which plant markers to use and get them ready for the next growing season.
I’ve tried different types of plant markers in my own garden, and my favorite are ones made from rocks.
Rock plant markers are fun to make, clearly visible under the plants and easy to move. Plus, they can be left in the garden year-round. They also give the garden an artistic touch. So, for just the cost of paint and polyurethane — and a little bit of time — you can have your own set of plant markers you made yourself.
When I started making my own rock plant markers, I experimented with different ways to paint the rocks and came up with three designs that are simple to make and can be easily modified: a red set with pansy-like flowers on them, a set that looks like chalk on chalkboard paint, and a natural-looking set.
The following directions will give you the basic guidelines to make your own set that you can decorate any way you choose. You might even consider making one set for vegetables and a complimentary set for herbs.
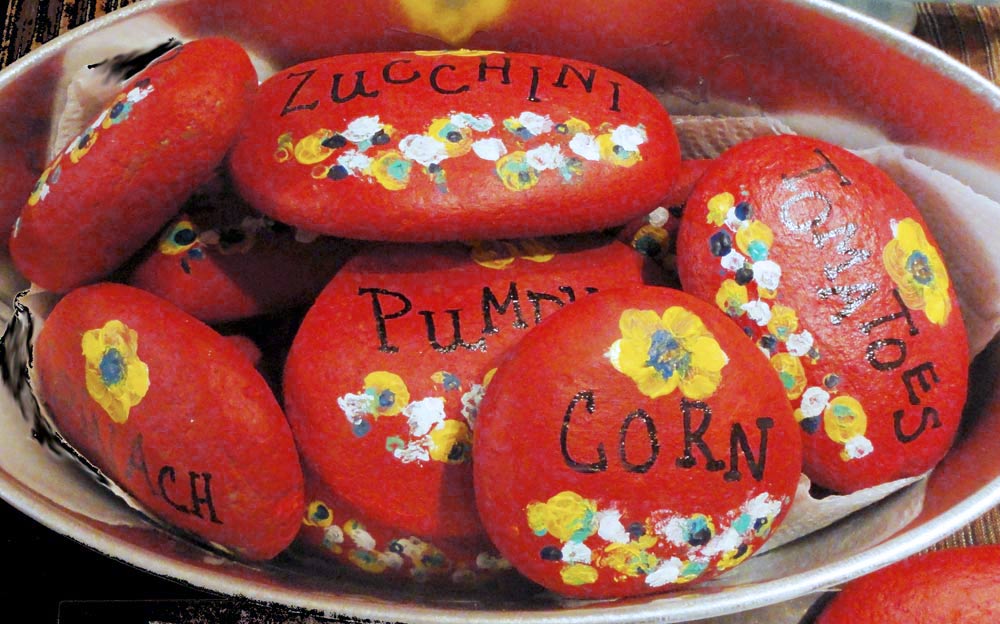
 Painted Rock Markers Embellished with Pansy-Like Flowers
For this set, you will need:
- a list of plants in your garden
- optional: squares of paper, a small notepad or sticky notes a little larger than the size of rocks you’re using
- rocks — choose a few more than you need so you can practice first (I used river rocks that were 2 1/2 to 3 1/2 inches long)
- acrylic paint — red for the base color, and blue, aqua, yellow and white for the flower petals
- a black paint marker (two good brands are Sharpie and Nissen)
- a cup of water (to clean the acrylic paint off your brush)
- glossy polyurethane (I used the brush-on kind)
- two medium-size paint brushes (one for the acrylic paint and one for the polyurethane)
- a cup of mineral spirits or other recommended cleaner (to clean the polyurethane off your brush)
- paper towels or newspaper to protect your work surface
 1. Select your rocks.
Start by making a list of plants in your garden. As you select your rocks, refer to your plant list to be sure you get rocks that are the right size for each plant name.
Choose rocks that have at least one smooth side for writing and no major cracks, bumps or pits, and that are flat enough to sit level on the ground without rolling away.
2. Prep the rocks.
Clean the rocks with warm water and a stiff scrubbing brush or sponge. Dry them completely on a towel before you begin painting.
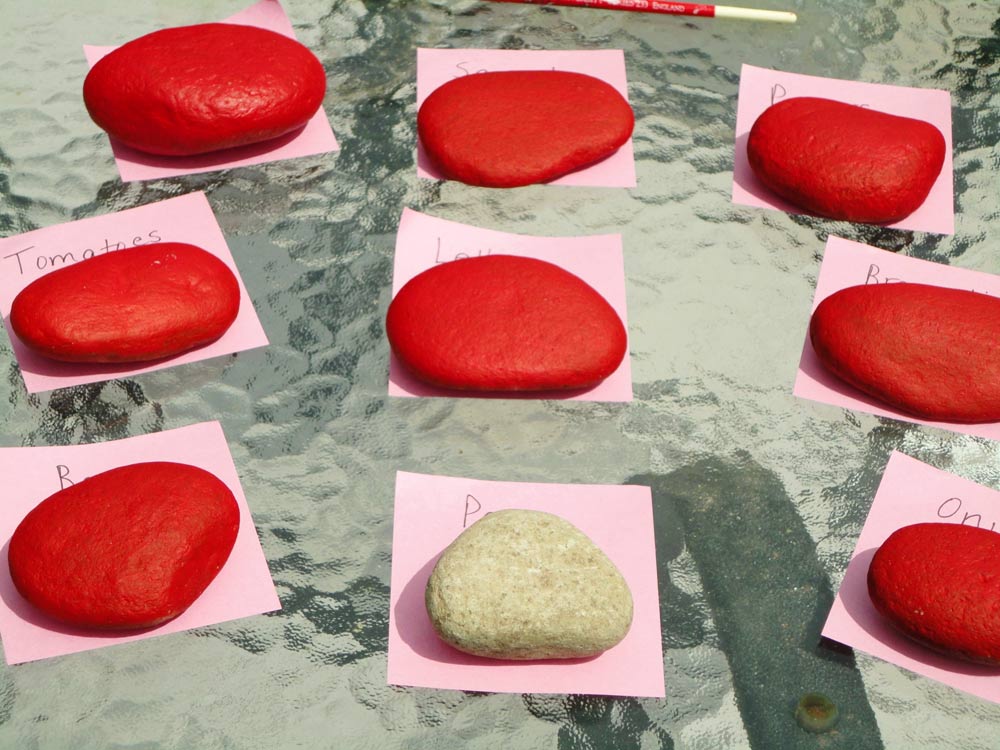
3. Match up the rocks with your plant list.
An easy way to do this is to write each plant name on a sticky note or note paper, then lay the rocks on the note paper of their matching names. The note paper can also serve as mats as you paint the rocks.
4. Paint and embellish the rocks.
Brush two coats of red acrylic paint (or any color you choose) over both sides of the rocks, then use the paint marker to write the plant names in the middle of the rocks. Always let the paint dry between coats.
Embellish the painted rocks with dots or pansy-like flowers. I did this by dipping the end of my paintbrush handle in blue, aqua, yellow and white acrylic paint, dotting and swirling each color on the rocks with the end of the paintbrush handle to resemble flower petals.
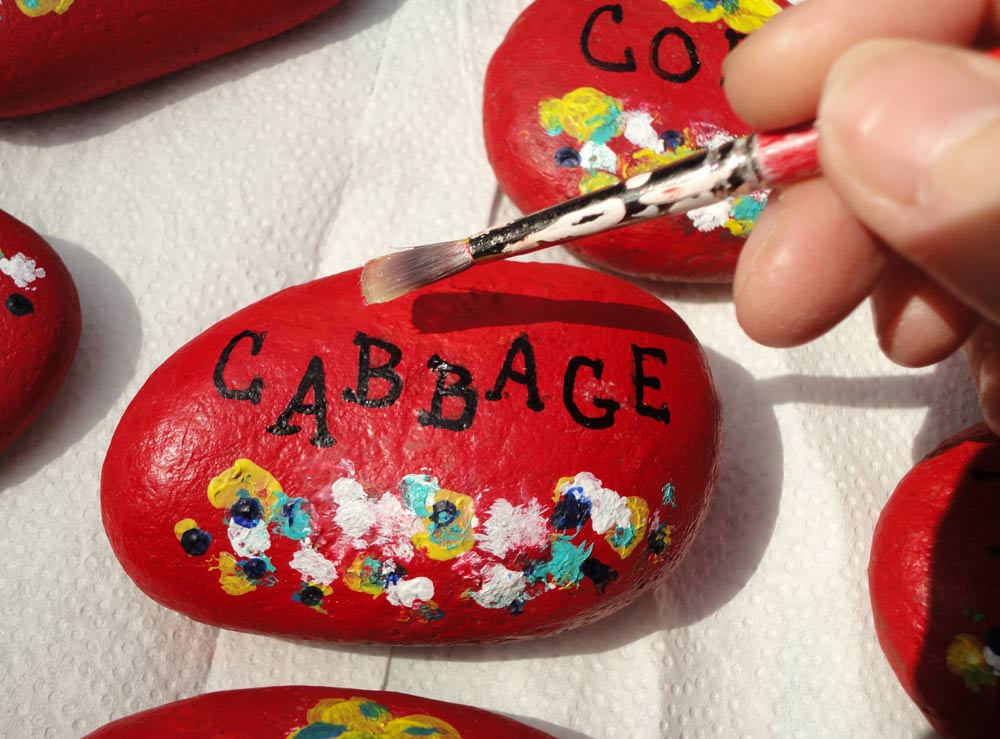
5. Add a top coat.
After you finish decorating your rocks and they are completely dry, brush a coat of glossy polyurethane over them to protect the paint.
After the polyurethane dries, have fun arranging your new plant markers in your garden!
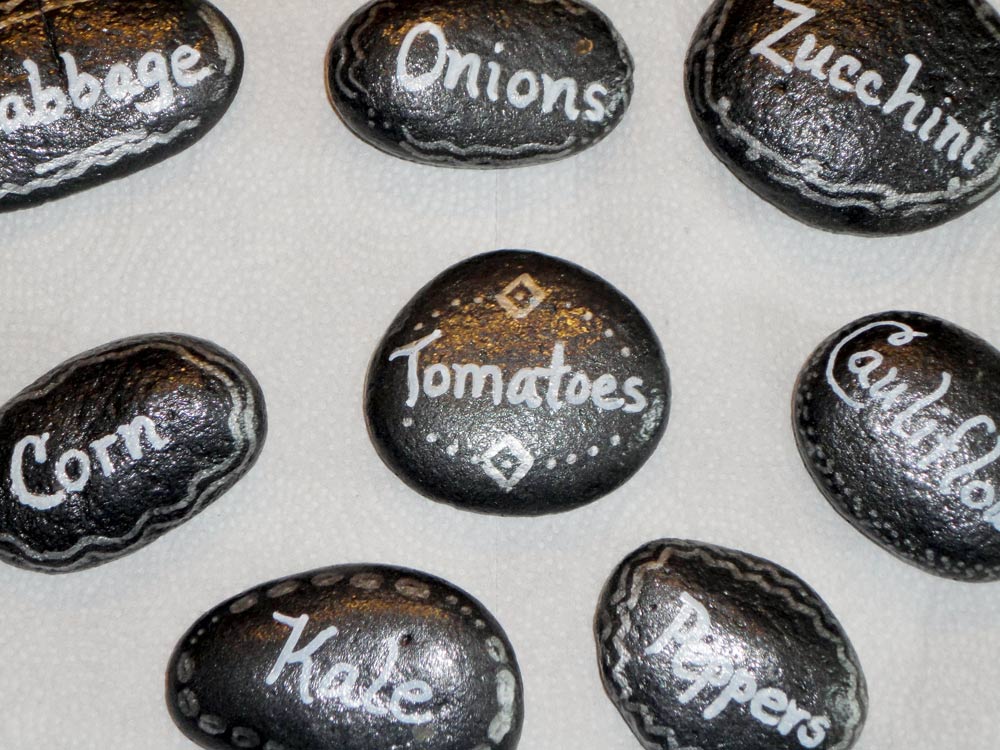
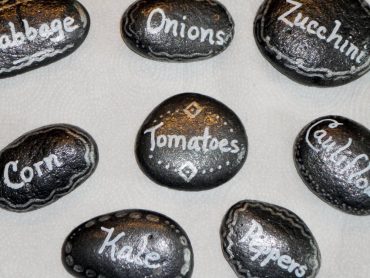 Rock Plant Markers that Resemble Chalk on Chalkboard Paint
To make a set like these, you need:
- a couple of cans of hammered metal gray spray paint (I used Rustoleum brand)
- a silver or white metallic paint marker (I used silver)
- glossy polyurethane (again, I used the brush-on kind)
- a medium-size paintbrush
- a cup of mineral spirits or other recommended cleaner (to clean your brush)
1. Select and clean the rocks as described above.
2. When they’re completely dry, lay them out on newspaper or paper towels and spray one or two coats of hammered metal spray paint over both sides of the rocks, letting the paint dry between coats.
3. Use a paint marker to write the plant names on the rocks and add a decorative border with the same marker.
4. Give the marker several minutes to dry, then brush or spray a coat of glossy polyurethane over both sides of the rocks, allowing them to dry between coats.
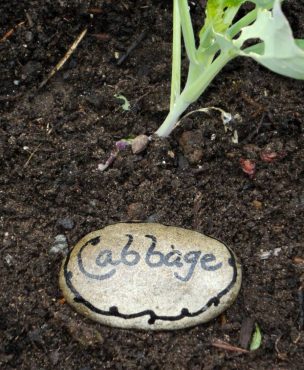 Natural-Colored Rock Markers

If you want to show the rocks’ natural color instead of painting them, you will need:
- a variety of speckled or colored river rocks (I used light gray, pink, peach and yellow speckled rocks)
- glossy polyurethane
- a medium-size paintbrush
- a black paint marker
- a cup of mineral spirits or other recommended cleaner to clean your paintbrush
1. Select and clean your rocks as described above. Allow them to completely dry.
2. Simply brush or spray a coat of glossy polyurethane on all sides.
3. Write the plant names with a paint marker and add a decorative border with the same marker.
4. Give the marker several minutes to dry, then finish with a top coat of polyurethane.
You can get additional ideas for fonts, designs and borders for making garden markers at these blog sites that inspired my own designs:


Comments