


 Now that we are in the heart of the rainy season in West Sound, people are spending much of their spare time indoors making crafts. Making trinket boxes from Altoids tins is one craft that is becoming popular on Pinterest.
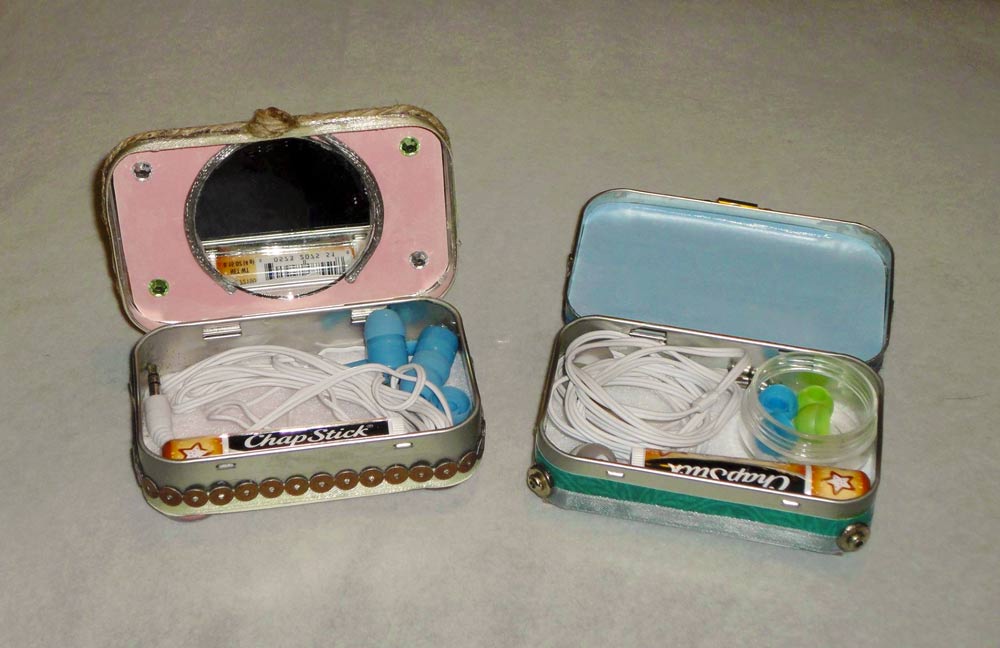
The tins are fun to make and can be easily personalized. They are practical for holding small items like spare change, jewelry, keys, stamps, jewelry, flash drives or ear buds, and they are the perfect size to use as small sewing kits, first aid kits and compacts.
 For these trinket boxes, start with empty Altoids tins or other tins that have hinged lids. Choose the color schemes and themes you want to use, then make a list of the supplies you already have.
Jot down some ideas of other items you can use for your color schemes and themes to help you shop for the remaining supplies. You should be able to get all the supplies you need at local craft supply stores or department stores such as Walmart, JoAnn Fabrics, Michael’s, Fred Meyer and The Dollar Tree.
 Supplies:
- Scrapbook paper or fabric
- A felt sheet
- A bead or small button to use as a knob on the lid
- A small craft mirror (optional)
- 1/4-inch to 1/2-inch cloth ribbon
- More ribbon, jute, flat buttons, fabric patches, small beads and stickers to use as embellishments
- A small craft brush
- Tacky glue
- Matte Modge Podge
- Scissors and an Exacto knife, and a surface to cut on
- A pen
- 220 or higher grit sand paper (fine)

Steps:
- Based on your chosen color scheme or theme, select the scrapbook paper to cover the top and bottom of your tin. You can also use fabric rather than paper. Lay the tin upside down on the paper and trace around the lid with a pen. If you want to cover the inside of the lid, trace the lid twice.
- Place the bottom of the tin on the scrapbook paper. Do the same for the bottom, then cut out both templates with an Exacto knife or scissors. The lid is slightly larger than the bottom, so be sure to trace them separately.
- Lay the tin upside down on the felt sheet and trace the bottom of the tin with a pen. Cut out with scissors.
- Brush some tacky glue on the lid, and press down the paper you cut out. Do the same for the bottom. Glue the felt to the inside bottom of the tin the same way.
- Brush Modge Podge over the top and bottom of the lid. This will give the paper (or fabric) a protective coating and will help it adhere to the tin.
- After the Modge Podge dries, scuff up the uncovered sides of the lid with sandpaper. Wipe off any residue, then brush the sides of the lid with tacky glue. Wrap it with jute, ribbon or paper, pressing down as you go. Start and end in the same place if you can, pressing the ends down into the glue so they blend in.
 With the lid closed, scuff the sides of the tin from the bottom edge of the tin up to where the lid hits when closed. Wipe off the residue, brush with tacky glue and wrap that part of the tin with jute, paper or ribbon, pressing down as you go. Start and end in the same place if you can.
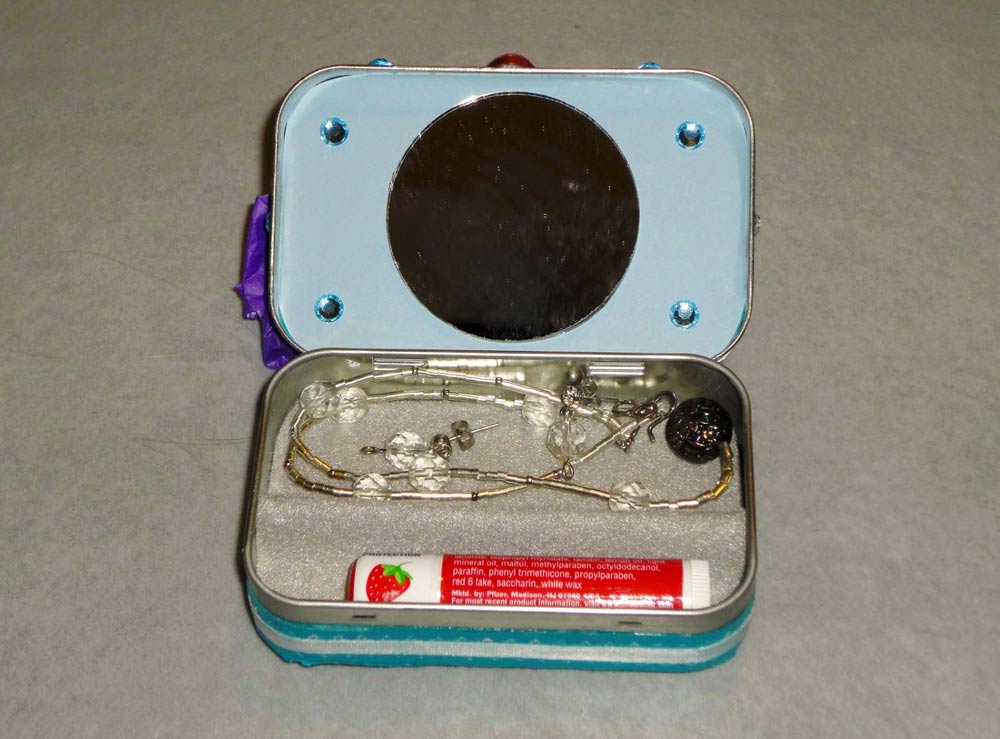
- If you’re putting a small mirror inside the lid, decide where to place it so the lid can still close. Scuff up the spot where you want to put the mirror, then brush the back of the mirror and the inside of the lid with tacky glue. Press the mirror in place. Keep the lid open and lay the tin on its side so the mirror can dry in place without sliding down the lid.
- To make a knob for the lid, glue a small button or bead to the front of the lid. Center it by using the hinges on the back of the lid as a guide. While the glue is drying, lay the tin on its side in order to keep the knob from sliding out of place.
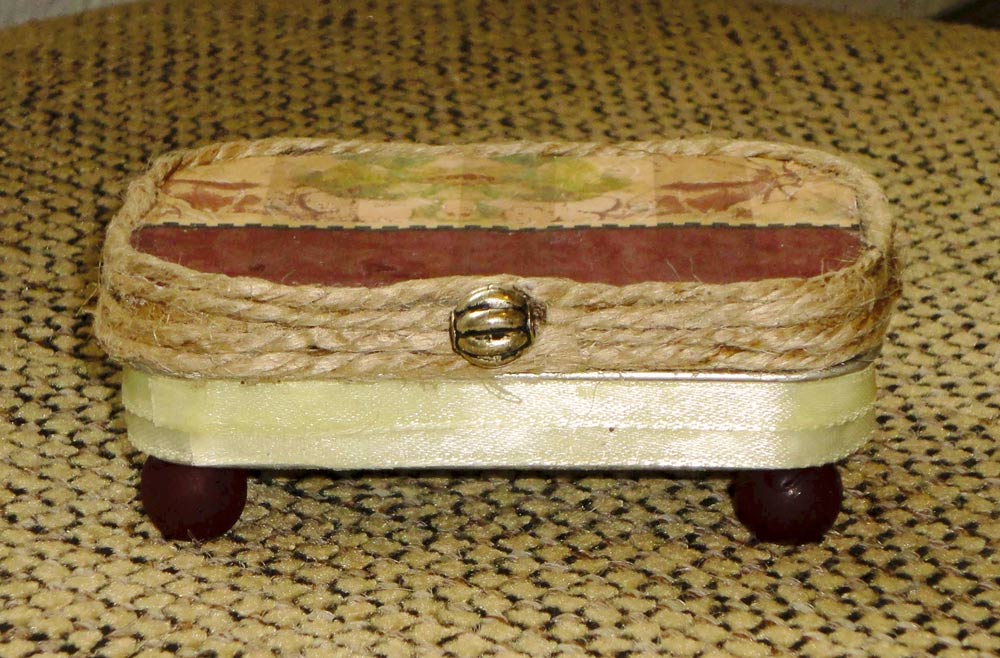
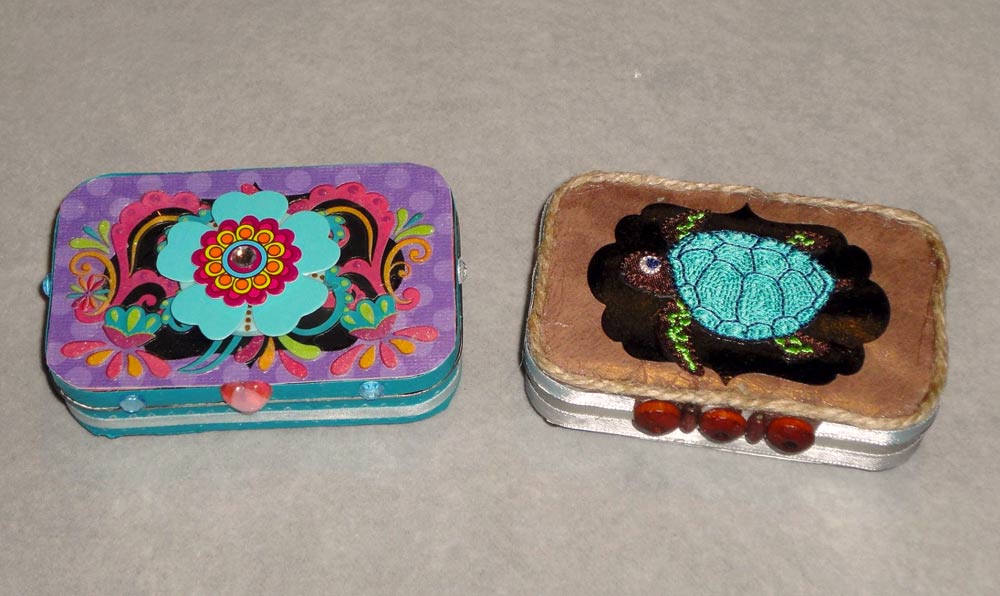
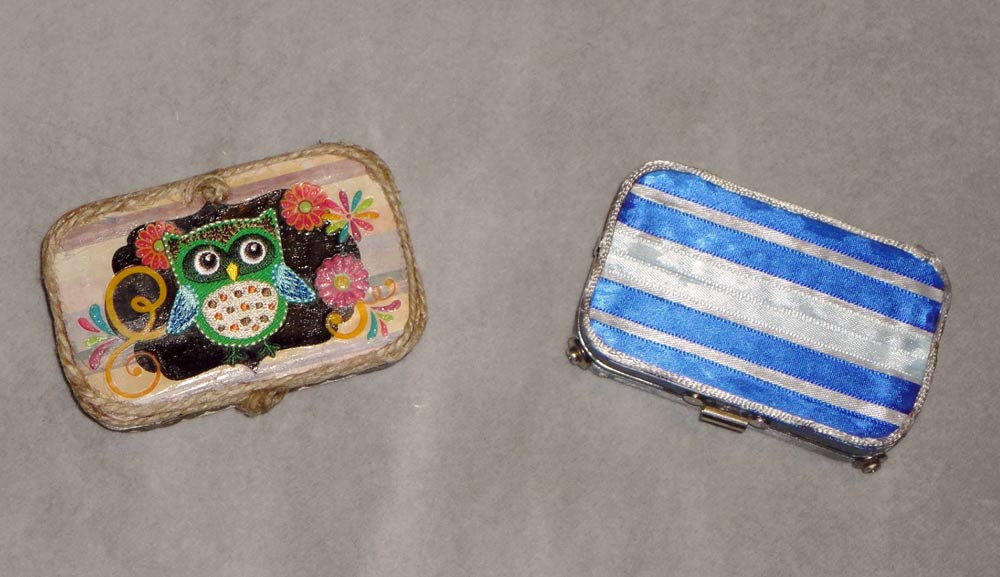
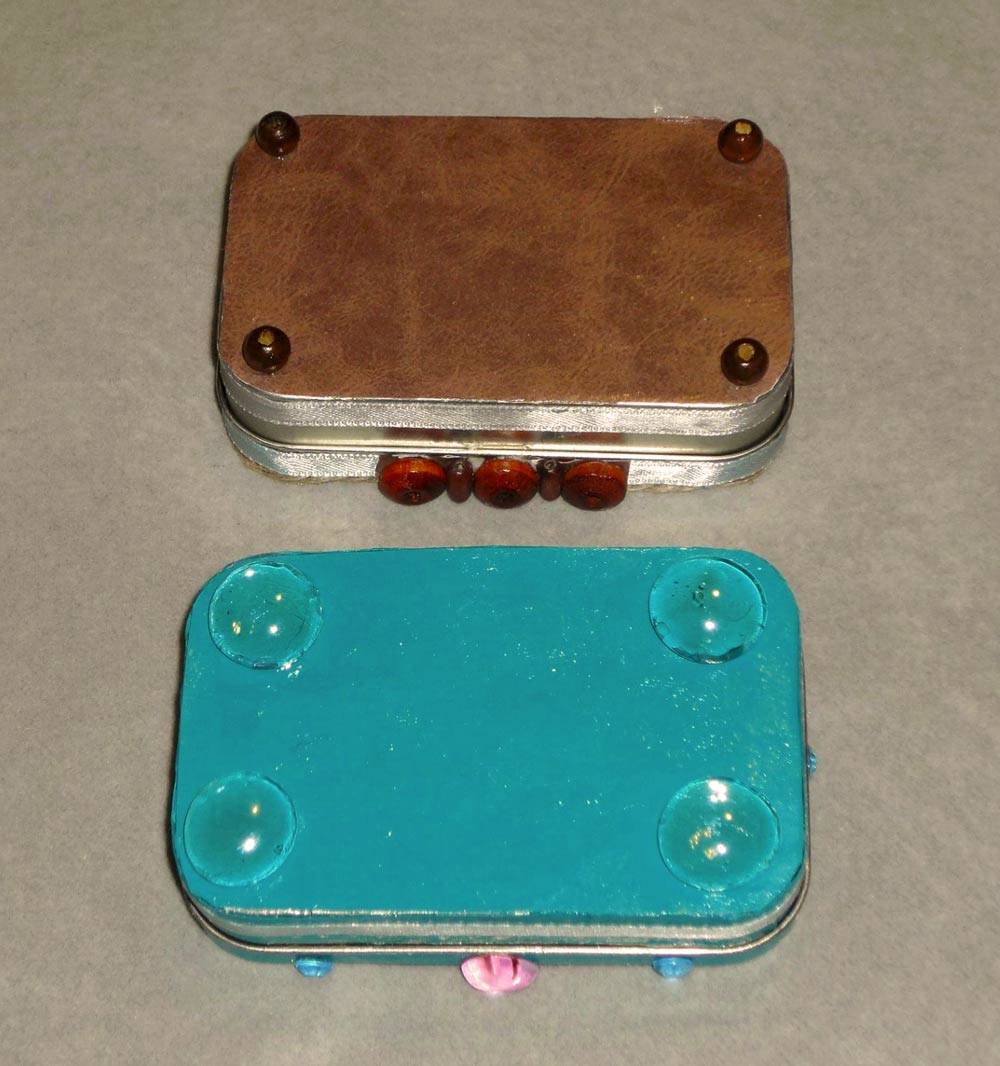
- Now that you have your tin covered, it’s time to add embellishments. The more layers you add, the fancier the trinket box will be in the end. Flat buttons, patches, large stickers, flat fabric bows or flowers, small flat beads and wide ribbon make great embellishments. Glue them onto the tin using your craft brush and tacky glue. You can also glue glass rocks or beads to the bottom of the tin to make a decorative box that will look great on a shelf or dresser.
That’s all you need to make an adorable tin trinket box from an Altoids tin! You can find more inspiration on ways to decorate and use tins like these on Pinterest using the search words “covered Altoids tins.”


Comments