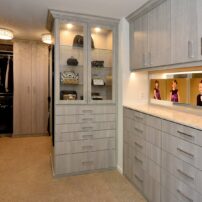
Who wouldn’t love to have a spacious, well-organized closet? Some closets are naturally easier to organize than others but what it really boils down to is how well you can maximize the available space and how current closet product options can enhance the organization and storage of your existing space. The other primary ingredient in the secret sauce is, of course, developing a feasible plan.
Step 1: Purging and Measuring
The first step is to purge your closet of unwanted or underutilized items. Next, define the categories of the items you would like to store. Fine-tune your choices by drafting a list of the quantities of each category and by measuring:
- The linear inches (width) of desired short hanging space and long hanging space.
- The average width of all pairs of shoes, then total the number of pairs of shoes and handbags you want to store.
- The “cubes” (height, depth and width) of your folded clothes and intimate apparel.
 Additionally, inventory accessories such as belts, scarfs and jewelry and decide if they will hang or be stored in a drawer setting. Lastly, consider additional items such as a mirror, make-up or dressing table, bench, laundry machines, ironing board, security safe, etc.
Step 2: Floor Plan and Drawings
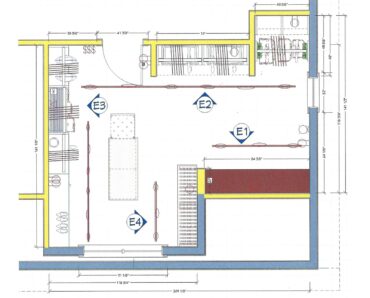
The second step is to draft a floor plan and elevation drawings. This will allow you to “see” the space for what it really is.
Don’t forget to include any existing doors, windows, skylights and attic access hatches (you do not want to block access or make access to your attic space difficult).
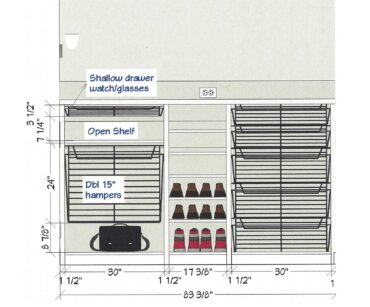
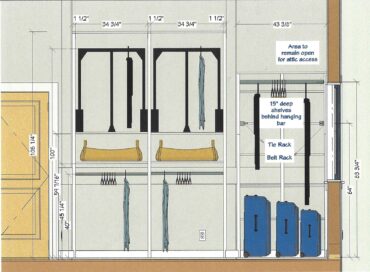
See the example of a floor plan and elevation drawings provided here. Note that E1 and E2 on the floor plan denote the location of the elevation drawings and that the ceiling in E1 is vaulted, starting at 53 inches above the floor, while E2 is approximately 109 inches high.
 Step 3: Closet Components
With the floor plan and elevation drawing in hand, you can proceed to the next step, plotting the various closet components you wish to install.
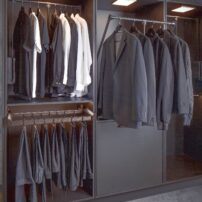
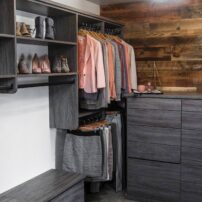
Rods: Available in various lengths, (field cutable with the right tools), finishes (wood, chrome, brushed nickel, flat black, etc.) and even with integrated LED lights to illuminate your wardrobe.
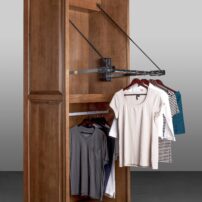
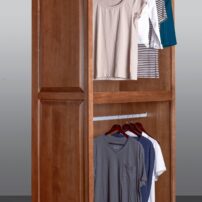
One more option for closets with ceilings greater than 8 feet, 6 inches and a room width of at least 6 feet are drop-down closet rods. These rods are an excellent way to use what would otherwise be hard-to-access space. The closet rods in the upper section of the wall elevation E2 are operated manually with a pull rod, while a similar design, augmented with a motor, is operated with a wireless remote (the motor is an excellent option for people with shoulder issues and for wheelchair users).
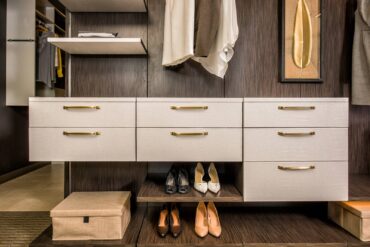
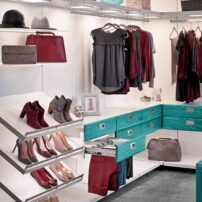
Shelving and cubbies: From stock, precut melamine shelves and flat pack (assembly required) cubbies available at big-box stores, to fully customized, veneered plywood shelves and cubbies, the choices are many and your selection will depend on your needs and budget. Additional accessories for shelves include shelf dividers and shoe rails.
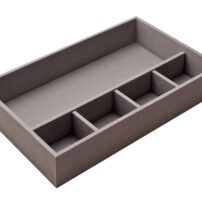
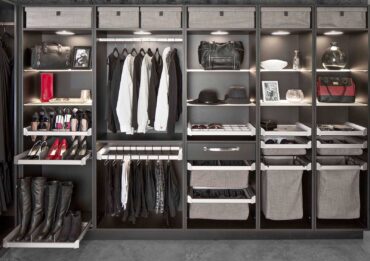
Baskets and drawers: Many material options are available, including wire, cloth, leather and wood. These closet components typically range in depth (back to front) from 12 to 24 inches and measure 3-18 inches from top to bottom, mounted on glides for easy pull-out access. Additional accessory options for baskets and drawers include shoe racks and dividers for jewelry, socks, ties, scarves and intimate apparel.
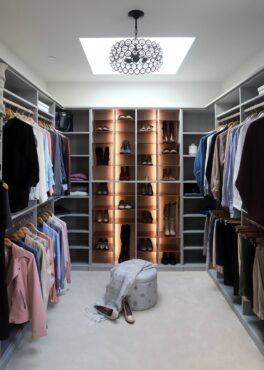
(Photo courtesy Alexa Nofsinger)
Other amenities: Some standard and nonstandard items you might want to consider for your closet, space allowing, include:
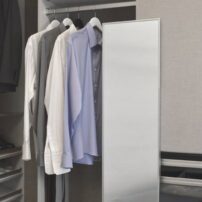
- Pull-out hardware racks for ties, belts, scarves and dry cleaning.
- Mirrors — wall-hung or mounted on a pull-out rack.
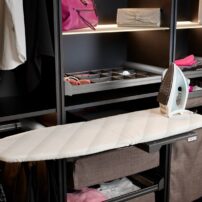
- Built-in or free-standing ironing board (remember to install a conveniently located electrical outlet for the iron).
- A wall- or floor-mounted safe for valuables.
- Laundry machines — a combination unit (washes and dries in a single drum) takes up the least amount of space but does not do as thorough a cleaning job as more traditional models; alternatively, consider compact models that are stackable and don’t require ducting (they will require a water source, so placing them on a wall common to a bathroom is advisable), such as a condensing dryer or a heat pump dryer.
- Seating — it’s always a good idea to have a place to sit when putting on or taking off shoes and it’s easy to make the seating double as storage.
- Lighting — often overlooked but is truly essential for a well-appointed closet. Lights can be installed in the ceiling, on the ceiling, above the door frame, in the hanging rods, under shelves, etc. Lighting can be operated manually or via a motion sensor.
Whether your design style is utilitarian or boudoir, the style you choose for your closet, closed cabinets and drawers versus open rods and shelves will be predicated on the available space and your budget.
Consider the fact that a 36-inch-wide closet cabinet for hanging clothes is just over 24 inches deep. With the doors open, it requires an additional 18 inches of depth (floor space) plus the depth of one’s body, which should be roughly another 18 inches.
Therefore, a one-wall, walk-in closet requires a minimum width of 60 inches. With rods, a 60-inch-wide closet can accommodate 24 inches of hanging space depth on one wall, with 12 to 18 inches of shelving/cubbies/drawers on the opposite wall. Space aside, decorative cabinet doors and drawer fronts can add as much as 50 percent to the total material costs for your closet project.
As with any renovation, the success of your closet project will depend on the time and attention allocated to planning, as well as your carpentry skills. Completing a home-renovation project can be an immensely rewarding experience — just remember to be honest with yourself. If you don’t have the time, patience, tools and skills, consider hiring people who do. Now go forth and make Marie Kondo proud.


