Looking for a fabulous garden project to spur your creativity and add personality to your yard? Making stepping stones is an easy way to accomplish both. The following instructions will walk you through everything you need to know and all the materials needed to complete this fun project at home.
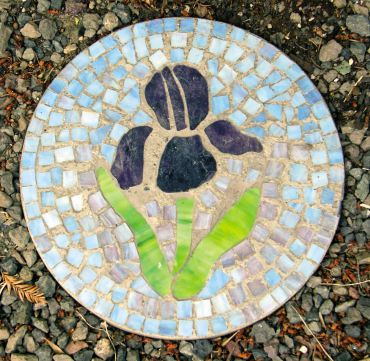
Louise Martin of Port Orchard took up making mosaic stepping stones in 2011 and allowed us to follow along with several of her projects for this article.
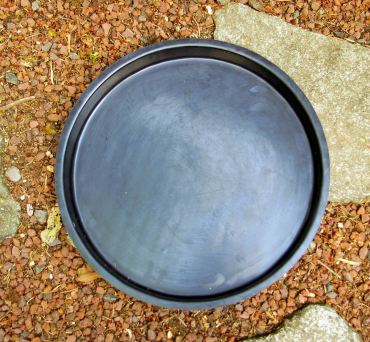
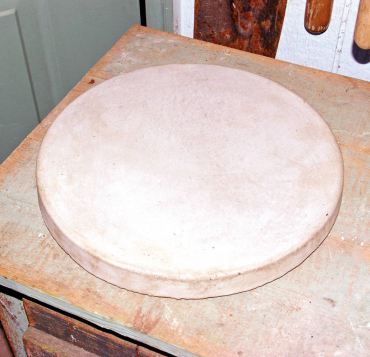
(1) Purchase a concrete mold or a pre-made stepping stone. Flexible, concrete stepping stone molds made of ABS plastic can be purchased from art suppliers and online and come in a variety of shapes. If you plan to apply mosaics to your stone, you’ll want to choose a mold that imparts a nice, smooth surface. If you buy a pre-made stone, avoid those with an aggregate or otherwise bumpy surface.
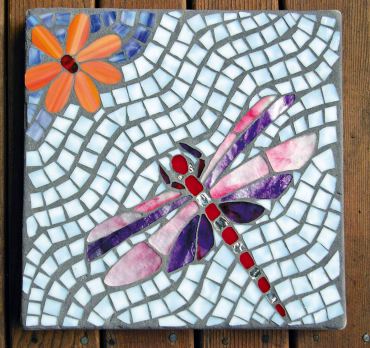
(2) Pour your stone. The best results for pouring your own stones come from buying mixes specifically for stepping stones or using mortar mix that cures super-smooth. All-purpose concrete is less expensive, but is also chunkier, with larger rock aggregates that create a rough finished surface.
Mix the concrete according to instructions, gently pour into the mold, taking care not to overfill, then gently shake the mold for 30 seconds to release any air bubbles. Smooth the top even with the lip of the mold using a trowel. Let the concrete cure in the mold for as much as a day before moving. Turn the mold over, remove the stepping stone and thoroughly clean the mold. While it may seem that it will stick, it should come free easily.
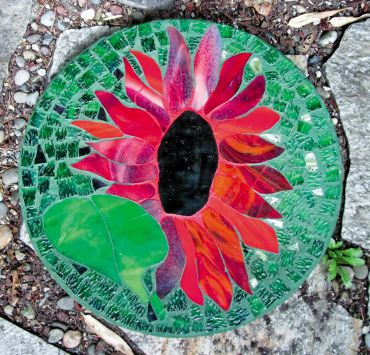
(3) Choose your design. The neat thing about creating stepping stones (or any kind of mosaic) is that you can start with a simple pattern to get the hang of the process and materials, and then advance into more complex designs.
If you have experience cutting stained glass, then patterns with a lot of curves won’t slow you down. But if you are new to working with glass and mosaics, select a pattern with only a few larger pieces to it or make a design using vitreous glass tiles, which are small, precut mosaic squares. You can either buy a pattern book for glass or mosaics or draw your own — lay it out on your mold to make sure it will fit.
(4) Lay out your mosaic pattern. There are many ways to do this, but one way is to make two copies of your pattern. Use one copy as a template for laying out your glass as you cut it. Tape that pattern to a board or other solid surface that won’t move when bumped. If your design features larger, solid pieces of glass, rather than using small glass squares use a second pattern copy to cut the individual pieces out and use them to trace the shapes onto the glass that you’ll be cutting.
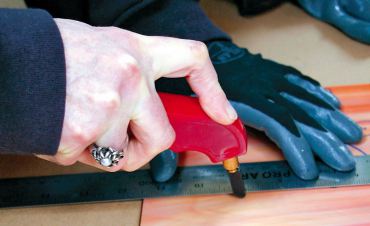
As you cut those pieces, place them on your first pattern so you can see how they fit together. Some people like to use clear contact paper taped over the pattern with the sticky side up so that it gently holds the glass pieces in place, but allows for easy removal as needed. There are many YouTube videos that will show you how to cut glass.
(5) Prepare to move your glass pattern. One way to transfer your completed glass pattern to the stepping stone is to place a sheet of specially made, clear vinyl adhesive film over the top of the completed glass pattern and press firmly. Mosaic mount (sold in sheets) and tile tape (comes in a roll) are thicker and stickier than contact paper.

Trim the edges. The strong adhesive film allows you to move the glass pattern without shifting the pieces. Gently flip the whole glass pattern over, sandwiched between pieces of stiff cardboard. Have your completed glass pattern near your stepping stone with all your tools and materials at hand for applying adhesive.
(6) Apply adhesive to the top of the stepping stone. Apply a thin and even layer of adhesive to your stone, being careful not to let it slop over the edge. Remember that the glass you’re using is very thin, and while you want it to stick well to the stone, you also don’t want adhesive oozing out between the pieces of glass. Immediately after applying the adhesive and making sure it’s a smooth, even layer, gingerly remove the contact paper from the bottom of the glass pattern.
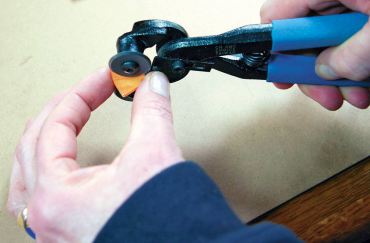
(7) Place glass pattern onto adhesive. Carefully place glass pattern (held together with mosaic mount on top) onto top of stepping stone. After adjusting the glass pattern, place a board over the top and press softly to set the pattern lightly but evenly into the adhesive.
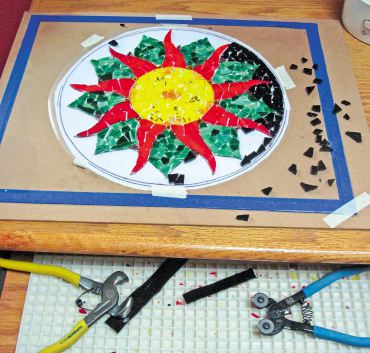
Let sit for 24 hours and then start to slowly peel back the mosaic mount from the glass, being careful not to dislodge glass pieces from the adhesive. If any come up, immediately clean old adhesive off the piece, dab with new adhesive and replace. Clean up any blobs of adhesive off the glass before it thoroughly sets. Let set and cure for a few days.
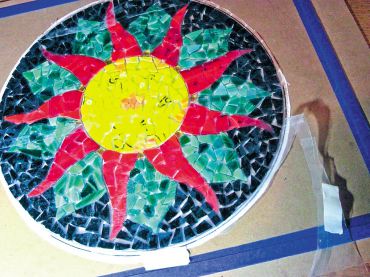
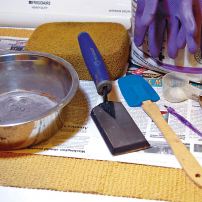
(8) Grout the stepping stone. Mix a small amount of grout made for outdoor use per instructions on the container. While wearing gloves, apply grout to the spaces between the glass pieces with a flexible spatula or grout floater, taking care to drag the spatula along the glass surfaces, depositing the grout in between the pieces and leaving as little as possible on the face of the glass.
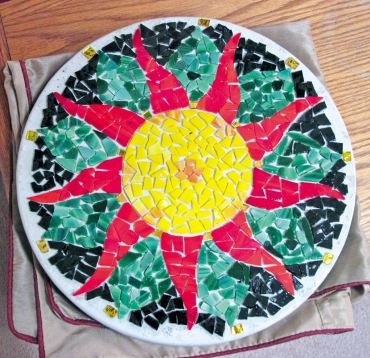
At the edge of the stone, use your fingertips to apply grout along where the edge of the glass meets the side of the stone, so that no sharp edges are exposed. Use care when cleaning up this area and touch up with fresh grout, as needed.
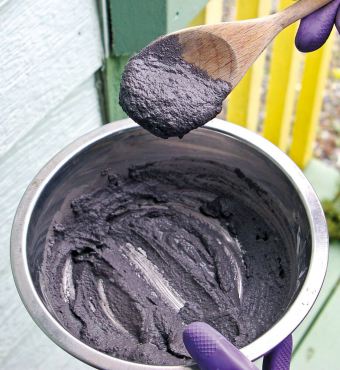
(9) Clean up the glass and your tools. Once all the joints between the glass are filled, use a barely damp sponge to softly wipe the remaining grout from the glass.
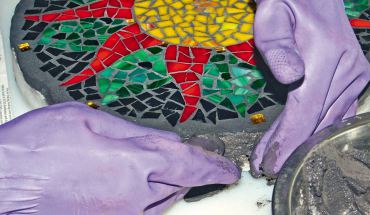
Take care to not pull grout out of the joints. Use a barely damp, soft, lintless cloth like an old cotton T-shirt to polish the glass pieces, removing grout residue from them. As the glass gets cleaner, switch to a dry cloth to buff glass completely clean.
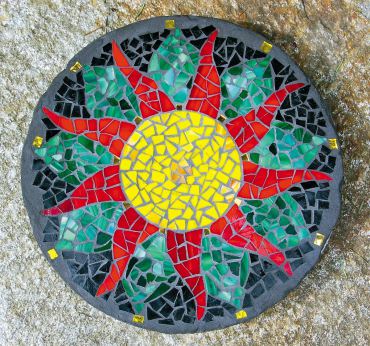
Periodic light misting with a water bottle will help clean the residue from the glass and cure the grout. Other useful cleanup tools for small pieces of glass are a cotton swab and soft bristle toothbrush. Clean up your tools as soon as you can — grout is almost impossible to remove from them once it dries. Remember never to rinse grout or adhesive into plumbing. Let the grout cure for at least two days.
(10) Seal the grout. Apply one coat of sealant to the grout of the stepping stone, following along the joints. Buff sealant immediately from glass surfaces before it dries so it doesn’t leave a film on the glass itself. Allow to dry for one week before placing outside. Sealing the grout will protect the stepping stone from dirt and moisture damage and should be redone every year after giving the stone a thorough washing.
Tools and Materials
- Stepping stone mold and mortar or stepping stone mix or pre-made stepping stone
- Two copies of pattern/design
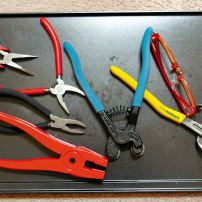
- Sheets of stained glass, glass cutter and breaking pliers or precut 1-inch glass tile squares and tile nipper
- Adhesive-backed vinyl films such as contact paper, roll of tile tape and/or sheet of mosaic mount (optional)
- Thinset tile adhesive or other adhesive for outdoor use
- Rubber spatula or grout float
- Sanded grout, color of your choosing
- Clean kitchen sponges, soft bristle toothbrushes, cotton swabs, lint-free rags
- Bucket of clean water for rinsing sponges
- Grout sealant
- Rubber gloves
Resources
- “Complete Book of Mosaics,” by Emma Biggs and Teresa Hunkin
- “The Mosaic Artist’s Bible,” by Teresa Mills
- “Making Mosaics,” by Leslie Dierks
- “Design Sourcebook: Mosaics,” by Martin Cheek
- “Stained Glass Pattern Books,” from Dover Publishing
Local Supplies and Classes:
Eastern Wind Glass (Inside Claywerks)
330 Callow Avenue, Bremerton
360.536-3544 • easternwindglass.vpweb.com


