 Have fun growing some delicious and nutritious microgreens on your kitchen counter, in a sunny window or under lights any time of the year. In as little as a week to 10 days, you’ll be making your first harvest to use as a garnish, snack or add to your favorite sandwich or salad.
Simply purchase seeds of lettuce, greens, mustard, radishes, beets, peas and even sunflowers. Buy organic seeds or those labeled for sprouting or use as microgreens to ensure they haven’t been treated with harmful chemicals. Or purchase a microgreen kit that contains all you need to get started.
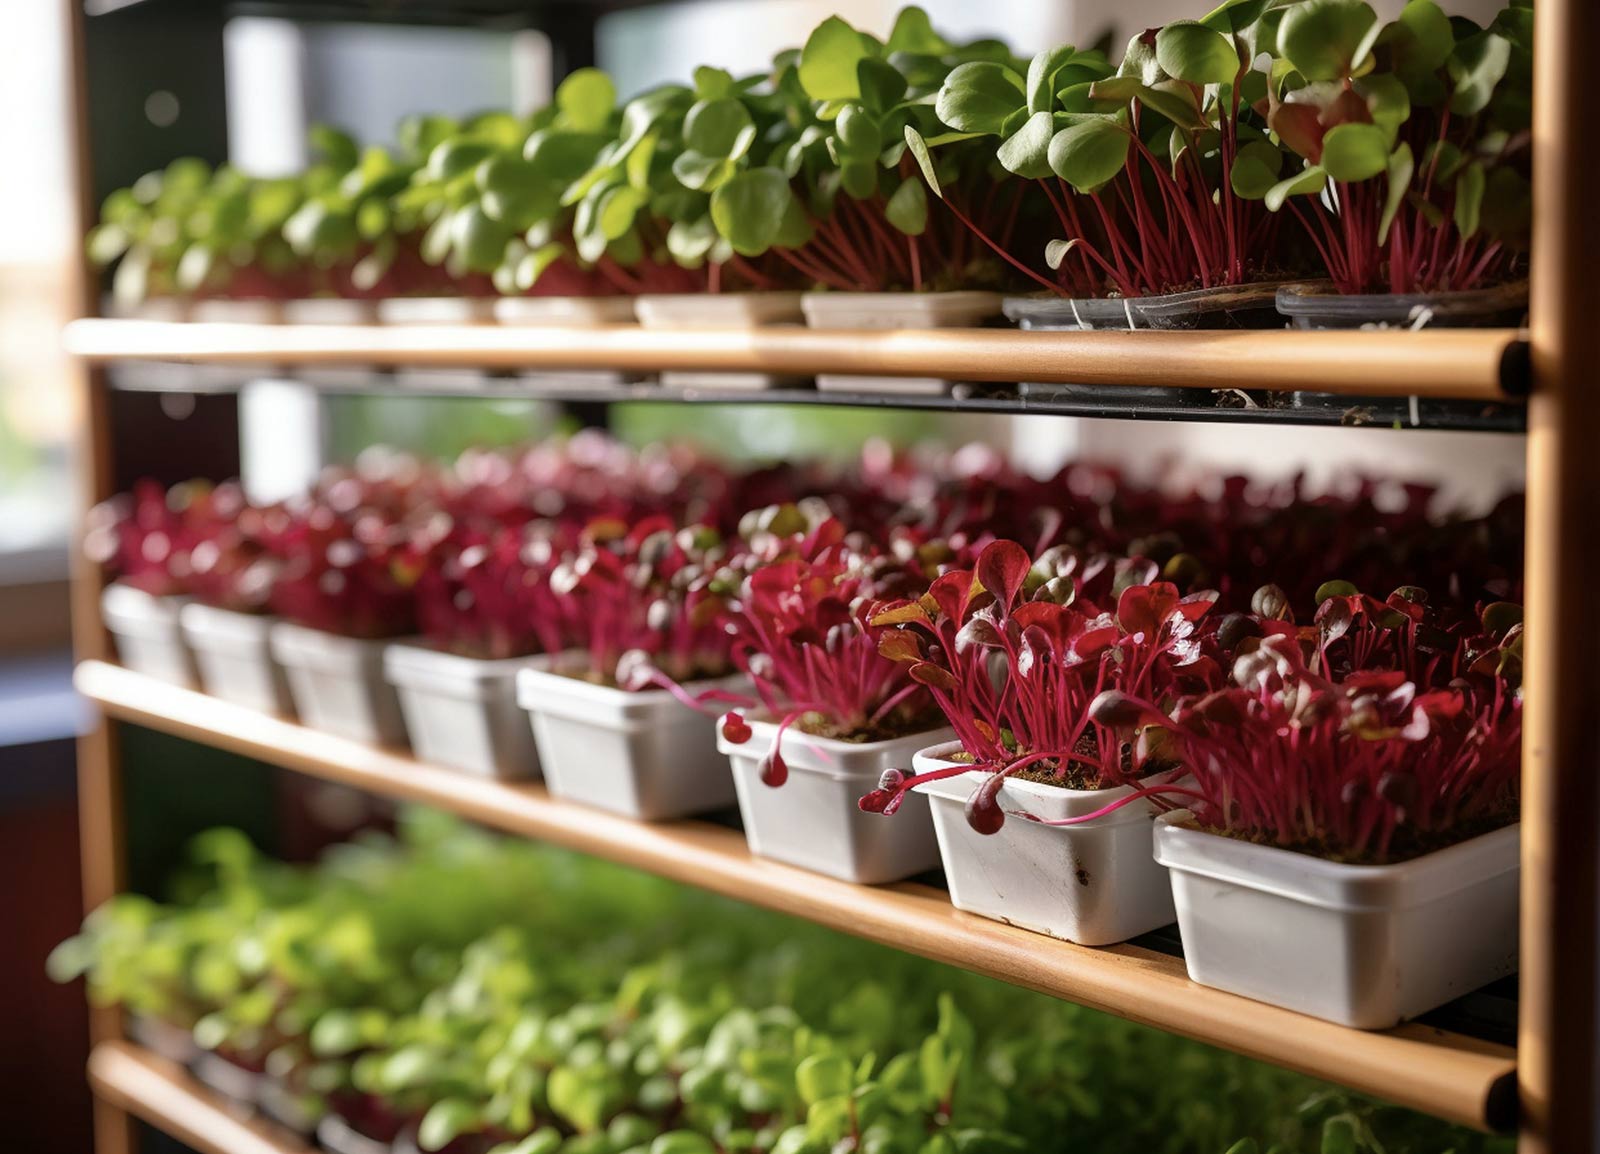
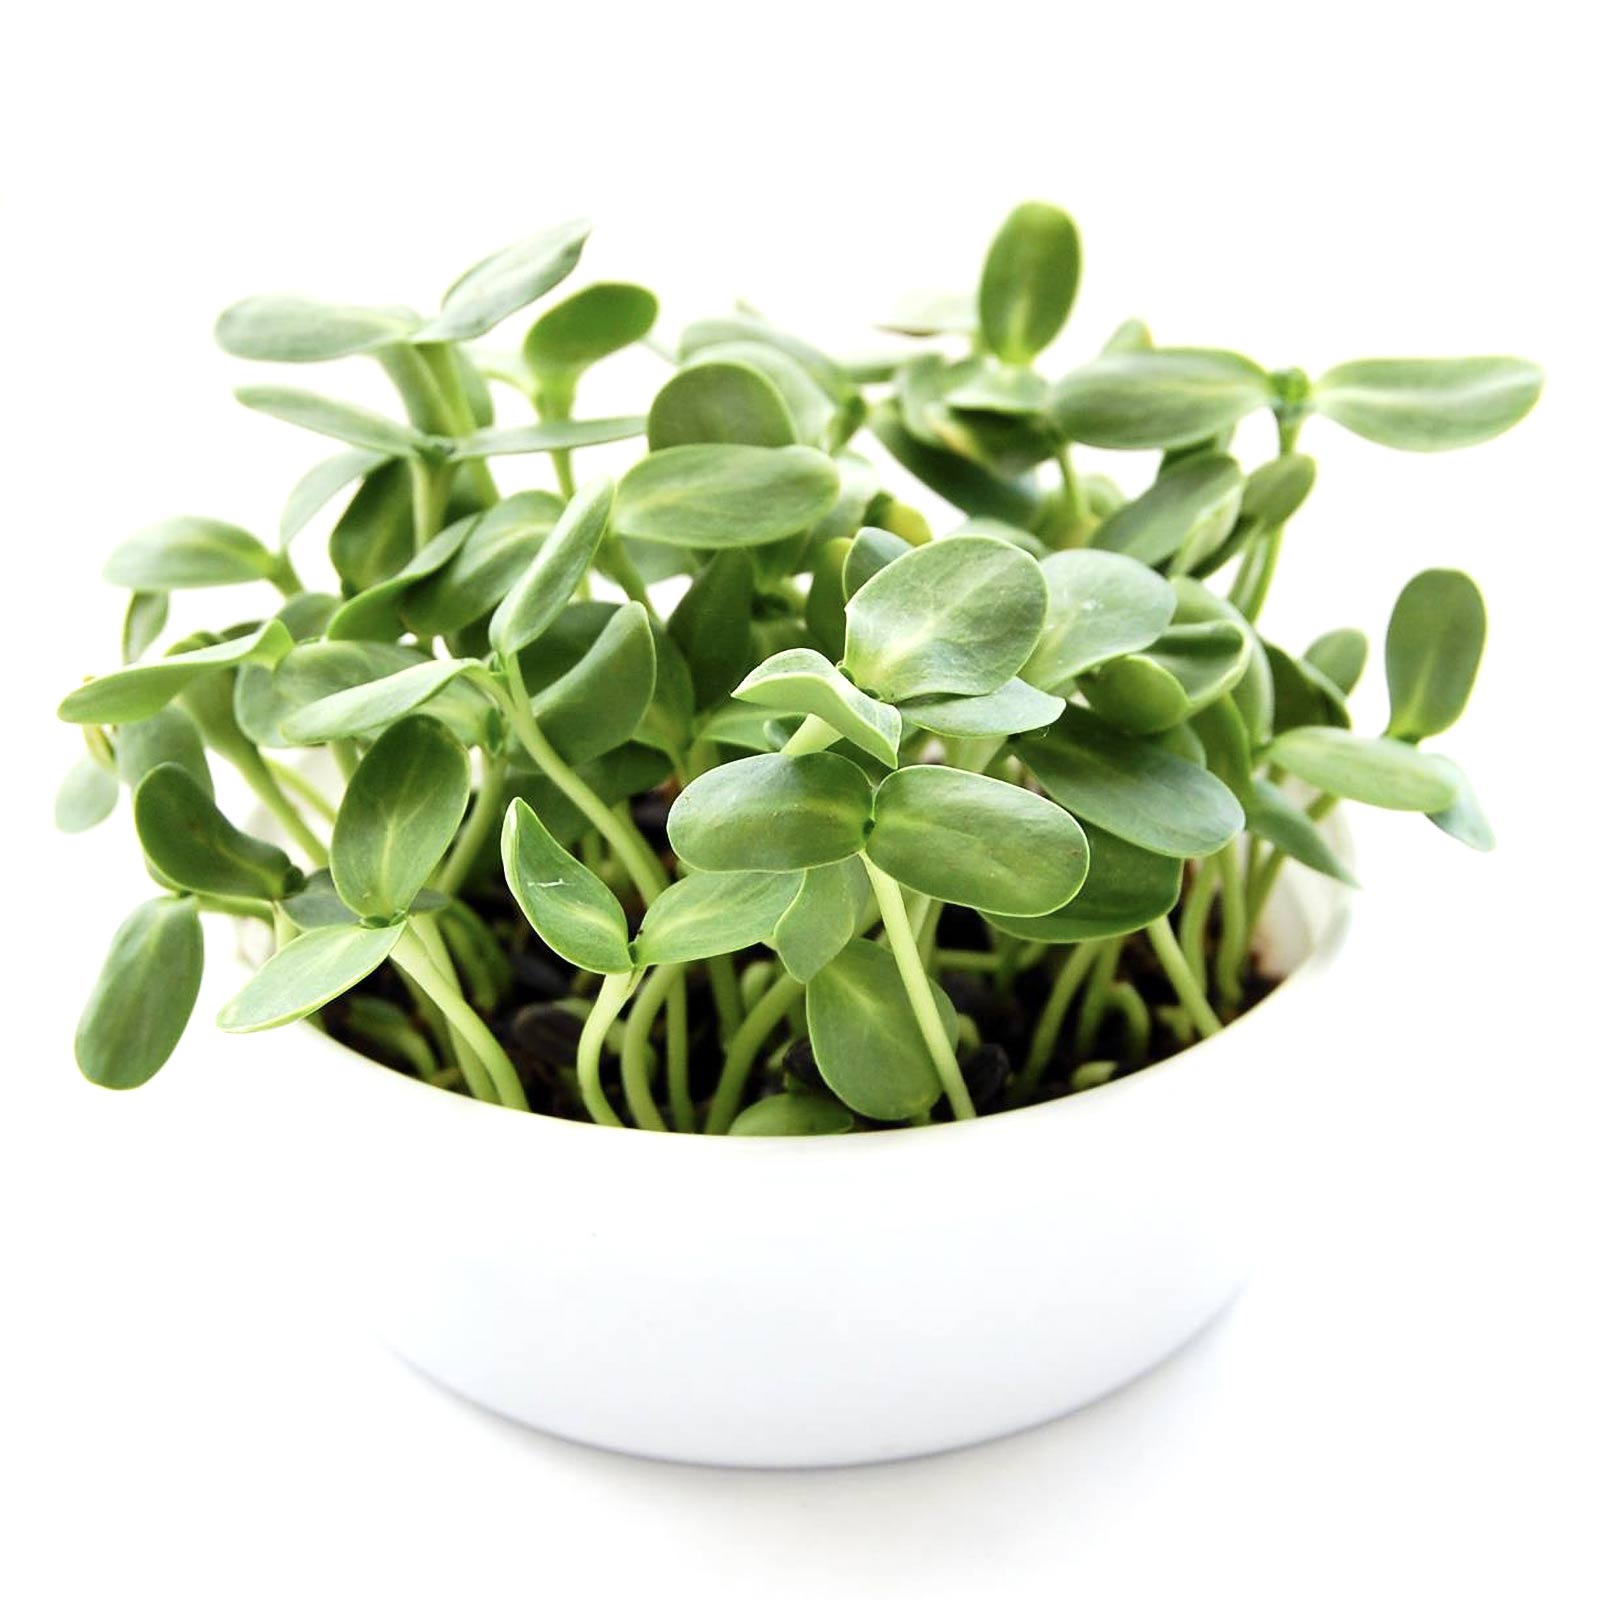
You can grow any microgreens in soil and most hydroponically. Sunflowers, peas, buckwheat, chard, beets and cilantro grow best in soil.
Soak the seeds in cold water for 12 to 24 hours for faster and greater sprouting. Plant the seeds in a shallow container with drainage holes filled with a moist, well-drained planting or seed starting mix. Gently tamp the planting mix to remove air pockets and create a flat surface for planting.
Mist the soil surface and evenly sprinkle the seeds over the soil. Gently tamp the seeds or mist them to ensure good seed-to-soil contact. Planting seeds this way makes harvesting a bit less messy. Or you can lightly cover the seeds with soil.
Use a fast-food container you’ve cleaned and added drainage holes to or invest in a kit like True Leaf Market’s Organic Mini Microgreens Kit to get your microgreens off to a great start. Then make additional plantings every few weeks to have a constant supply of fresh microgreens to enjoy.
Set the container on a tray to protect the surface below. Once planted, cover the container with a lid to boost humidity and reduce the need to water. Some gardeners use an opaque cover to trap humidity and keep the seeds in the dark for sprouting. Check soil moisture daily and spritz with water as needed.
Remove the cover in two or three days once the sprouts break through the soil. Then move it to a bright location or under artificial lights.
Or skip the planting media and go hydroponic using a growing pad instead. This makes harvesting clean and easy and works well for broccoli, kale, arugula, cabbage, cauliflower, mustard and radish seeds.
Cut the grow pad made of jute, bamboo or similar material to fit the container as needed. Thoroughly moisten the grow pad fabric. Sprinkle the seeds evenly over the pad’s surface, leaving about twice the size of a seed between each. Use a spray bottle to water and firm the seeds in place.
Use an opaque cover over the top of the tray to provide the needed darkness for the seeds to sprout. Check the seeds twice a day and mist them as needed. Remove the cover in three to five days once the seeds sprout and start growing. Move the sprouts into a bright location, a sunny window or under artificial lights, and continue to water as needed.
Your microgreens are ready to harvest when they’re 2-4 inches tall and the first set of true leaves — those that resemble the leaves of the mature plant — are just starting to emerge. This is usually seven to 10 days but may take longer depending on the seeds you grow. Use a sharp knife or scissors to cut the greens about one-quarter inch above the soil or grow pad. Gently rinse and spin dry the greens and enjoy.
Have fun as you grow a variety of microgreens to enjoy and share with friends and family.